A hair straightener is the most versatile tool to have in your styling arsenal if you want lots of quick, varied looks at your disposal.
There’s probably one already in back of your shelf, and if you only reach for it to actually straighten your hair and could never really get the hang of those influencer curls, your opinion of the flat iron is about to change.
Once you master its use, you won’t need other heat styling tools. Here are all the tips, tricks and hacks you need to put it to full use.
Related: -7 Straight-Hair Problems No One Talks About And 8 Easy Fixes That Shine
1. Get Celebrity Sleek Hair
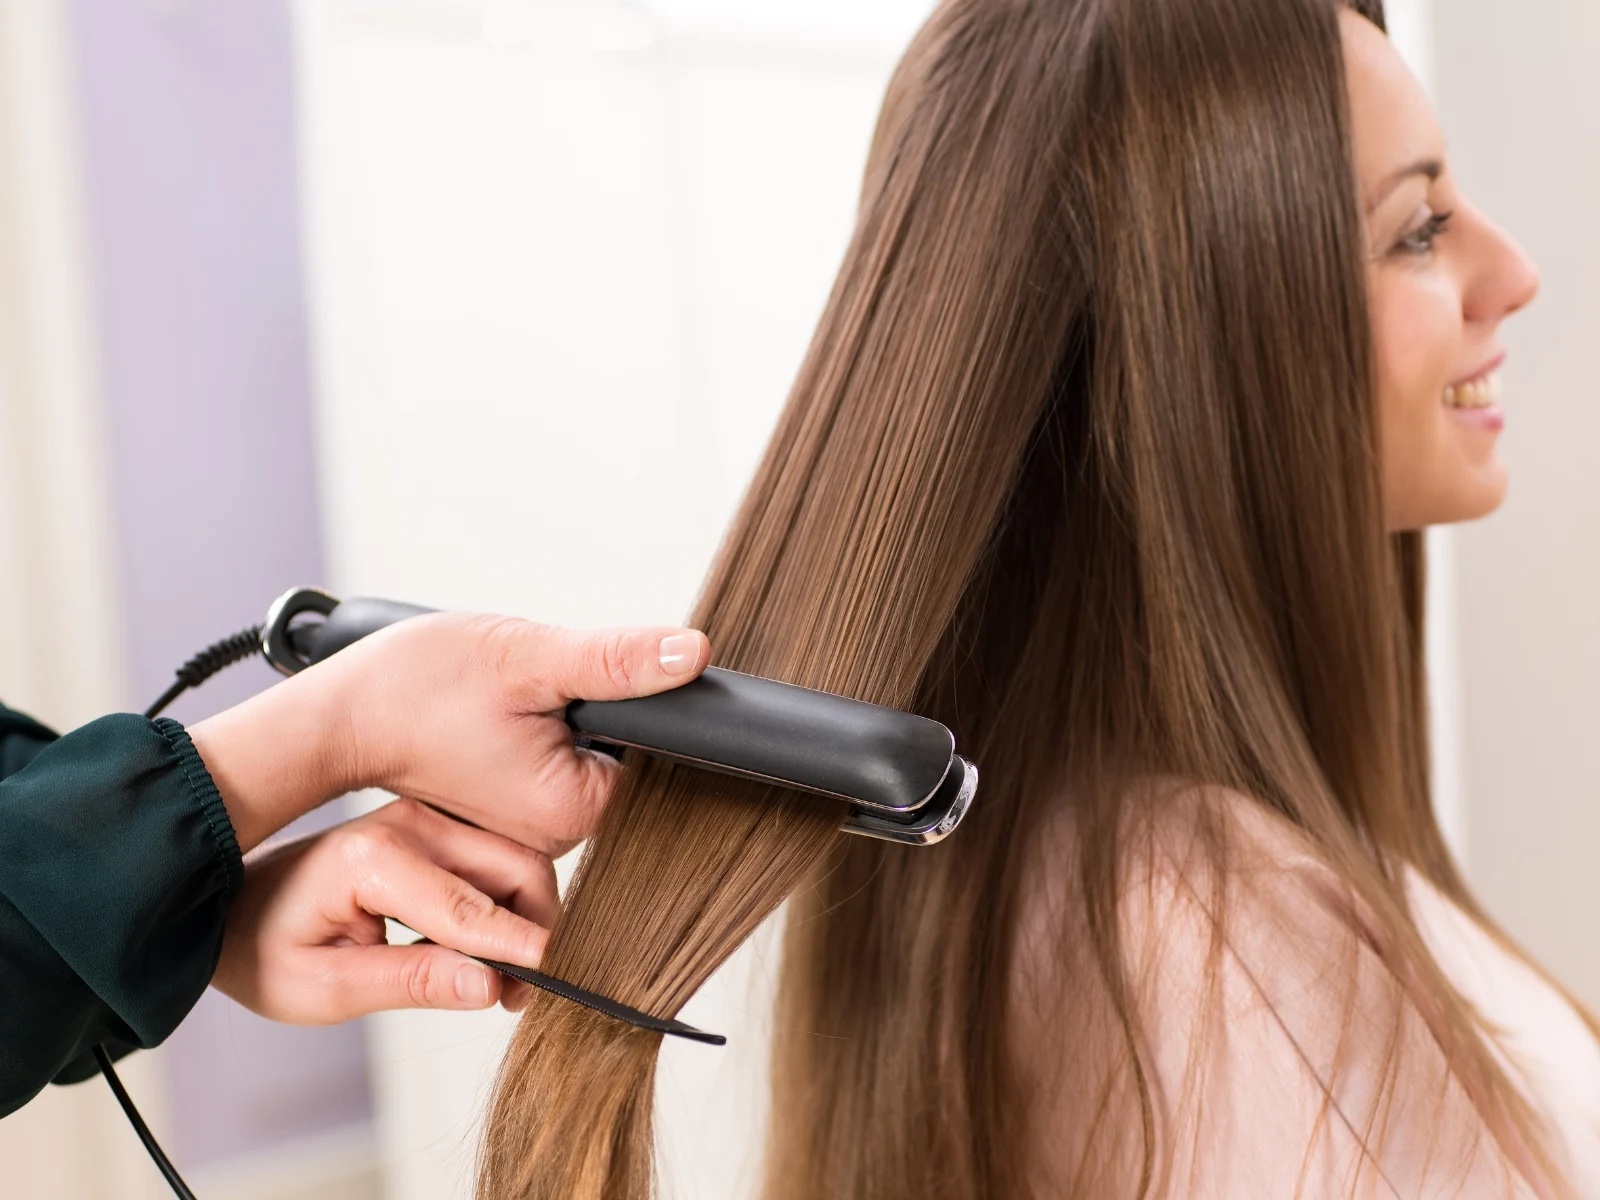
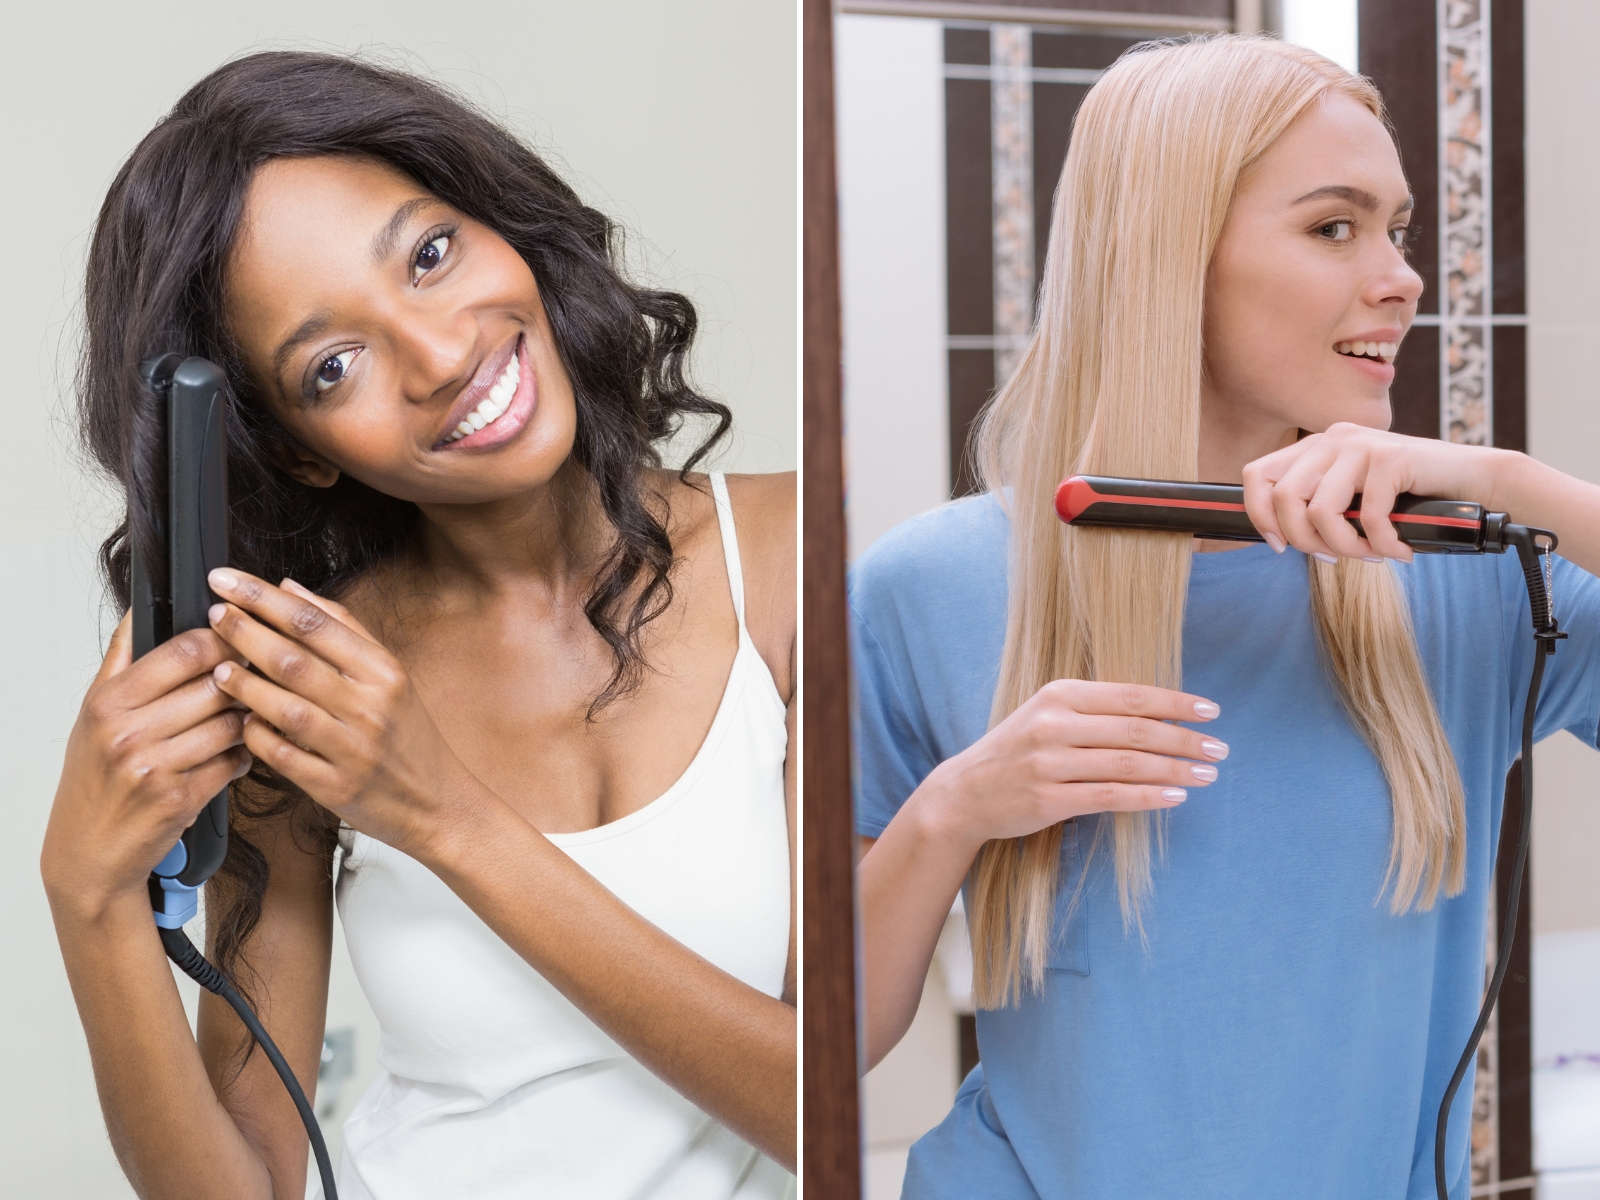
Using a straightener to make your hair straight seems like something that doesn’t require any special tricks, but if you skip some crucial steps you’ll get underwhelming results. Here’s how to get red-carpet worthy sleek tresses.
1. Work in sections.
Trying to simply run the straightener through your hair won’t do the job. Depending on how thick your hair strands are, you can work on one to two inches wide sections.
2. Follow the comb
If your hair is kinky, curly or very thick, first run a wide-toothed comb through each section to make sure there are no snags or tangles before you start working on it. Then, using a regular comb, do the comb chase method—place the comb right in front of iron and follow it. This helps smooth and separate the strands, giving you the sleekest result.
3. Don’t rush.
Go slowly and use a light hand. The slower you go, the quicker you get results, which means you can go over each strand only once. You can do two passes if you’re not happy with how it turns out, but following these tips should give you the sleekest strands ever.
2. Perfect Flat Iron Curls
Creating flawless curls with a flat iron is actually much easier than it seems, all you need is knowing how to turn the iron and how to move your wrist, and here’s how to learn that: practice with your straightener turned off.
When you’re watching a tutorial trying to figure out what you should do with a hot iron in your hand, you rush and just try to get any results without burning your hair. A cold run will make the real thing much simpler.
Here’s a video showcasing all the different types of curls possible with a straightener, so pick your favorites and practice before you try them out.
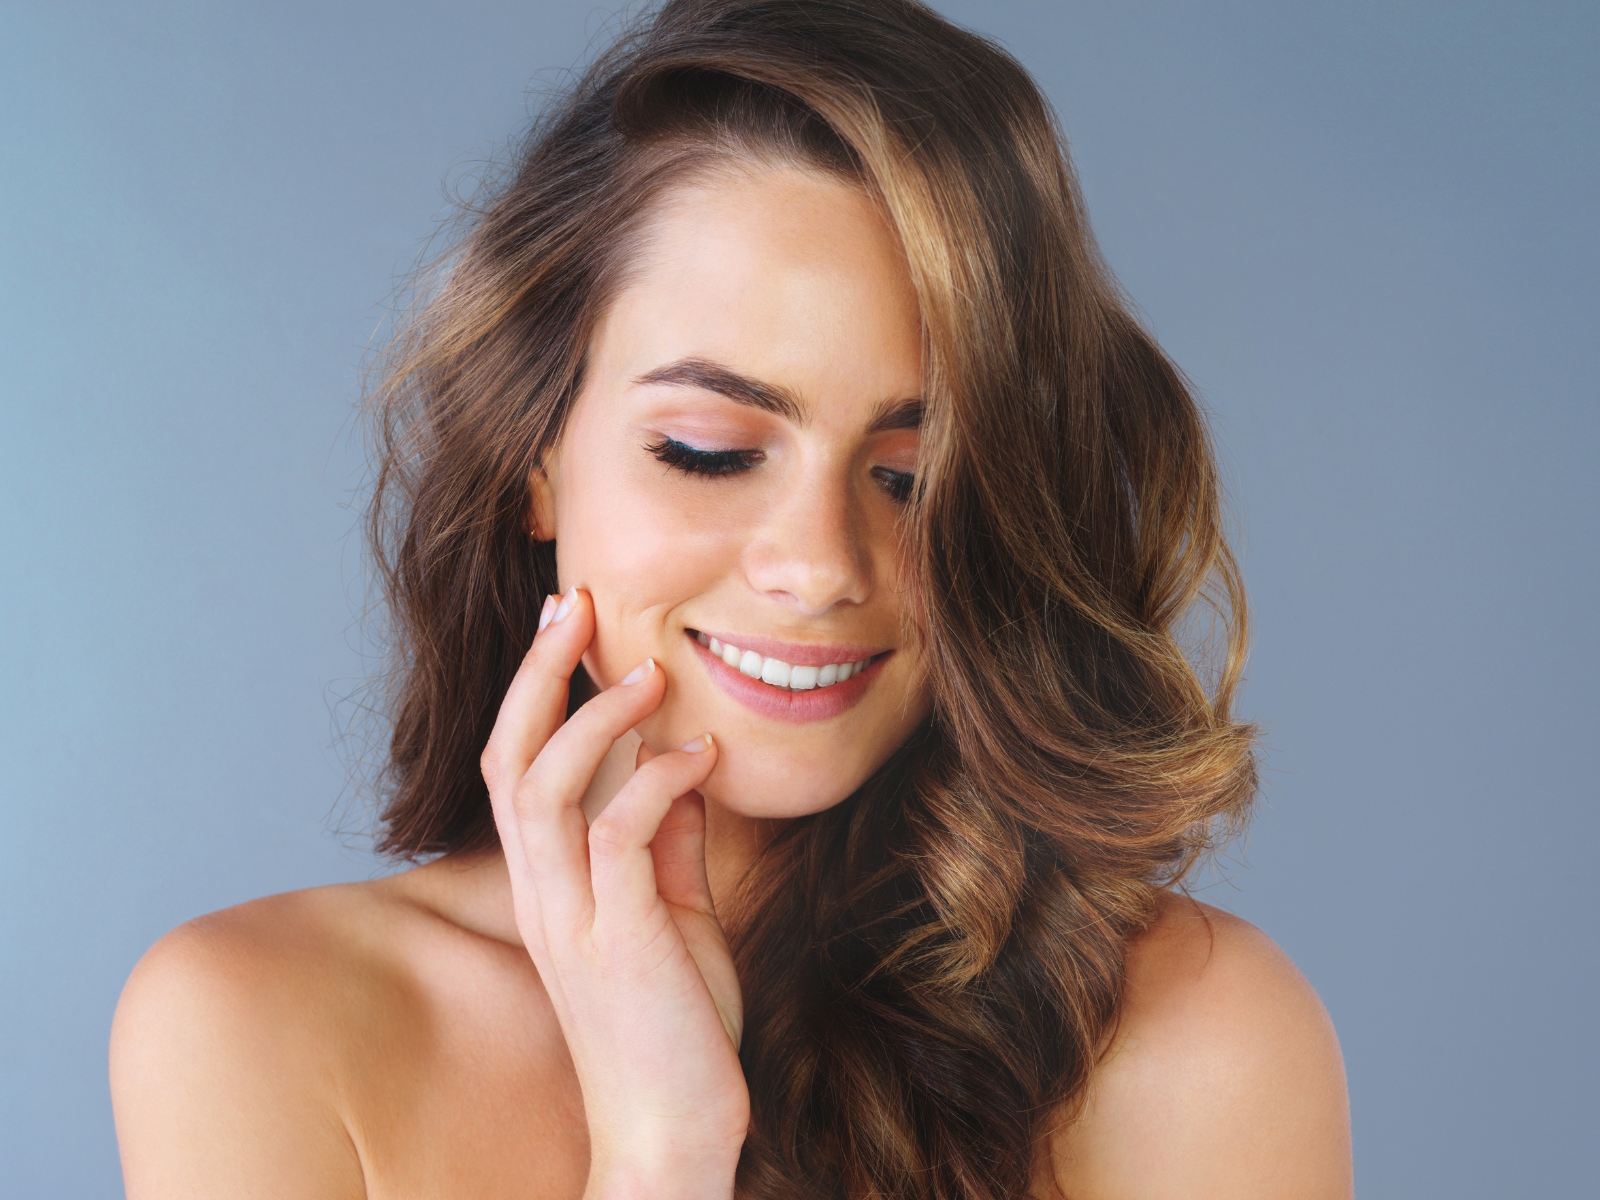
3. Master The Perfect Waves

Creating waves with a hair straightener is similar to creating curls, only you would take larger sections or go a little faster down the strand. Using the curls video above, experiment with this method to find something that works for you.
For example, the method #1 in the video is a quick way to create easygoing beach waves—instead of 1-inch sections, work with 2-inch sections. Loosely clamp the straightener where you want your waves to start, then twist it away from the face, slide down the strand and release.
You want your waves to be loose, so you don’t have to be too careful or use product on each strand. Just let them cool down and shake them out when you’re done for a tousled look, and finish off with a texturizing spray.
4. Fake A Salon Blowout
You don’t need to visit the salon or struggle with a brush and hair dryer if you have a straightener and know how to use it. This tutorial will take you through each step you need for photoshoot-ready hair.
You can use this process to achieve a voluminous ’90s supermodel blowout or a casual straight blowout. For more volume, try to place the straightener as close to the root as you can, and for an everyday look, you can start further down.
- Section hair into two parts, behind the ears and in the front of the head. Clip the front part out of the way.
- Starting in the back, take an one to two inch strand. Using a comb, detangle it.
- Clamp the straightener and go down the strand, turning it inward the last few inches from the ends to create a beveled look.
- Drop the strand and let cool.
- Work on the rest of the strands until you’re done with the back part.
- Using a large hair clip, loosely clip the finished hair out of the way.
- Release the hair on the sides of your face, clipping back the hair on top of your head, from bangs area to the crown.
- Repeat the same process you did with the hair in the back on the hair at the sides.
- Release the remaining hair—crown and bangs. With these you’ll work a little differently. So far, you’ve been moving the straightener downward, now you’ll move it up and back to create volume on top, turning your wrist in the last few inches to create rounded ends.
- Start with the section at the crown, and go with the sections towards the front until you reach your bangs.
- Let your hair cool off and shake it out.
5. Style Your Bangs In Minutes

A flat iron will make stying your bangs a breeze. The secret to a natural look is to work in sections and use a light hand.
- Make your short bangs sleek simply by placing your straightener at the root of a strand and passing down. The heat from the plates is enough to straighten them, so you don’t need to clamp down.
- To get volume without curl, rotate the straightener away from the face when you start, but move it straight down at the ends.
- You can create a bevel by rotating the straightener down and under. The curved edge of the tool will give them rounded ends.
- Make your bangs wispy by working in smaller sections. For a tousled look, take sections of different sizes.
- Style side bangs using the same principles, only place your straightener vertically. Loosely clamp at the root where you part your bangs and gently slide down. If you want a slight curl, place the iron diagonally in the same direction where the hair is going on each side of the heat.
- You can also style curtain bangs in several ways, depending on the effect you want to achieve. The most classic way is to work them without parting them. Take your whole bangs and lift them up, clamp the straightener at the roots and going in a C-shape, go towards the back of the head. If your bangs are thick, you can section them horizontally and do the same thing.
- Another option is to part your hair, position the iron diagonally at the parting and move it back away from the face, rotating in when you’re near the ends.
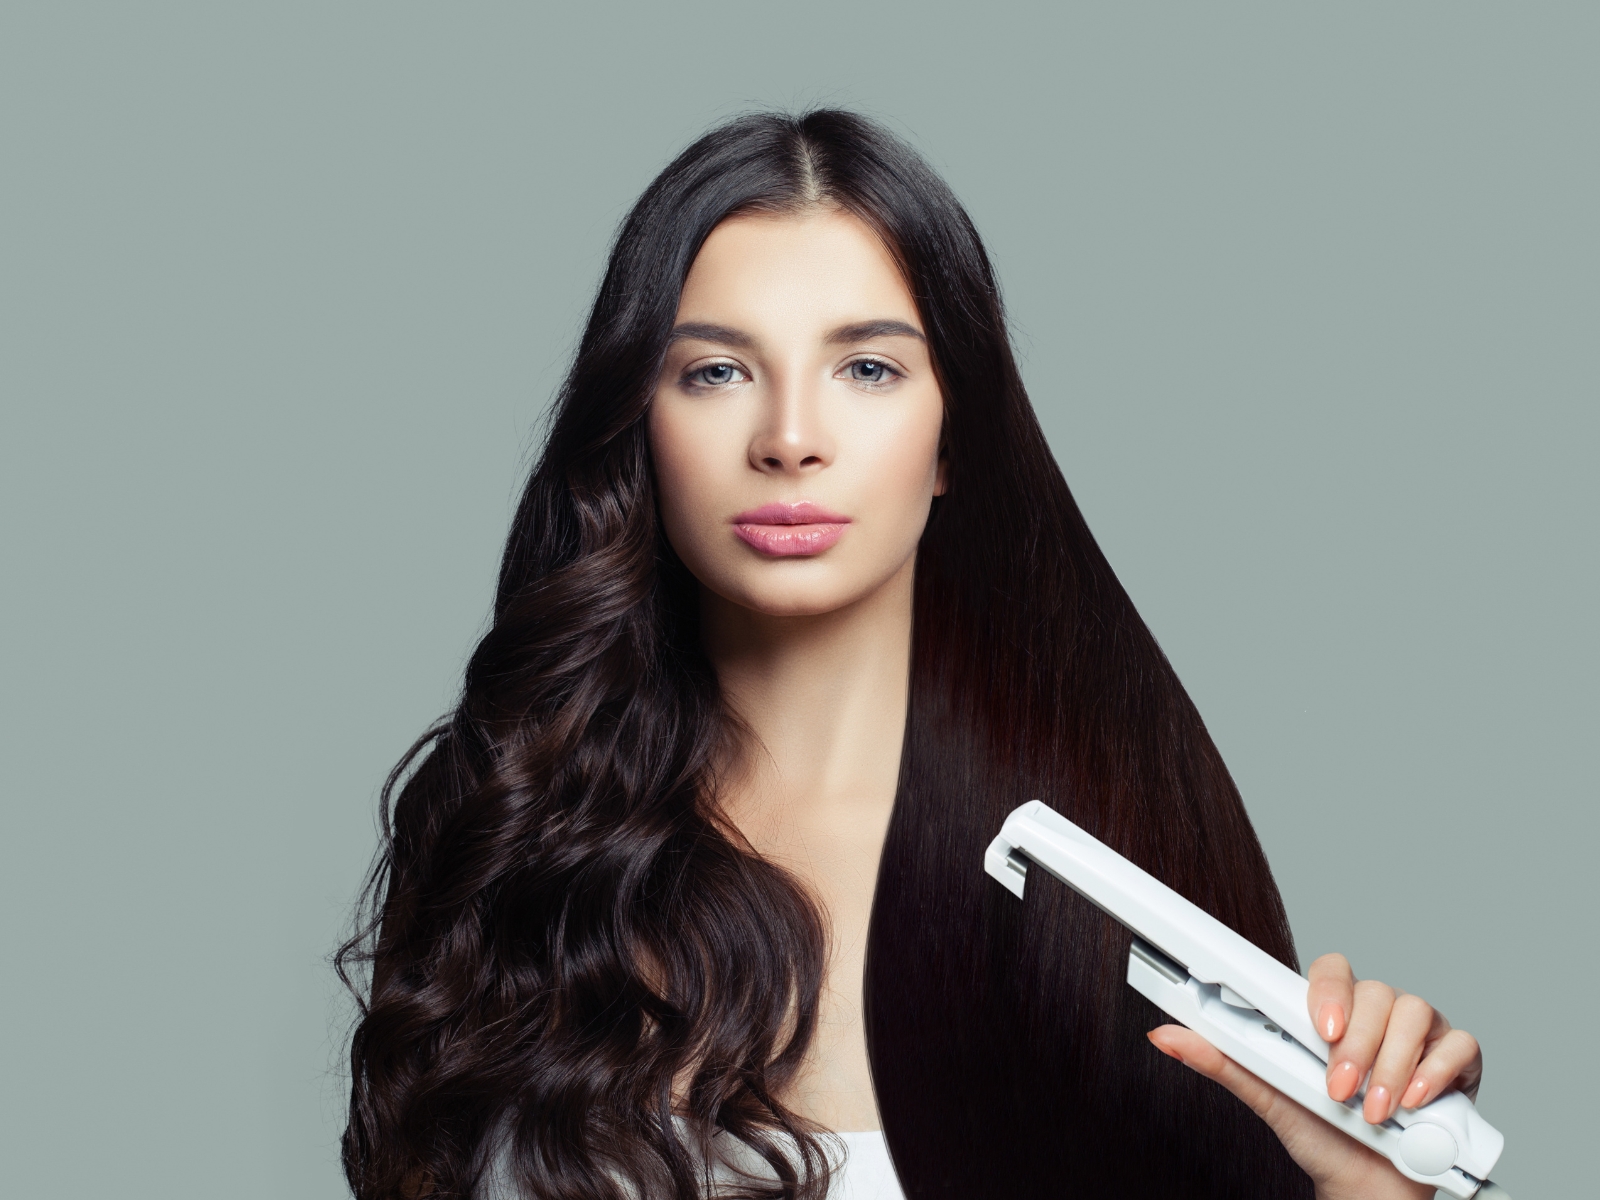
6. Add Texture To Your Tresses
A straightener is the perfect tool if you want to add sexy, trendy texture to your hair.
An easy method of adding texture is to create loose twirls. Take a two inch section of hair and twirl around itself until it’s twisted, holding the end with your fingers. Move the straightener up and down until heat goes through, and keep holding until it cools. When you’re done with your whole head, shake out the twirls and set with texture spray.
An even easier way of adding texture is to create loose waves and comb them out to make them even looser. It won’t be too long-lasting, but if you need a quick style for a night out, it’s quick and effective.
7. Upgrade Your Pony
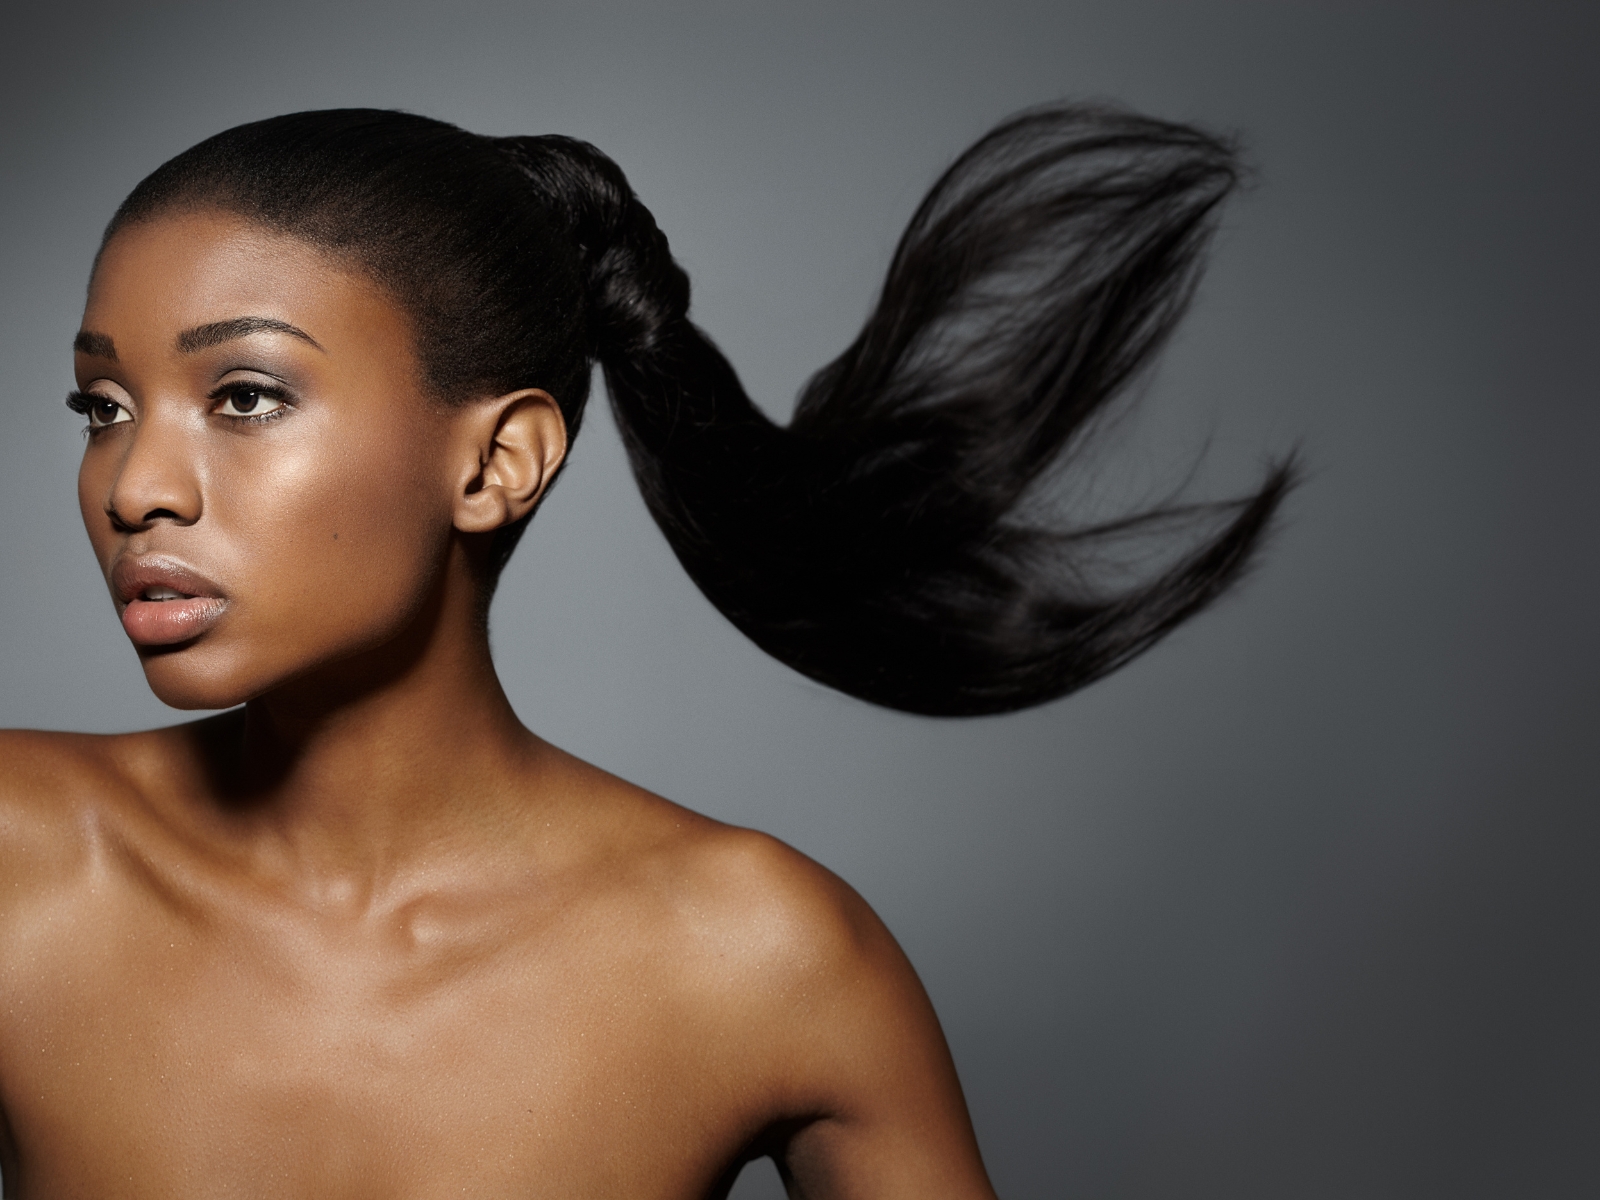
Take your pony from basic to extra with a straightener. You can style your hair and then tie the pony, but the look will be more put together if you work on it after you put your hair up. Here are some things you can do to make it special.
- Bouncy curls. After you’ve tied the pony, take small sections with your iron and twist towards your face, wrapping the strand around. Shake out the curls when you’re done for the bounciest, liveliest ponytail.
- Super sleek. Using the tips from item #1, create a glam sleek pony.
- Crimped waves. Braid the pony, then run the hair straightener over it until the heat goes through. Wait until they cool off and let your hair loose for fun crimped waves.
8. Take Short Hair To The Next Level
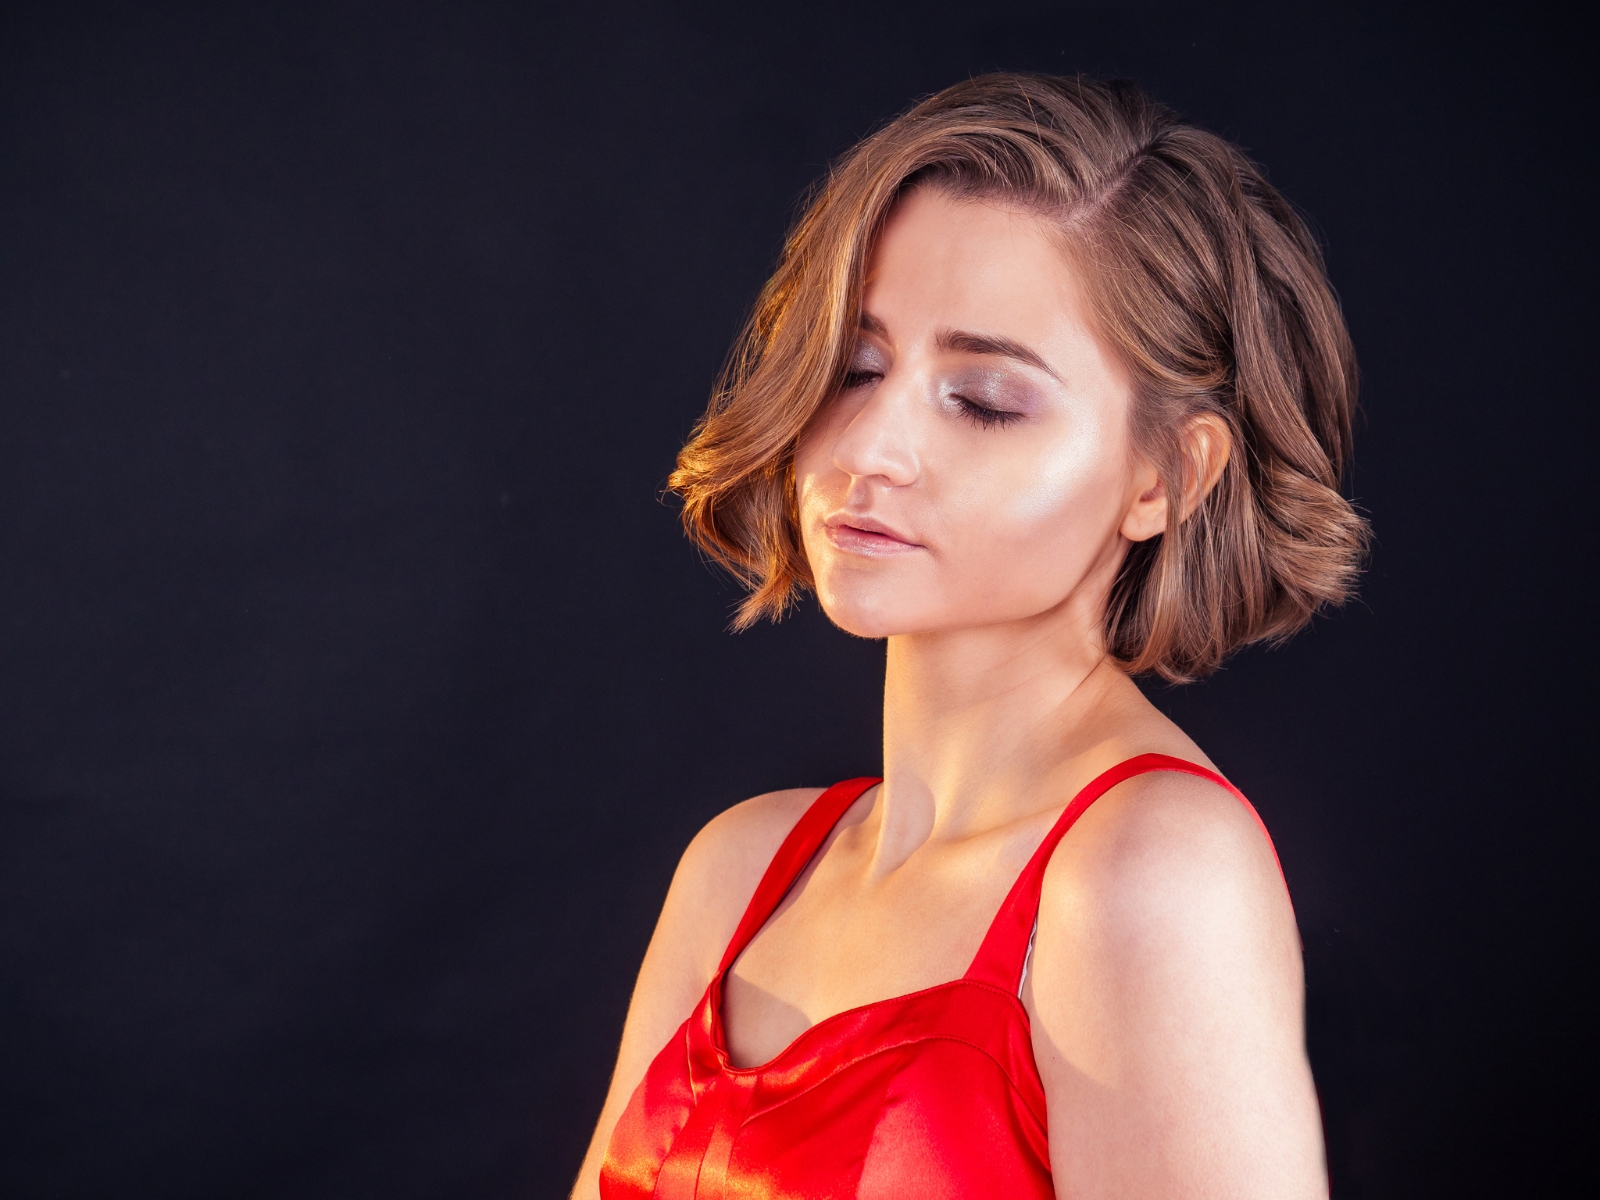
Styling bob length hair can be an exercise in frustration. Where to begin? How to make it flattering? How much variety can there be when your hair is short, anyway? If you needs some inspiration, check out the video below that proves that short hair is as versatile as long.
Essential Hair Straightener Rules
These tips are applicable for all straightening iron hairstyles and techniques. They’ll help you achieve the most gorgeous styles with the least amount of damage to your hair, and if you keep applying them, they’ll quickly become second nature.
- Pick the right straightener to make styling easier and avoid damage. Look for one with round, beveled edges which will make curls and waves smoother and built-in temperature control to prevent heat damage.
- Practice without heat because when you want to try a new technique. Do a few trial runs to get the feel of what you’re supposed to do. When you’re comfortable and confident, plug in your flat iron.
- Only use a hair straightener on completely dry hair. Your hair should be 100% dry or you can fry your hair. You don’t want to hear any sizzle.
- Prep and protect your hair. Brush to detangle, apply a heat protectant product. If you started with dry hair, don’t be alarmed if you see some steam after applying product—it’s the product, and not your hair burning.
- Section your hair. If your hair is long or thick, sectioning is a must. Sectioning will make it possible to make just one pass with the straightener, which means less damage, it will make styling easier and also impacts the size of curls.
- Go slow. Don’t rush—go in one slow, smooth movement to avoid kinks and create uniform curls and waves. If you want a more messy look, you can speed up but still go slower than you think you should.
- Don’t crank up the heat. Somewhere between 250°F and 300°F is enough for most people. The finer your hair, the lower the temperature you need.
- Lightly glide instead of pulling. Don’t clamp down with all your might then drag the straightener down the strand. This won’t give you good results and it will damage your hair.
- Let the hair cool down before you touch it for a lasting style. If you touch still warm hair you can undo what you’ve done.
- Keep the straightener clean. Product buildup will make it less effective, so gently wipe with a damp cloth after it cools down.