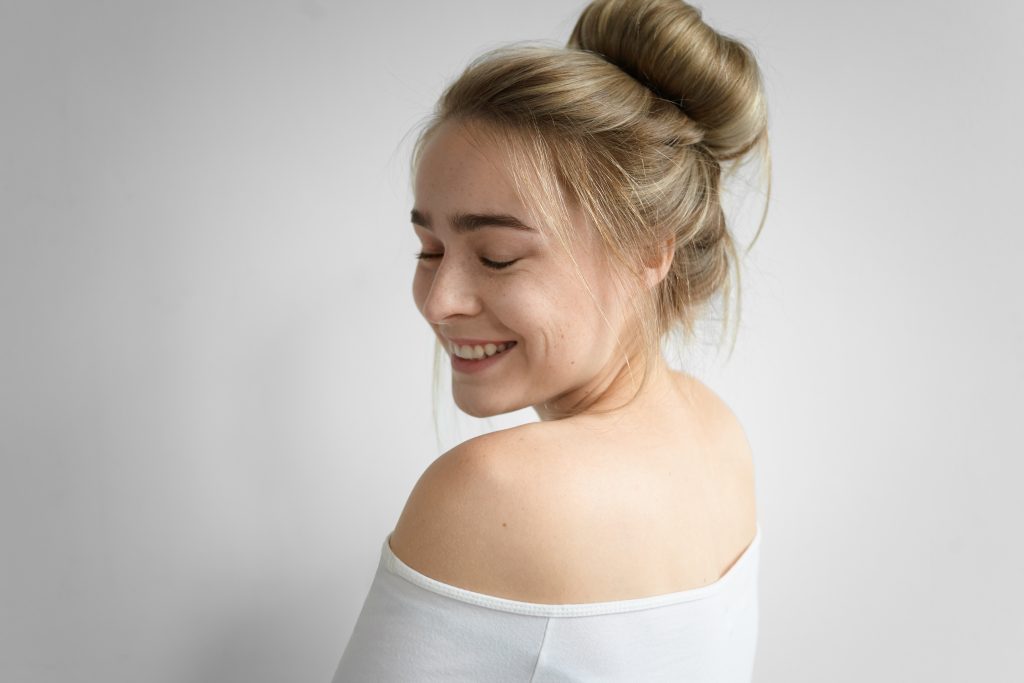
A glamorous and flawless updo you can make in a few minutes all by yourself in the comfort of your home? And it looks even better when you’ve skipped a wash day? Sounds too good to be true? Well, not anymore.
Yes, it really is possible to look your best even when you don’t have time to wash your hair or are running late to work. And the best part is that it costs you literally nothing. With this hairstyle, you’re saving both time and money while looking spectacular.
That’s right, I’m talking about a donut bun. But what is it, what’s so great about it, and most importantly, how to make it? Let’s find out together.
Related: -7 Straight-Hair Problems No One Talks About And 8 Easy Fixes That Shine
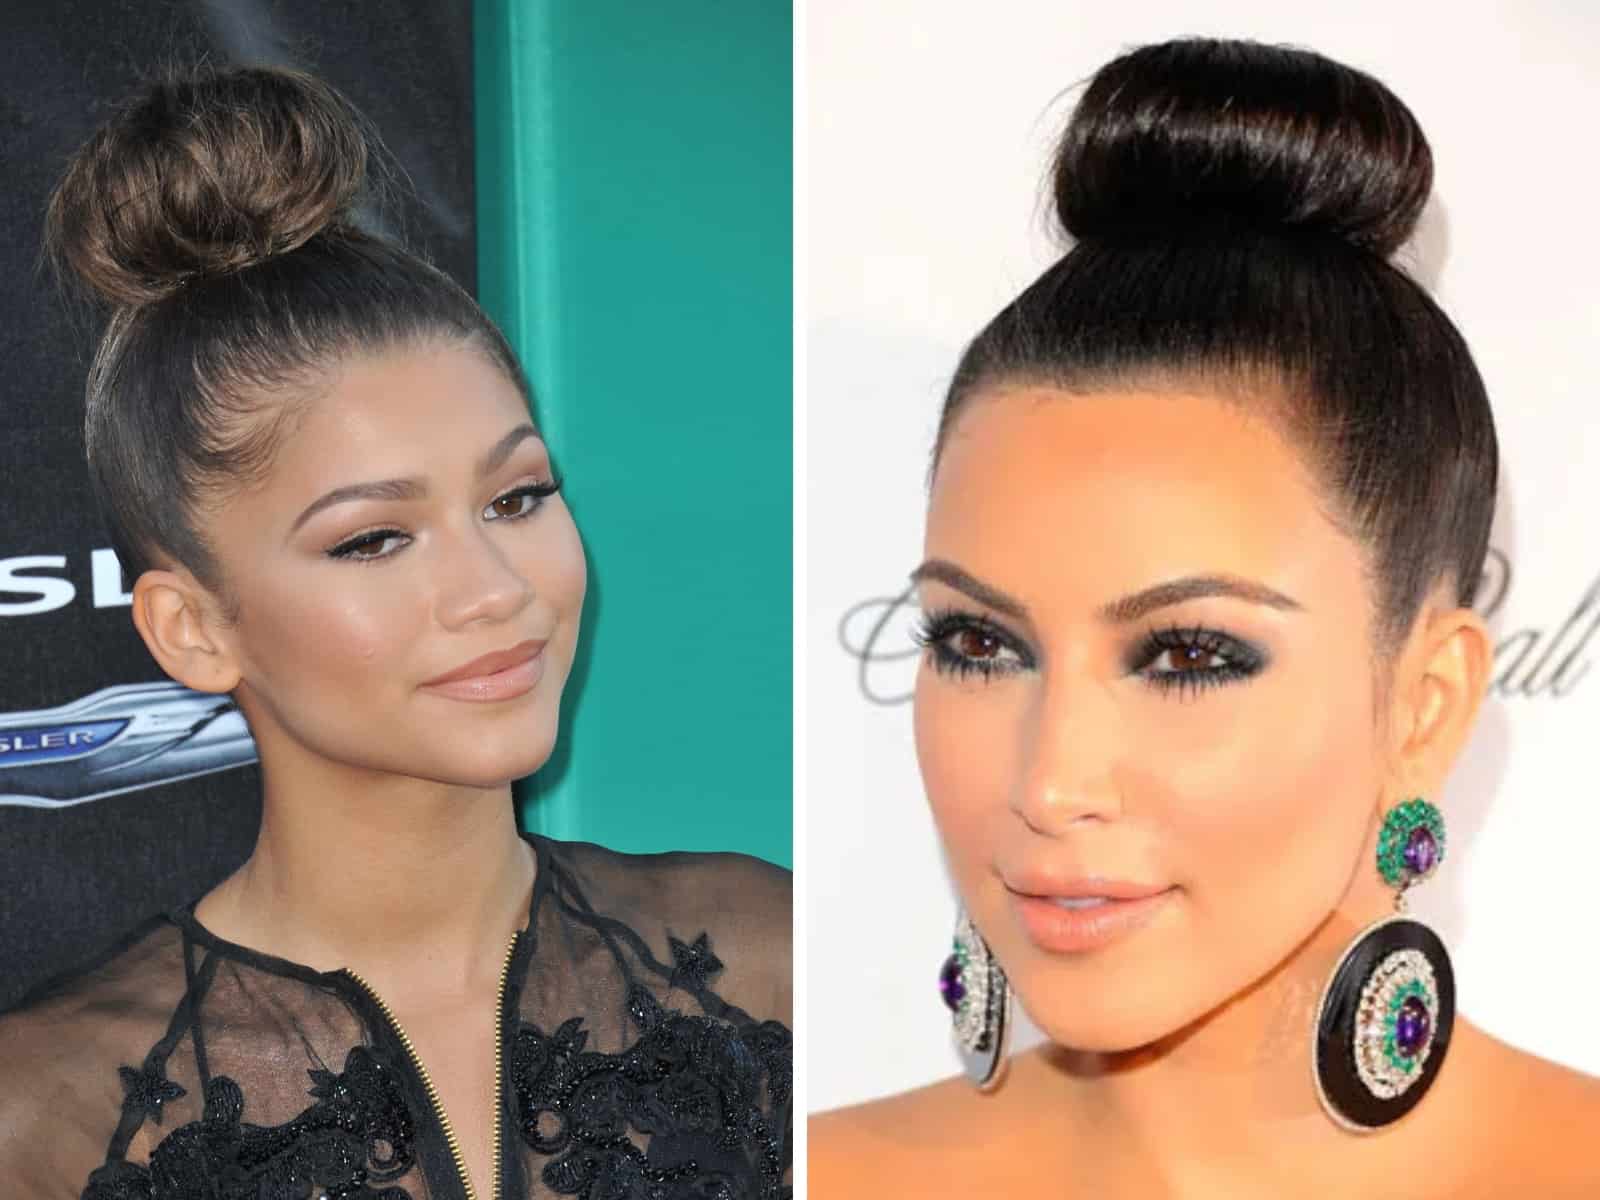
What Is A Donut Bun?
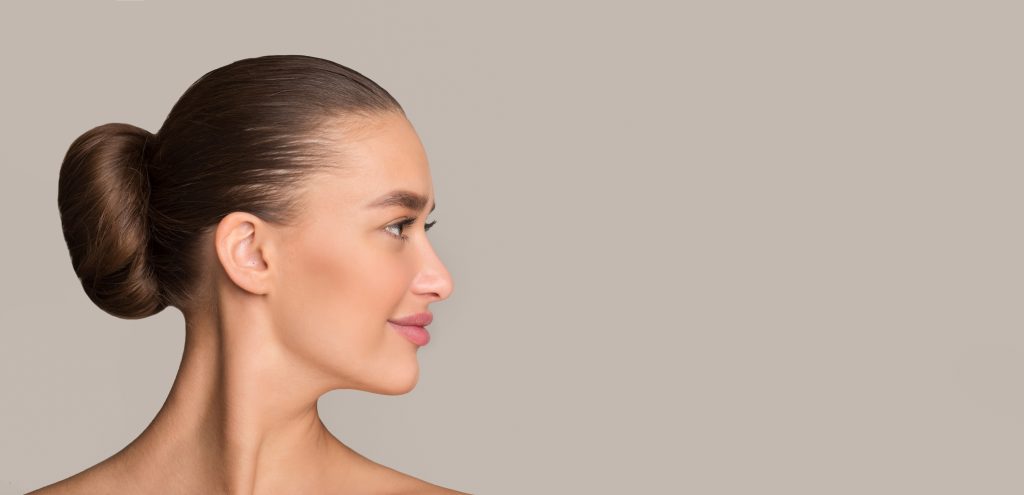
A donut bun is an updo where the bun is in a perfectly circular shape, resembling a doughnut. That’s how this popular updo got its name. The rest of the hair is slicked back.
What’s So Great About A Donut Bun?
- An ever-lasting fashion trend
- Appealing hairstyles for all occasions (you can wear a fancy dress or jeans; it looks great either way)
- Easy to make (you don’t need a hairstylist)
- Flattering for most hair types and face shapes
- Gives you an extra day or two before shampooing
What Do You Need For A Perfect Donut Bun?
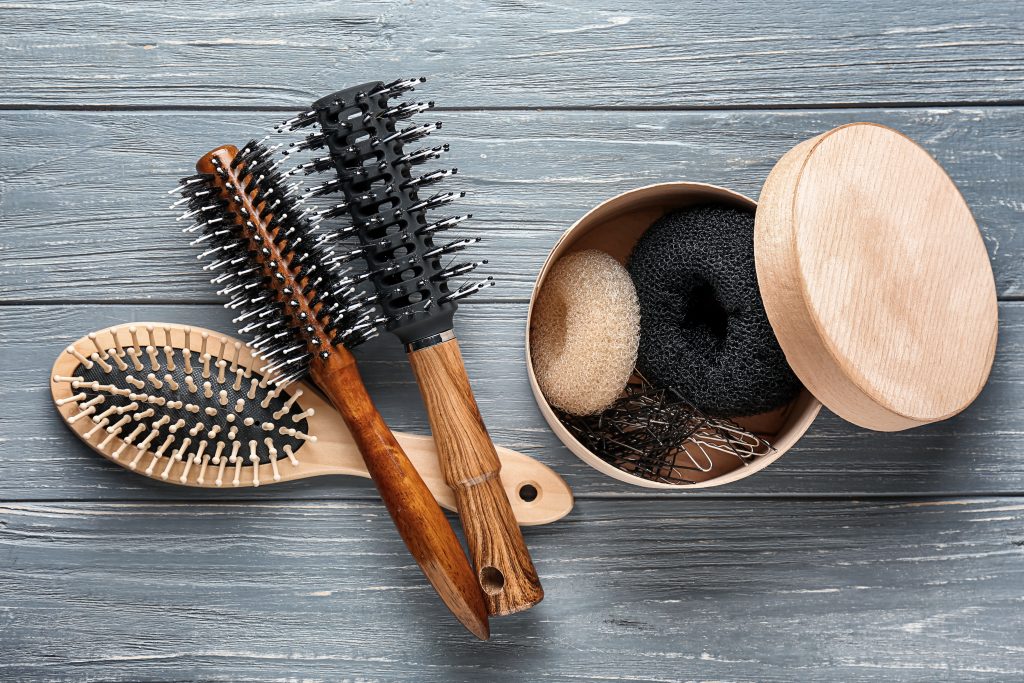
Hair donut/a sock
A hair donut is a donut-shaped round hair accessory. It’s made of mesh and it resembles a big elastic band.
The size of the hair donut depends on the hair length, thickness, and style you want to achieve. For shorter and thinner hair, you need a smaller donut, while longer and thicker hair requires a bigger one.
Make sure to buy a hair donut in the color that resembles your hair color the most. This way, even if you don’t manage to cover the entire donut with strands, it won’t be as noticeable.
If you don’t have a hair donut, cut the toe end of a sock and roll it through itself. Voila, you’ve made yourself a hair donut.
Hair gel/hair spray
You’ll need hair gel or hair spray for curly or super-thick hair since you want the ponytail to be as sleek as possible.
Elastic hair bands
The truth is that most elastic hair ties create friction, and break and damage your hair. However, you can’t make a perfect donut bun with scrunchies.
Hair comb
The best option for a donut bun is a tail comb. You won’t use it only to brush your hair back, but also to separate and section the hair strands. But if you don’t have a tail comb, a brush will do the trick.
Bobby pins
The number of bobby pins depends on your hair thickness and your skill. Once you perfect the art of making a donut bun, you’ll need just a few bobby pins. But at first, there will be a lot of hair strands that need securing, so you’ll need more bobby pins.
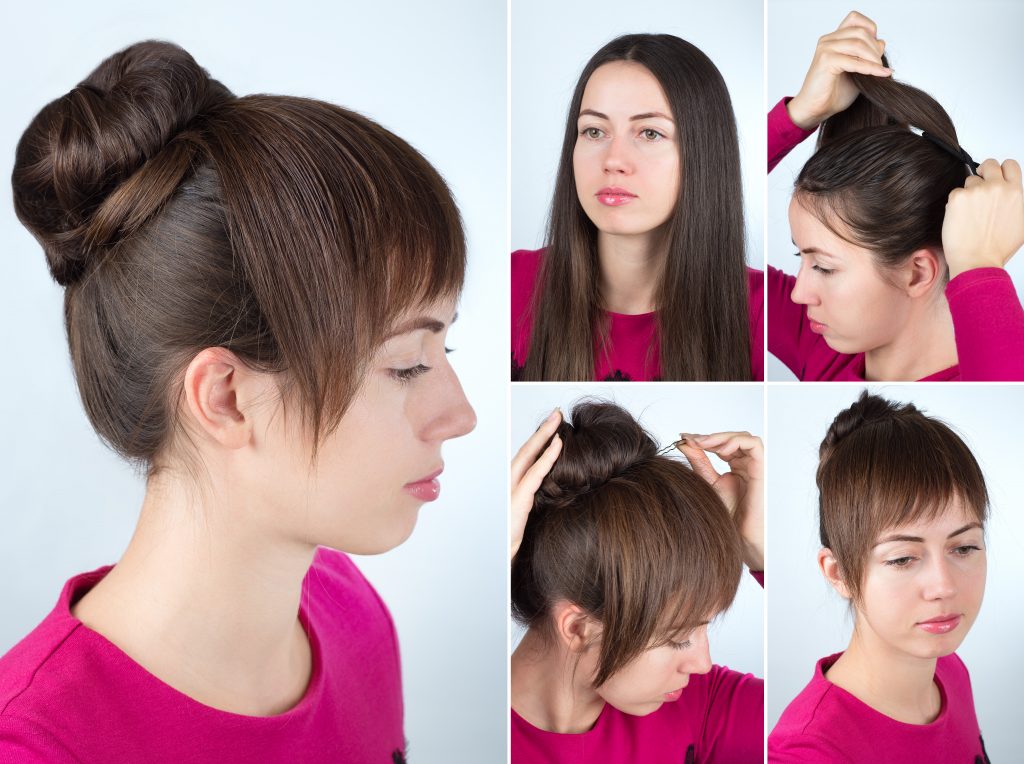
A Step-By-Step Pictorial
Making a donut bun is a piece of cake. At first, you’ll need one mirror behind your head and another one in front of you, so you can see what you’re doing from all sides. However, after a few tries, I promise you that you’ll know how to do a donut bun with your eyes shut.
Step 1
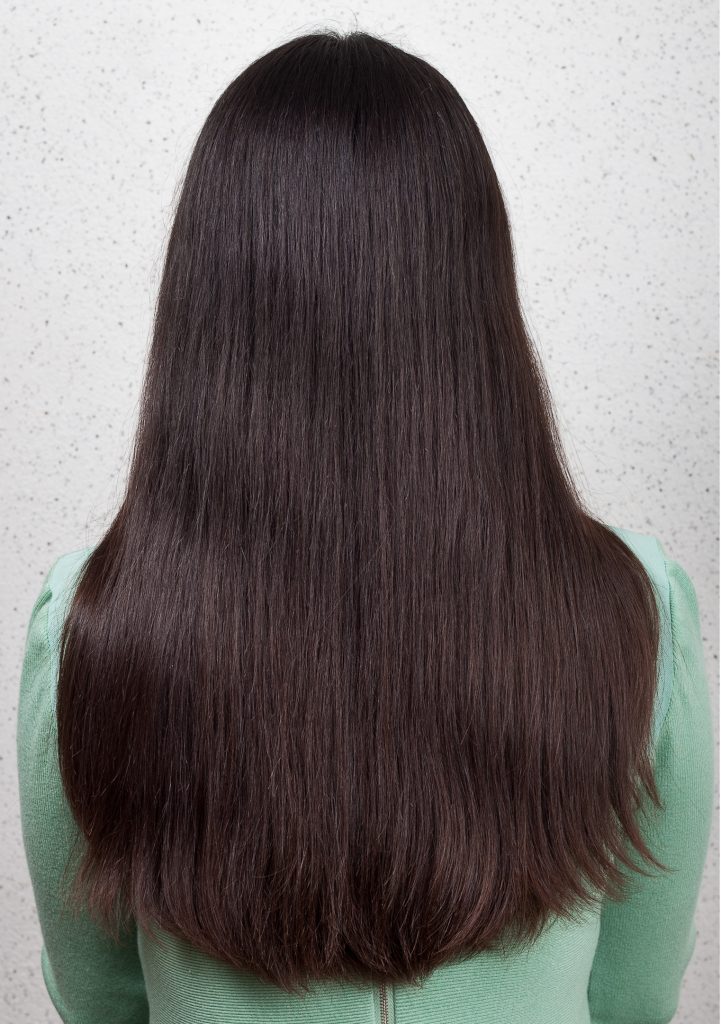
For starters, brush your hair with a classic brush or with a tail comb. Make sure you do it thoroughly because tangled strands will get in your way later in the process.
Your hair doesn’t have to be super clean. In fact, it’s safe to say that you can even expect better results if it’s a bit greasier or dirtier.
Step 2
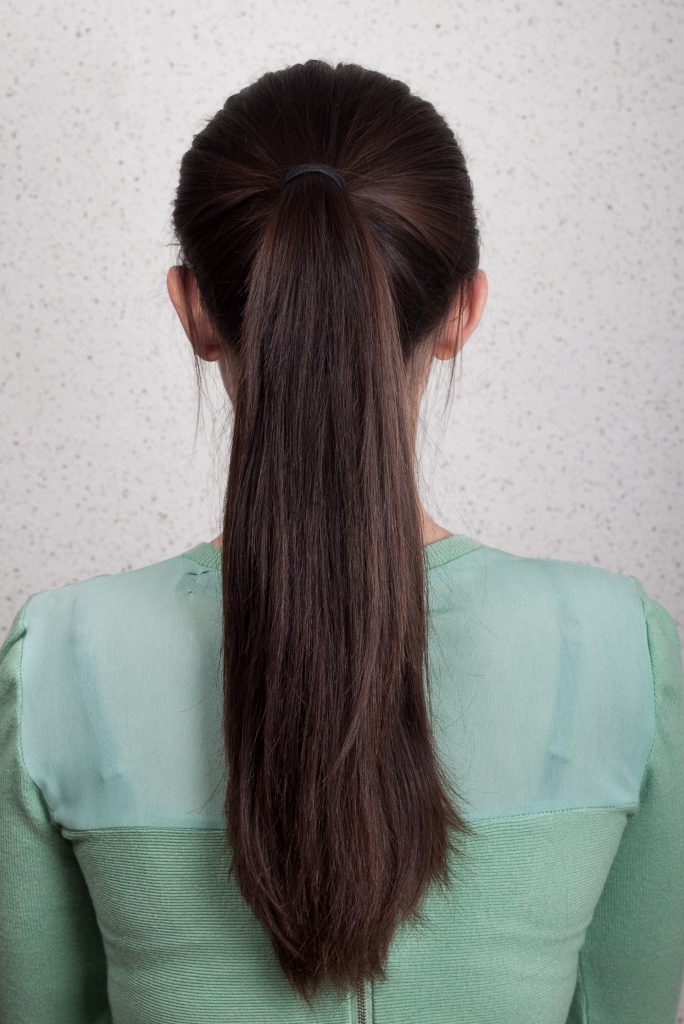
Use the comb to brush your hear neatly into a ponytail. Tie it with an elastic hair band. Make sure to tie it firmly, otherwise, your entire bun will be too loose.
Lift your hair up to the height you want your bun to be. For a more elegant look, go with the lower ponytail.
Step 3
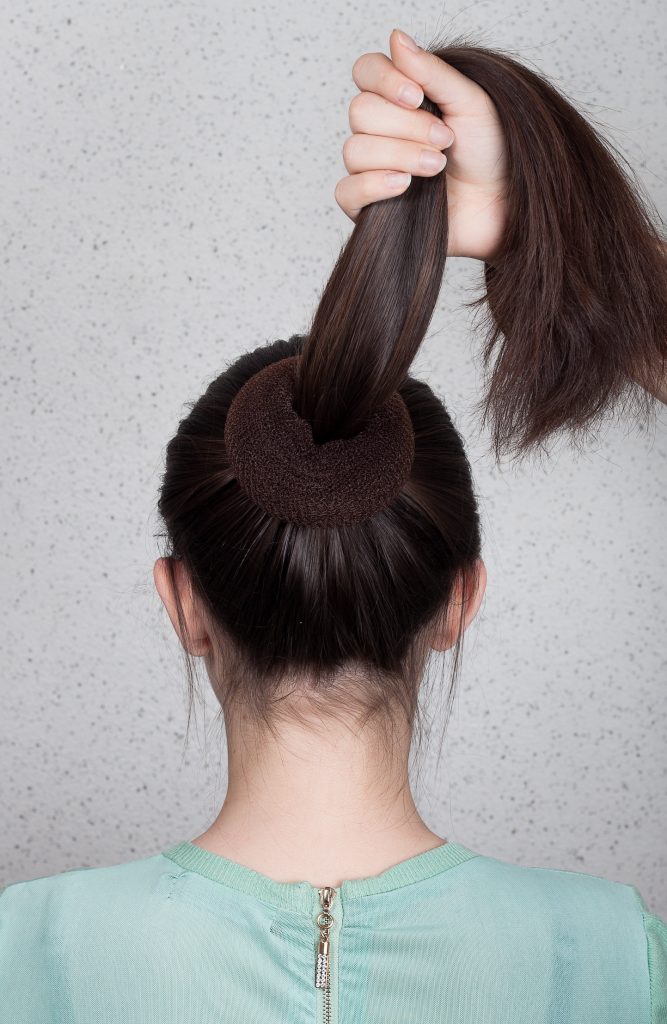
This is where the real work begins. Take the hair donut and slip it through the ponytail. Place the donut at the ponytail’s base, around the elastic hair tie.
Step 4

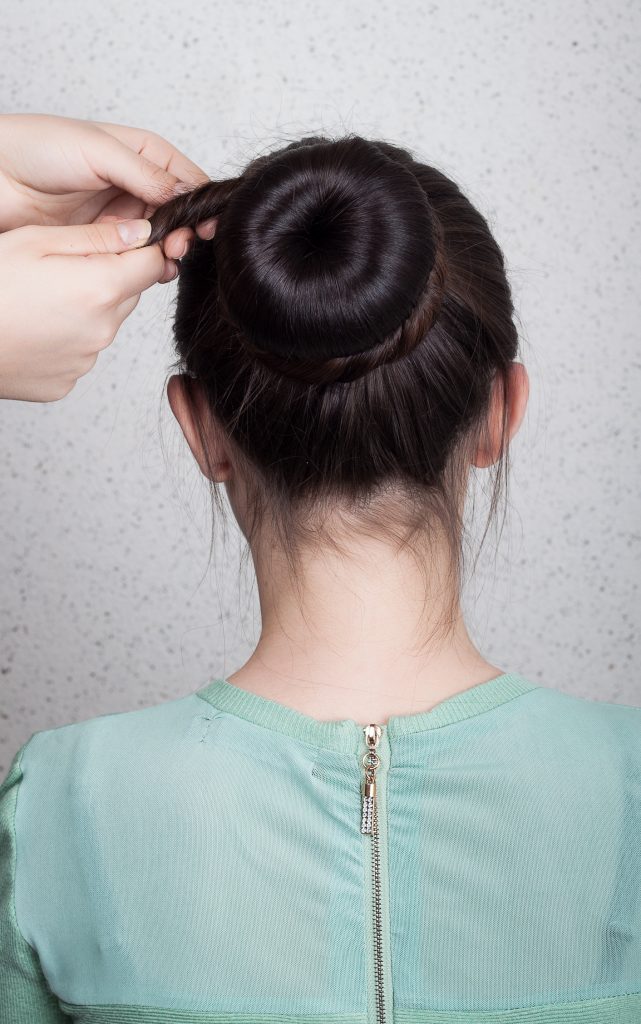
Use the strands from your ponytail to cover the hair donut completely. Take another elastic hair tie and secure the locks around the hair bun as firmly as possible.
Step 5
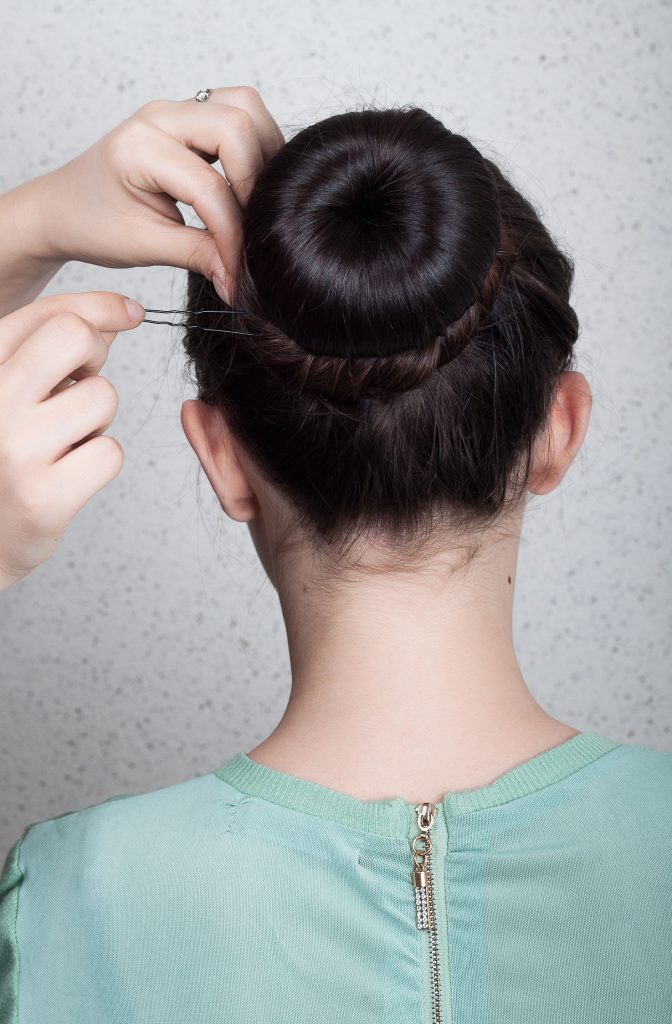
Use the comb to section the hair left under the bun. Use one hair strand at a time and wrap it around the bun. Secure the hair strand with a bobby pin. Repeat the process with all the hair strands sticking out under the bun. You can twist the strands while wrapping them to get a more classy effect.
Step 6
And just like that, you’ve learned how to do a donut bun. In the end, put some hair spray to keep your bun from falling apart.
Other Ways To Style A Donut Bun
There is more than one way to wear a donut bun, depending on the occasion, your hair type and texture, and the way you want to look today. Here are the most popular ones:
1. Messy donut bun
Trust me on this one: the best messy buns are made with hair donuts. Instead of sleeking your hair when tying it up in a ponytail, let some hair strands loose to create a messy look. When you’re done, gently pull the bun to loosen it.
2. Braided donut bun
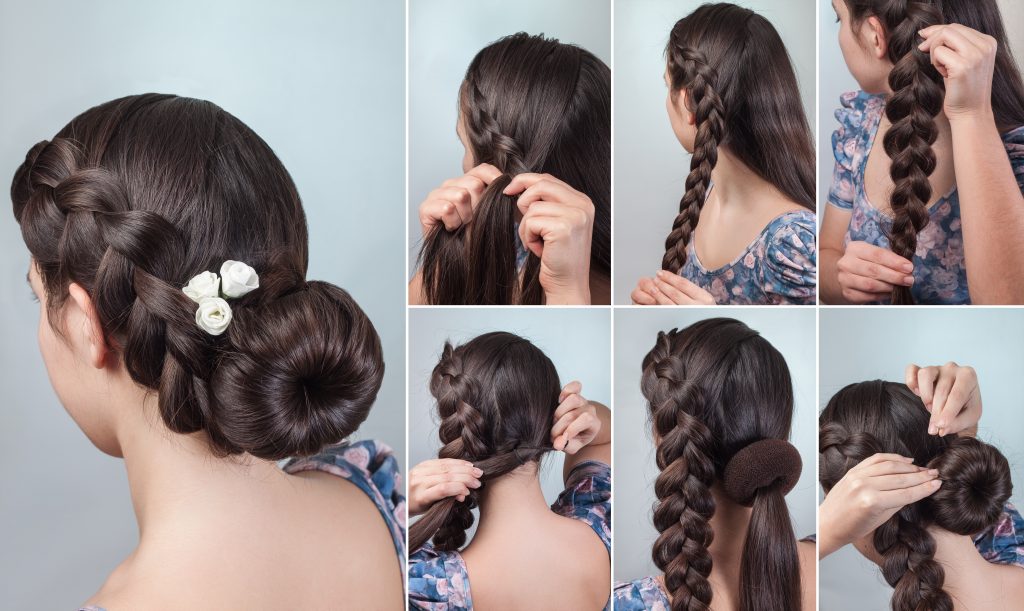
For an extra classy look, choose a braided donut bun. Don’t worry, this is also a hairstyle you can easily do by yourself. Instead of putting all of your into the hair bun maker, section it. Braid one part of your hair, and put another one in a bun. Once you’re done, wrap the end of the braid around the bun, and secure everything with bobby pins.
3. Donut bun with fake bangs
One day, you want bangs, and the very next one, you’re sure you’d regret that decision. Trust me, we’ve all been there. Well, the good news is that with a donut bun, you can have “fake” bangs.
After you’re done with making your ponytail and once you cover the bun maker with your hair, just flip one section of the hair over your forehead instead of wrapping it around the bun maker. Don’t forget to secure everything with some bobby pins.
4. Partial donut bun
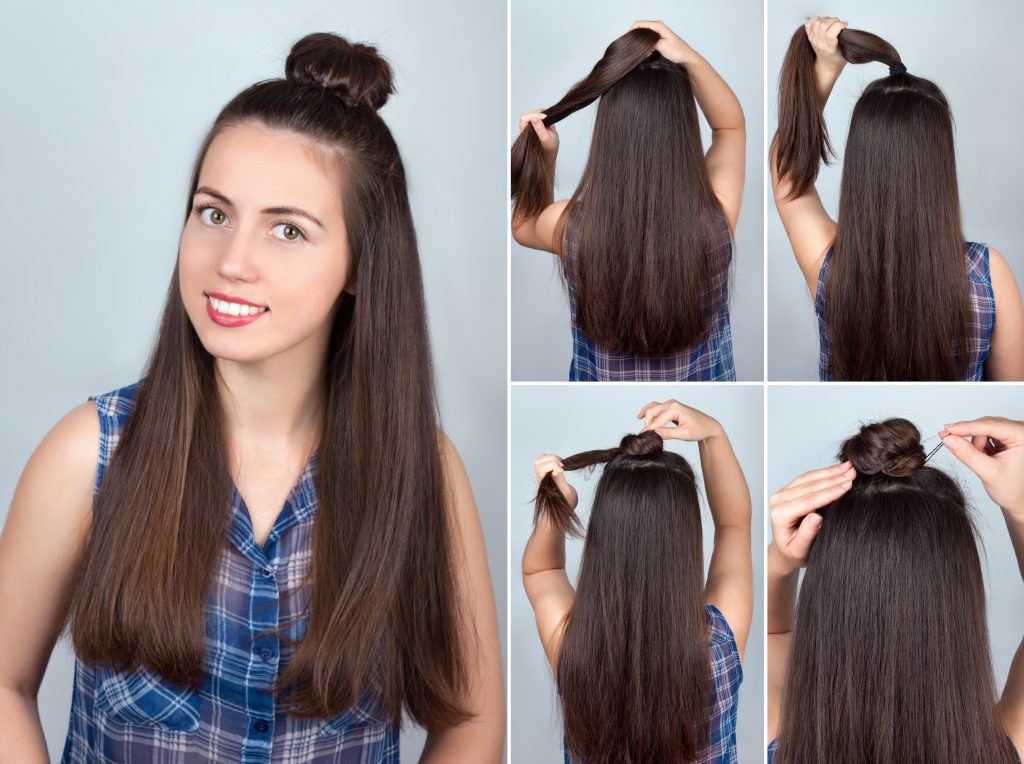
If you have extra thick hair and want to remove some weight, I present to you a partial donut bun. The process is basically the same as with the classic donut bun. The only difference is that you only take the top section of your hair, tie it into a ponytail and roll it up in a bun. At the same time, you leave the bang section intact. Of course, you can curl or straighten the rest of your strands and get a cool look in just a few minutes.