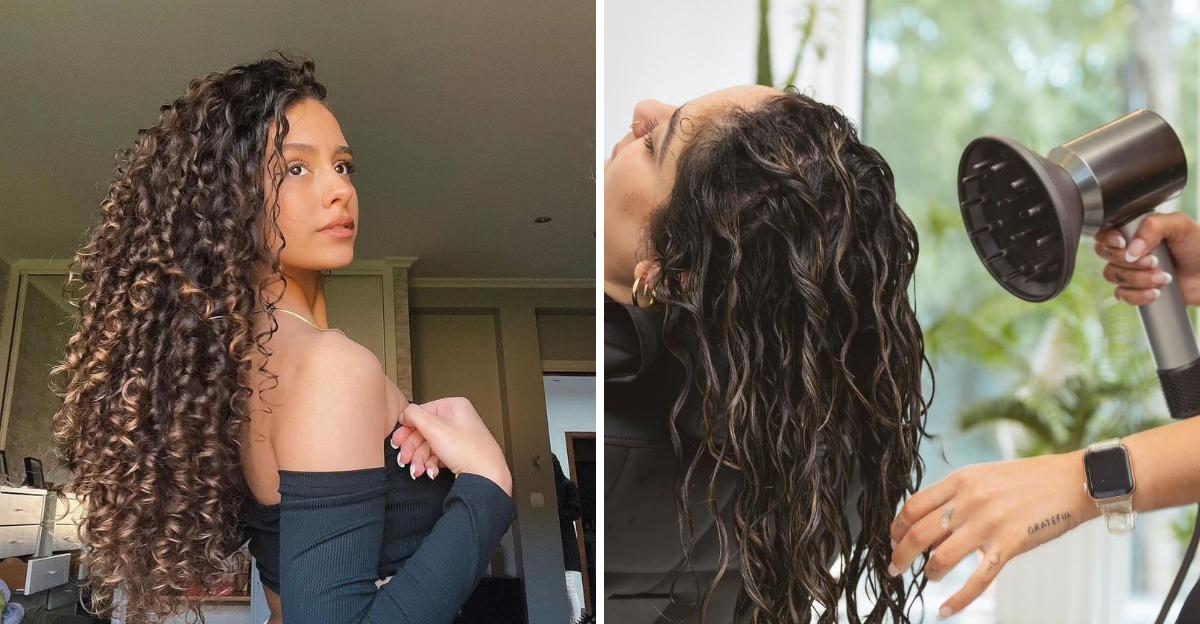
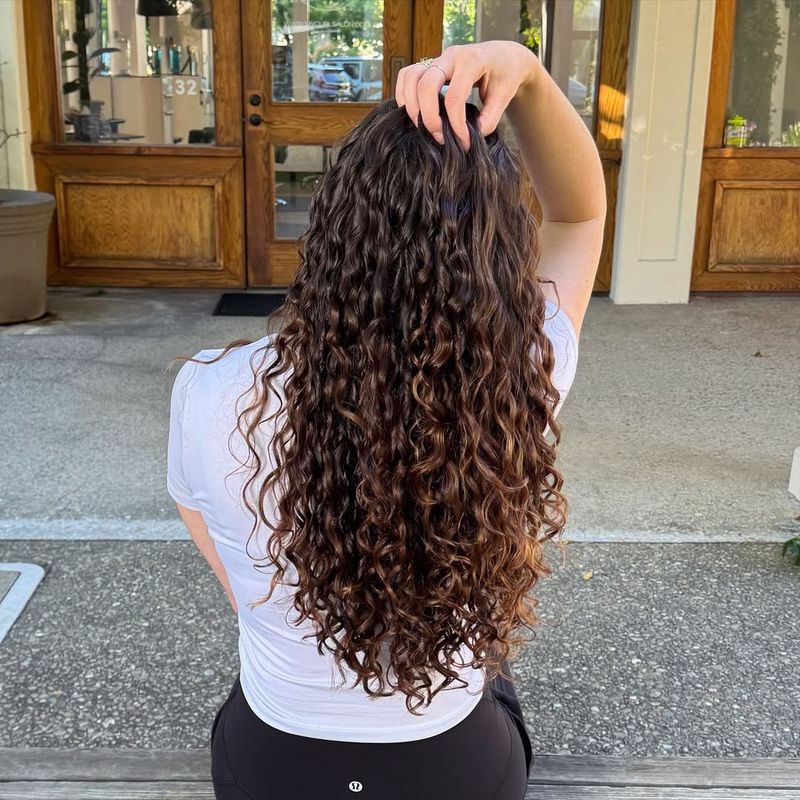
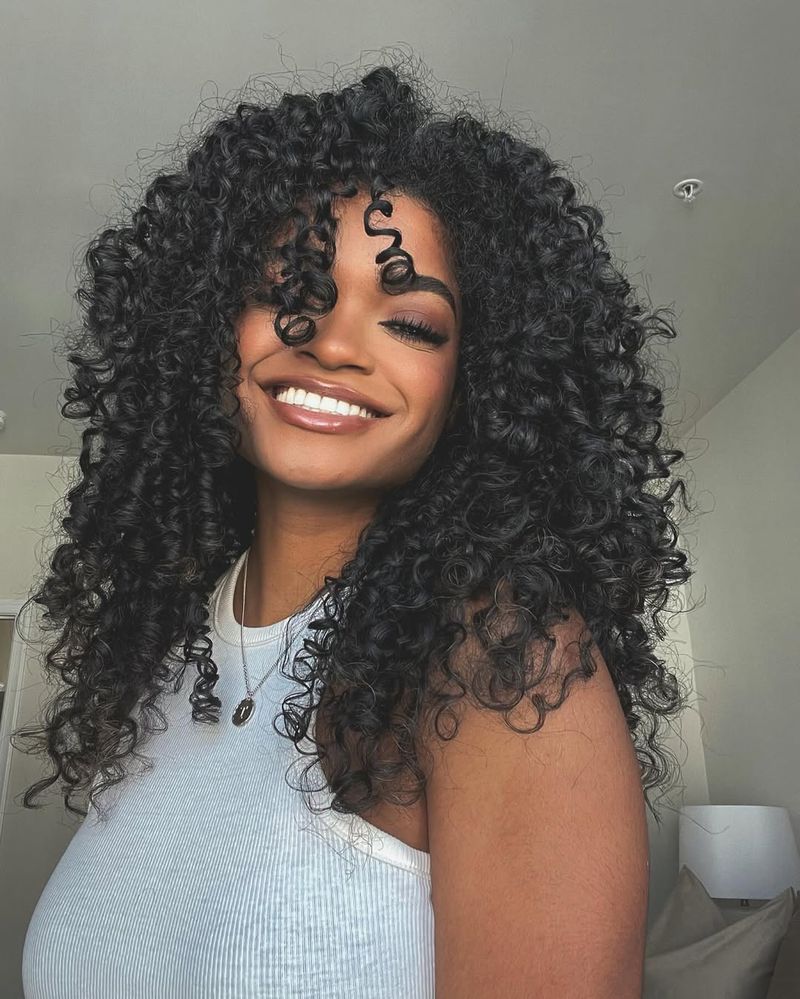
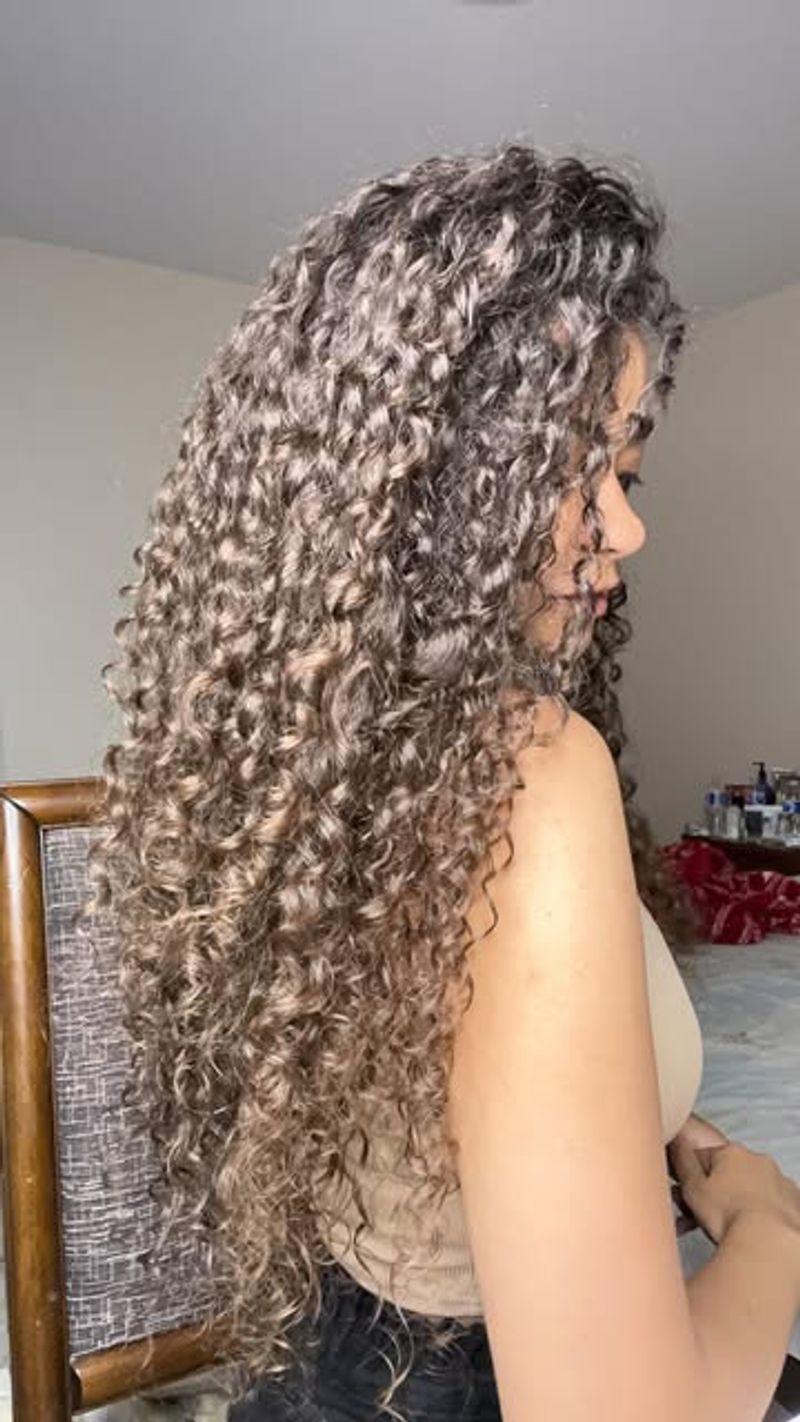
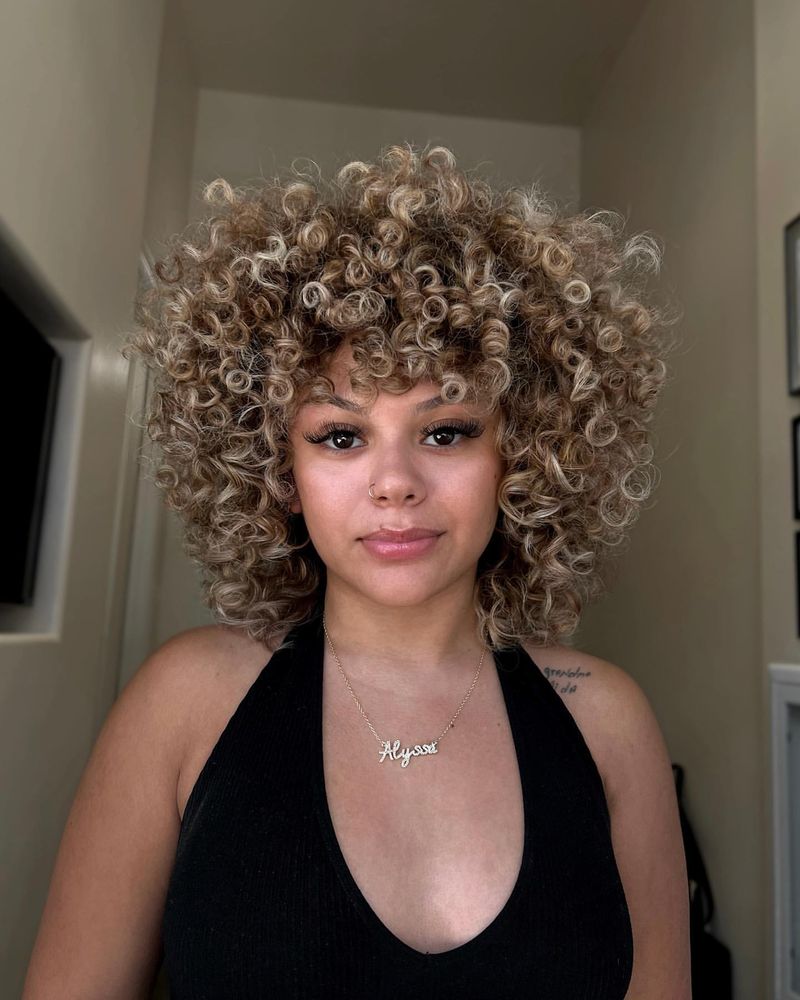
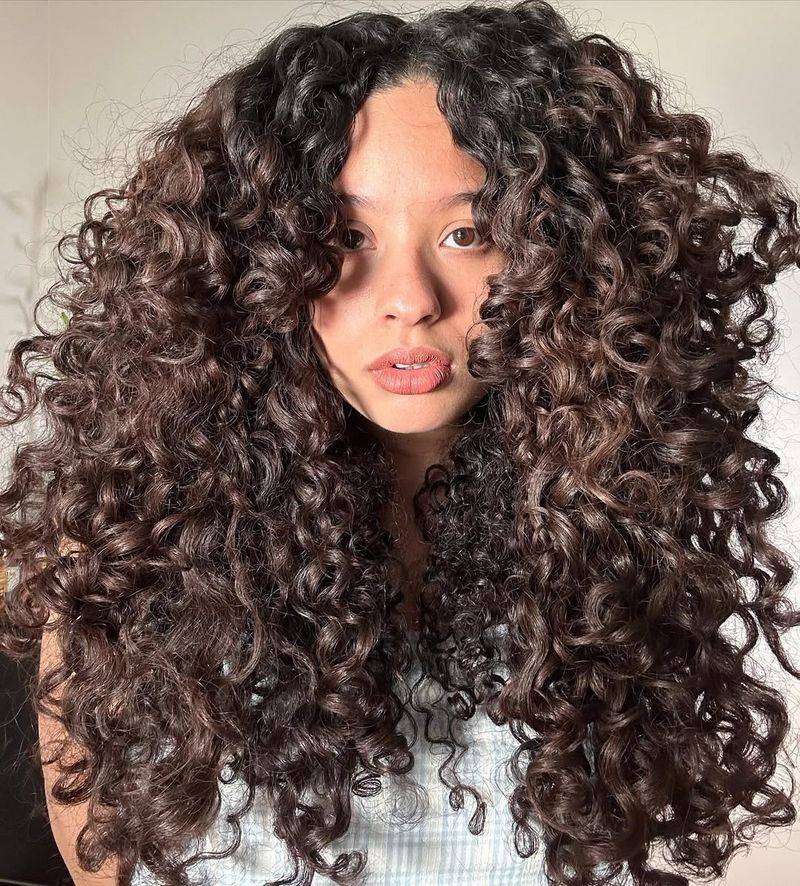
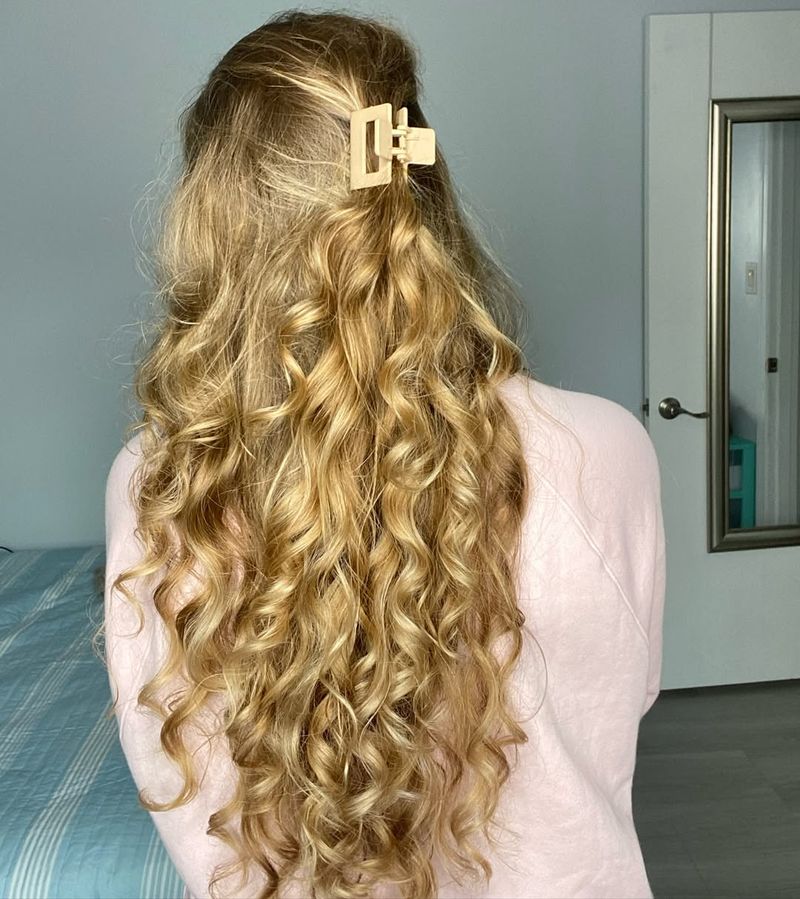
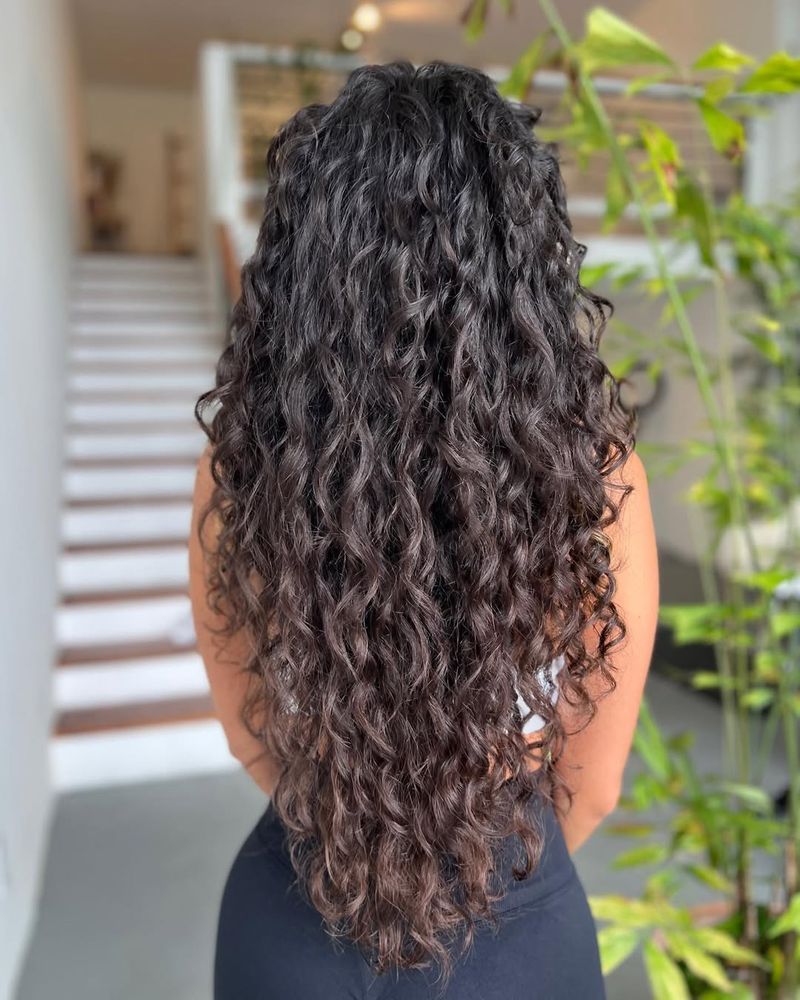
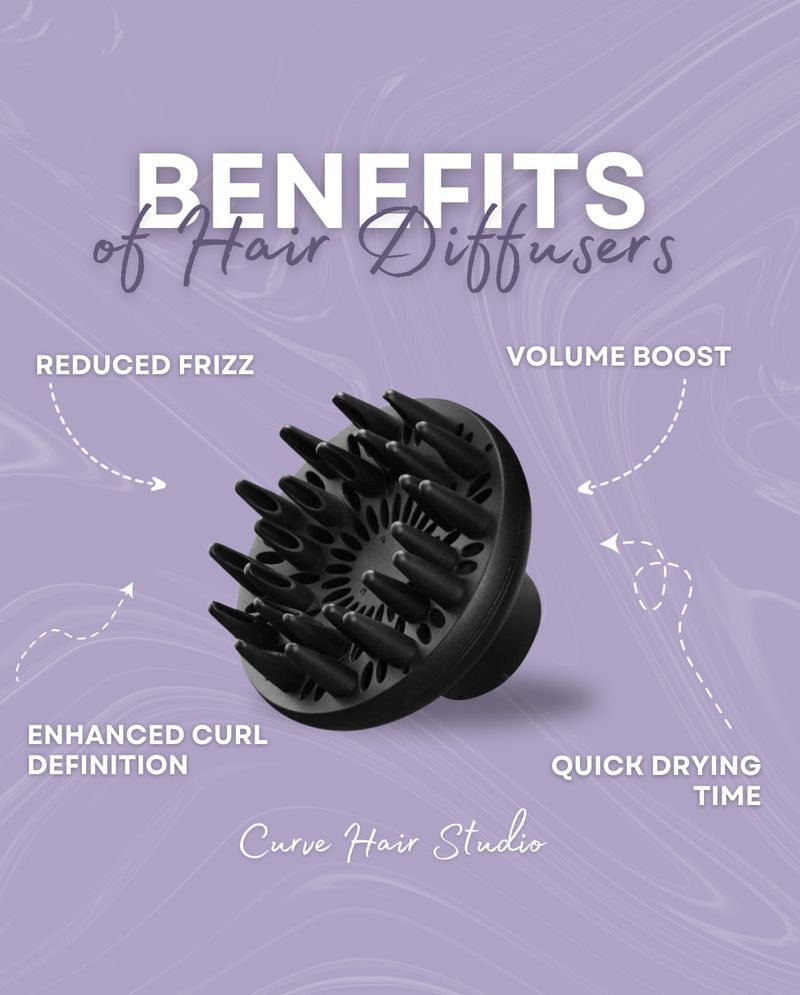
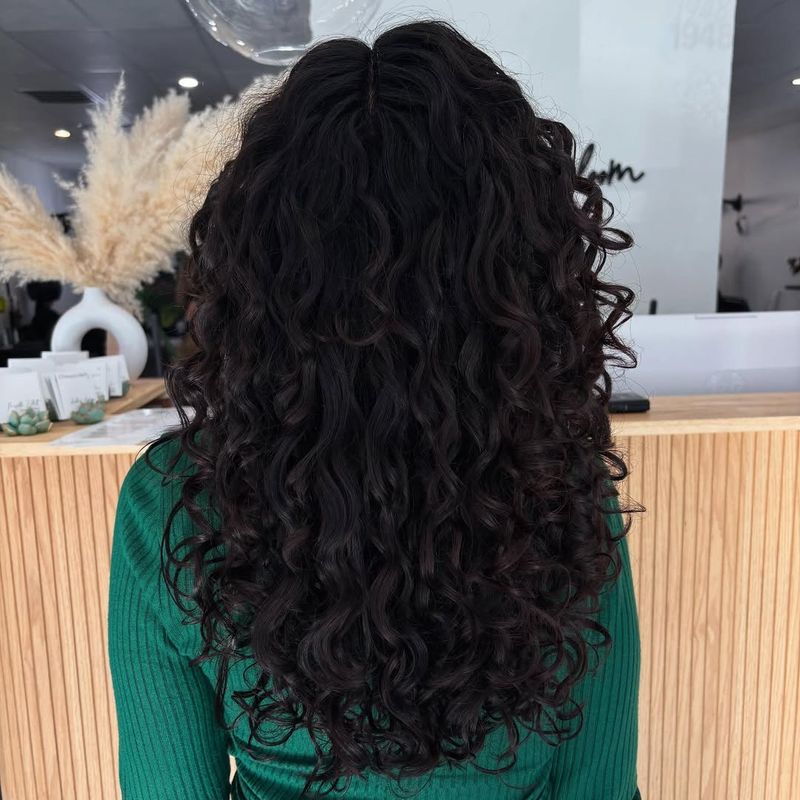
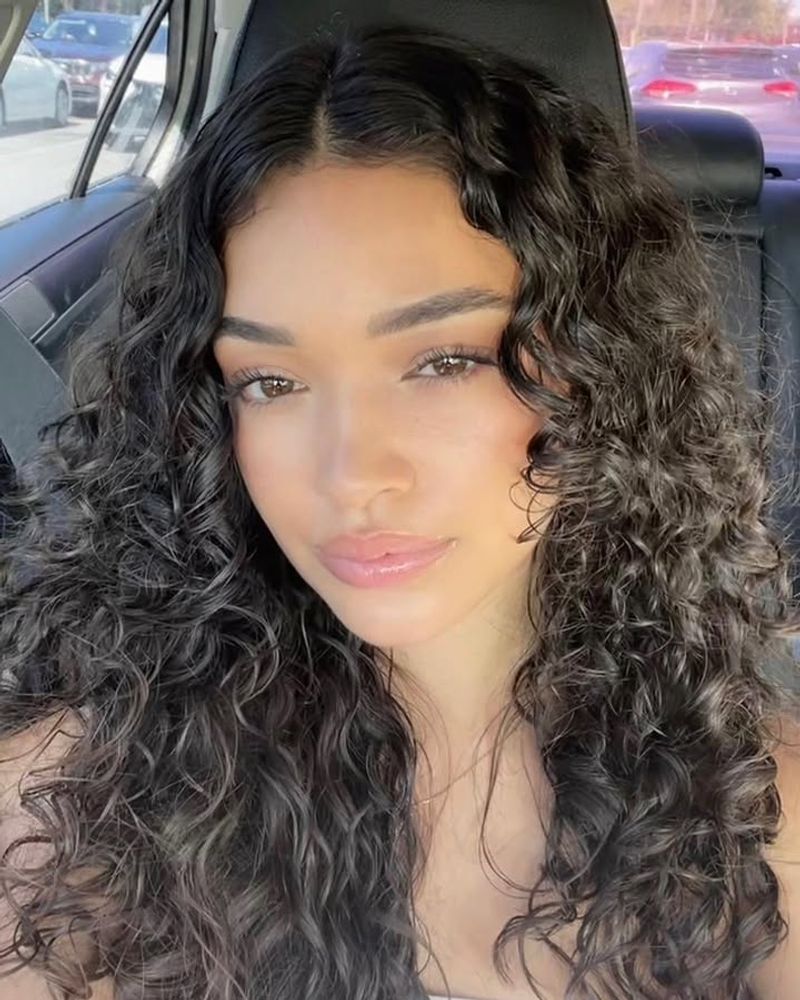
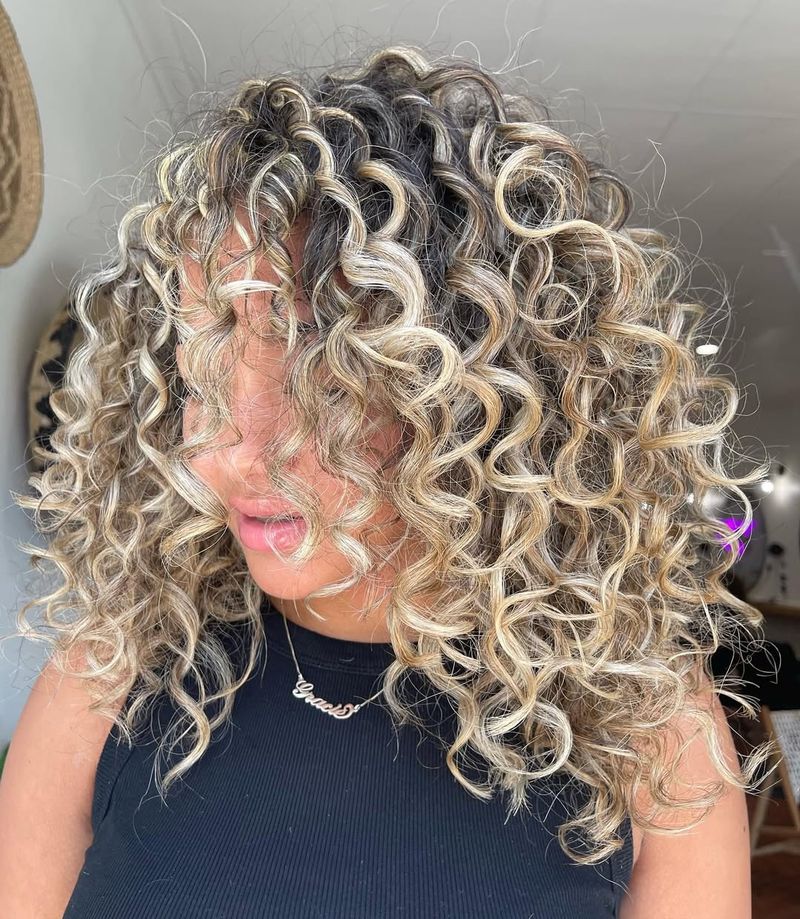
Achieving the most perfect curls can be an art form, especially when using a hair diffuser. This tool is a staple for many looking to enhance their natural curls or waves.
With a few techniques and careful handling, you can transform your hair game entirely. Here are 32 ways to master the diffuser for your most defined, bouncy curls yet.
1. Gentle Lift Technique
Place the diffuser beneath sections of your curls, gently lifting them to add volume at the roots. This method encourages natural curl patterns.
Related: -7 Straight-Hair Problems No One Talks About And 8 Easy Fixes That Shine
Maintaining a soft hand ensures you don’t disrupt the curl formation. Focus on lifting the roots to build volume without causing frizz, and your curls will thank you.
2. Diffuser Hover Method
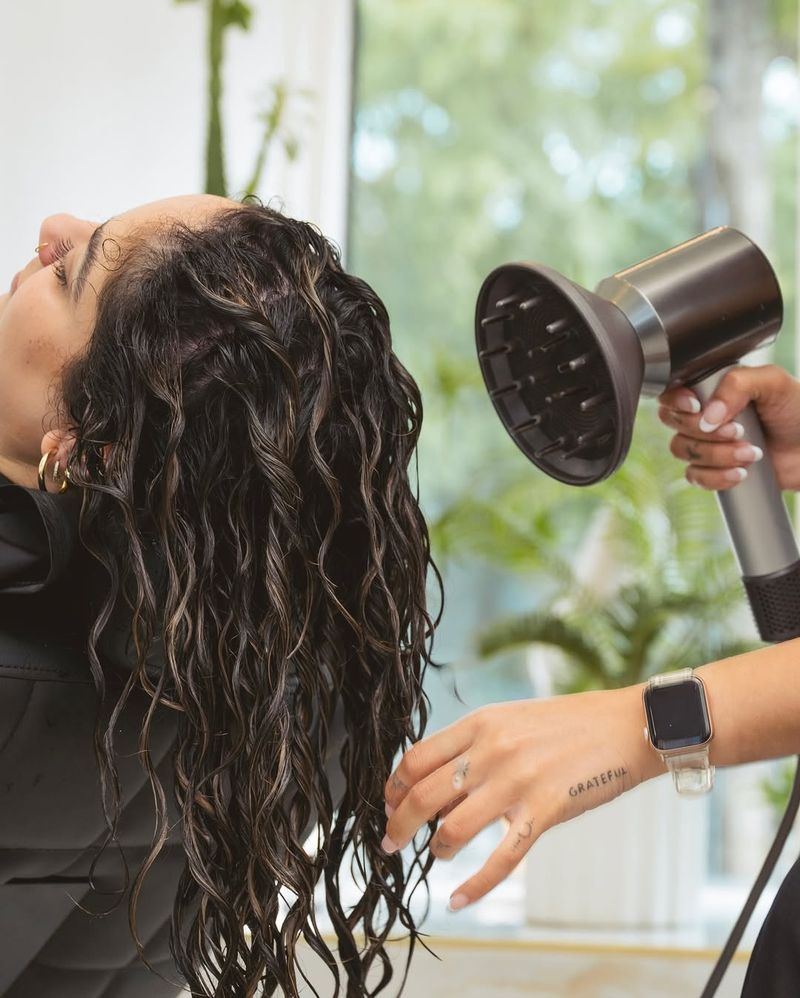
Keep the diffuser a few inches from your hair to allow for natural curl definition. This technique reduces direct heat exposure, minimizing damage.
Moving the diffuser around your head in this method will ensure even drying. Hovering the diffuser allows the curls to dry naturally, maintaining their shape and bounce.
3. Scrunch While Drying
Scrunch your hair upwards with the diffuser to enhance natural waves. This action adds lift and volume, creating a dynamic look.
Use your hands to assist the process, gently encouraging the curls to form. The scrunching motion is key to developing texture and elevating the overall style of your curls.
4. Cold Air Blast
Finish drying with a blast of cold air to set curls and add shine. The cool air helps to lock the curls in place, ensuring they last longer. It’s a healthy option for your hair, reducing heat damage.
Cool air closes the cuticle, leaving your hair smooth and shiny for that polished finish.
5. Diffuse with Product
Apply curl-enhancing products before you start diffusing to boost curl definition. Products like mousse or curl cream work wonders in combination with diffusing.
Ensure the product is evenly distributed to avoid uneven texture. This combination will help in achieving long-lasting, defined curls that hold throughout the day.
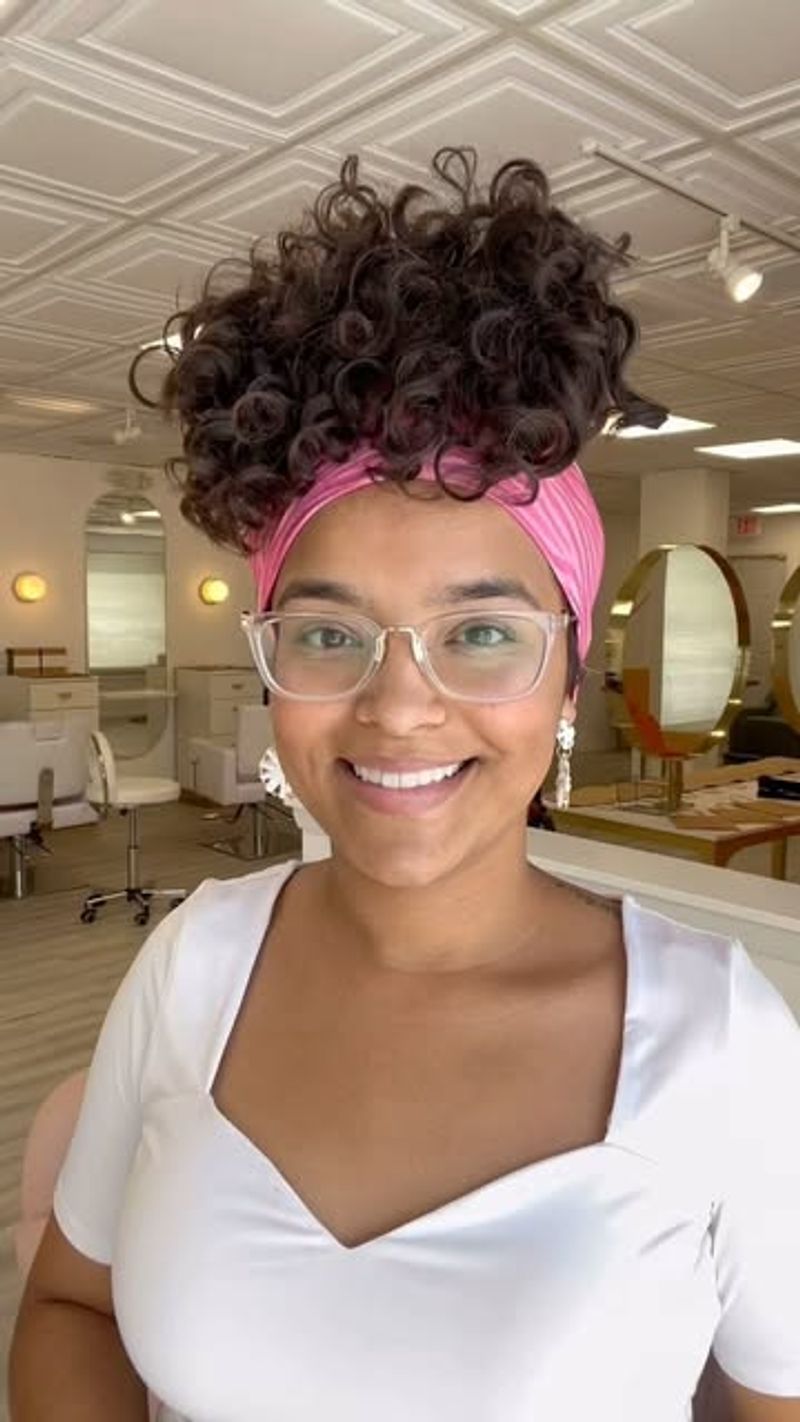
6. Upside-Down Diffusing
Flip your head upside down while diffusing to create maximum volume. This technique allows gravity to work in your favor, contributing to luscious and voluminous curls.
Drying hair upside down lifts the roots naturally. Don’t forget to move back and forth between sections to ensure even drying and prevent flat spots.
7. Sectional Diffusing
Section your hair using clips before you start diffusing to ensure each part gets attention. Divide your hair into small sections to focus the airflow and heat.
This technique allows for precise drying and helps in managing hair more effectively. It’s particularly beneficial for those with thick hair, ensuring thorough drying.
8. Root Lifting Focus
Direct the diffuser at the roots for a couple of minutes to add lift and volume. This method can create a noticeable lift without extra products.
Focused airflow on the roots can significantly change the overall silhouette of your hairstyle. This technique is perfect for those looking to enhance their natural volume.
9. Circular Motion Technique
Move the diffuser in a circular motion to distribute heat evenly and enhance curl formation. This movement ensures that you cover all parts of your hair equally.
Circular motions help in defining the curls while preventing frizz. By maintaining a steady hand, you can develop a consistent and polished curl pattern.
10. Partial Air Drying
Allow your hair to air dry partially before using the diffuser to reduce heat exposure. This step can help in preserving your hair’s health, reducing the time under heat.
Starting with hair that is slightly dry makes the diffusing process quicker and more efficient. It’s a gentle approach to achieving beautifully defined curls.
11. Use with a Styling Gel
Apply a styling gel to your curls before diffusing for an extra hold. Gel can create a firm curl that lasts throughout the day without frizz.
Ensure you apply the gel evenly for consistent results. Combining gel with diffusing offers a structured, long-lasting curl, ideal for those with active lifestyles or long days.
12. Diffusing with a Microfiber Towel
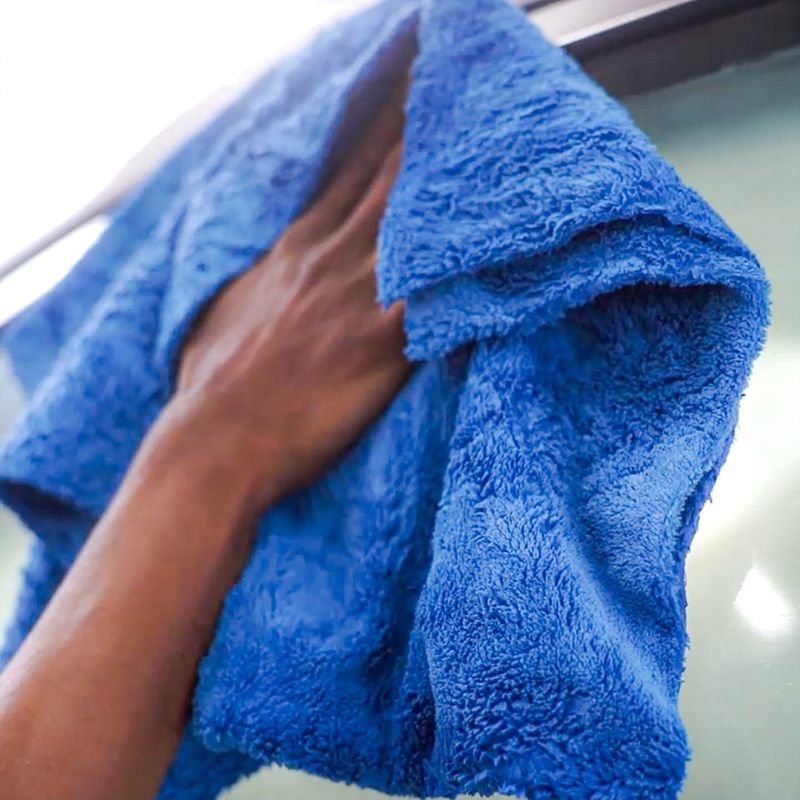
Use a microfiber towel to wrap your hair before diffusing to absorb excess moisture. This step helps in reducing frizz and speeds up the drying process.
Starting with less moisture means less time needed to diffuse. It’s a practical step for cutting down drying time while ensuring your curls remain intact and defined.
13. Position the Diffuser Horizontally
Hold the diffuser horizontally under sections of your hair to allow curls to form naturally. This angle supports the natural fall of your hair.
By letting each curl rest in the diffuser’s bowl, you ensure it sets in its natural shape. This technique is ideal for achieving a natural, relaxed curl pattern without excessive manipulation.
14. Low Heat Setting
Set your dryer to low heat while diffusing to protect your hair from heat damage. This setting provides a gentle drying experience, maintaining the health of your hair.
Low heat helps in reducing frizz and keeps the curls looking natural. It’s a great option for those who prioritize hair health over quick drying times.
15. Alternating Air Flow
Switch the direction of airflow to prevent flat spots and encourage natural movement. Alternating helps in distributing the heat evenly across all sections.
This technique boosts the curls’ bounce and body. By changing the direction regularly, you ensure that no part of your hair becomes overly saturated with heat, maintaining a uniform look.
16. Set with a Silk Scarf
Once you’re done diffusing, wrap your curls with a silk scarf to maintain their shape. This post-diffusing step keeps the curls intact and reduces frizz.
Silk is gentle on your hair, helping to set the curls without causing disruption. It’s a luxurious way to preserve your style and ensure your curls remain smooth.
17. Clip at the Roots
Use clips at the roots while diffusing to add extra lift and volume. Clipping helps in achieving a more defined curl pattern at the base.
This method creates a fuller look without needing additional products. It’s an effective way to enhance volume and structure, particularly for those with finer hair types.
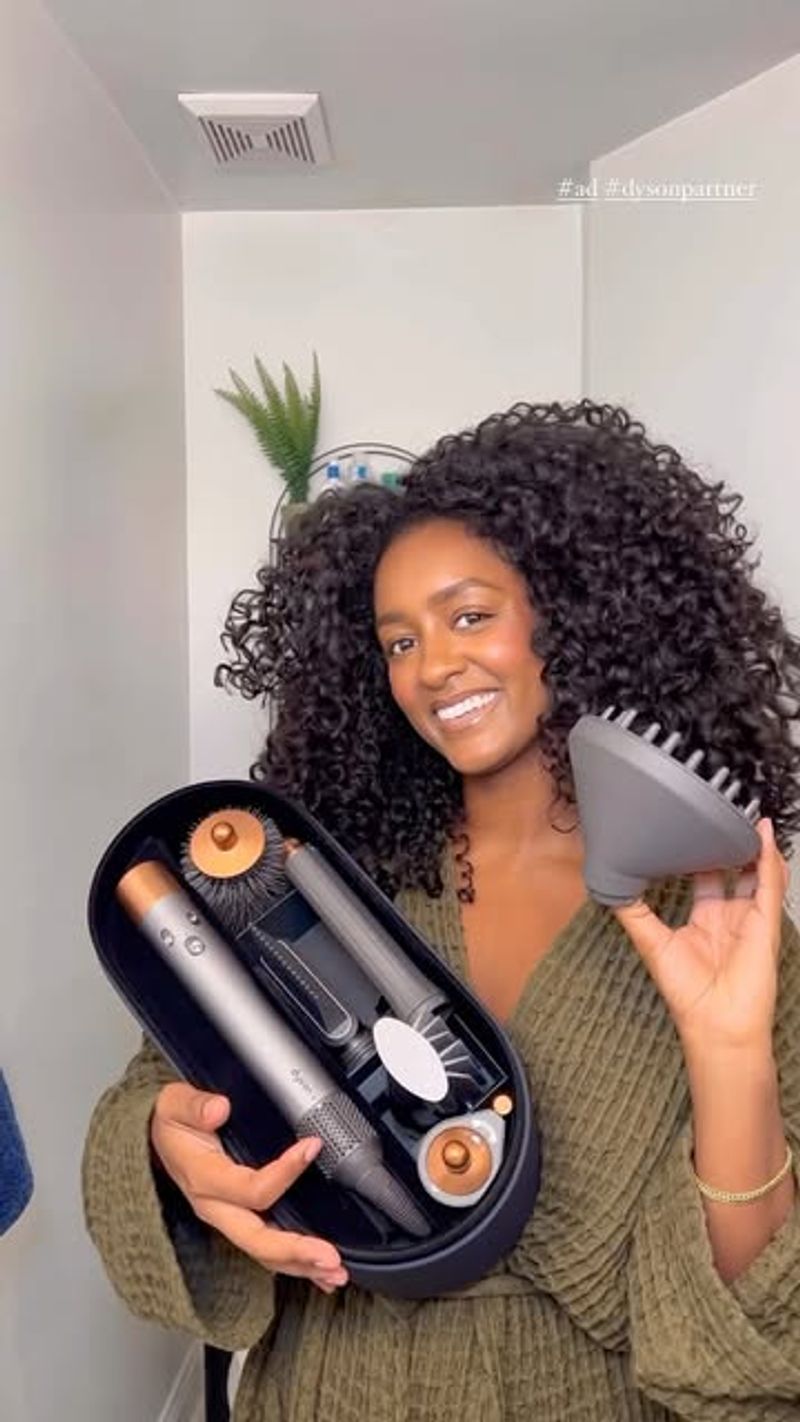
18. Diffuser with a Concentrator
Attach a concentrator nozzle to your dryer before diffusing for focused airflow. This tool helps in targeting specific sections, enhancing control over the drying process.
Combining a diffuser with a concentrator can elevate your styling game, allowing for precision. It’s a professional technique for those seeking salon-quality curls at home.
19. Diffuse in Natural Light
Dry your hair in natural light to better see your curl pattern as it forms. Natural light provides a perfect setting for spotting any areas that need attention.
This environment helps in achieving consistent, well-defined curls. Enjoy the warmth and energy of sunlight as you craft your most perfect curls.
20. Use a Lightweight Serum
Apply a lightweight serum after diffusing to add shine and reduce frizz. The serum acts as a protective barrier, sealing in moisture and enhancing the curl definition.
Choose a non-greasy formula to maintain the natural bounce of your curls. This finishing touch adds a polished look, perfect for any occasion.
21. Use a Leave-In Conditioner
Start with a leave-in conditioner to hydrate and prepare your curls before using the diffuser. This product softens the hair, making it more manageable and enhancing its natural texture.
The conditioning effect helps reduce frizz and promotes healthier-looking curls. Achieve a soft, touchable finish with added moisture and shine.
22. Vary Your Diffuser Attachment Sizes
Experiment with various diffuser attachment sizes to find what works best for your hair type. Smaller attachments focus on individual curls, while larger ones provide overall volume.
Having options allows you to customize your routine based on your desired look. This flexibility helps in achieving the perfect curl definition and volume.
23. Pineapple Your Hair
Before bed, gather your hair into a loose high ponytail, known as the ‘pineapple’, to preserve your curls overnight.
This method prevents curls from being crushed and helps maintain volume. It’s a simple, effective way to keep your curls looking fresh. Wake up to bouncy curls ready to be styled for the day.
24. Avoid Touching Hair While Diffusing
Resist the urge to touch your hair while diffusing to prevent frizz and maintain curl integrity. Keeping your hands off allows the curls to set naturally.
It’s tempting to adjust curls during the process, but restraint is key to preserving their shape. This simple discipline makes a significant difference in the final texture.
25. Diffusing on Damp Hair
Start diffusing when your hair is damp, not soaking wet, for more defined curls. Damp hair allows the curls to set without excess water weighing them down.
This step reduces drying time and enhances curl definition. It’s a practical approach for achieving well-formed, bouncy curls with less effort and time investment.
26. Use a Volumizing Mousse
Apply a volumizing mousse to your damp curls before diffusing to add body and lift. Mousse creates a foundation for fuller, thicker-looking hair.
It enhances the natural curl pattern, providing a structured, voluminous finish. By using mousse, you ensure your curls have impressive body and bounce, perfect for a bold hair statement.
27. Rotate Your Head While Diffusing
Tilt and rotate your head side to side while diffusing to encourage natural movement and volume. This action helps in distributing curls evenly around your head.
Rotating prevents your curls from drying flat against your scalp. It’s a fun, dynamic method that adds life and vitality to your overall hairstyle.
28. Use a Diffuser with Finger-like Protrusions
Choose a diffuser with finger-like protrusions to help separate and define curls. These attachments mimic the fingers, lifting and shaping each curl.
They provide excellent control, helping to enhance your hair’s texture. Using this type of diffuser ensures that each curl is distinct and well-formed, contributing to a more textured, defined look.
29. Try a Cool Setting for the Entire Process
Use the cool setting on your diffuser throughout the drying process for gentler heat exposure. Cool air prevents heat damage, preserving the curl’s natural shine.
This method is ideal for maintaining healthy, vibrant curls. By avoiding high temperatures, you reduce the risk of frizz and ensure your curls remain soft and touchable.
30. Use a Curl Defining Cream
Before diffusing, apply a curl defining cream to damp hair for enhanced definition. The cream helps shape and hold curls, making them more pronounced.
It works as a styling aid that adds moisture and reduces frizz. This technique is perfect for those who love well-structured, beautifully shaped curls with minimal effort.
31. Lock Curls with a Finishing Spray
Finish by applying a light finishing spray to lock in your curls and add shine. A spray provides hold without stiffness, ensuring your style lasts longer.
It’s a protective layer that keeps elements at bay, maintaining your curls throughout the day. This final step is the secret to long-lasting, picture-perfect curls.
32. Avoid Overdrying with a Timer
Set a timer to avoid over-drying your hair while using the diffuser. Overdrying can lead to frizz and damage, negating your efforts.
A timer helps in maintaining the ideal drying time, ensuring your curls remain defined and smooth. This disciplined approach guarantees a consistent, high-quality finish every time you style.