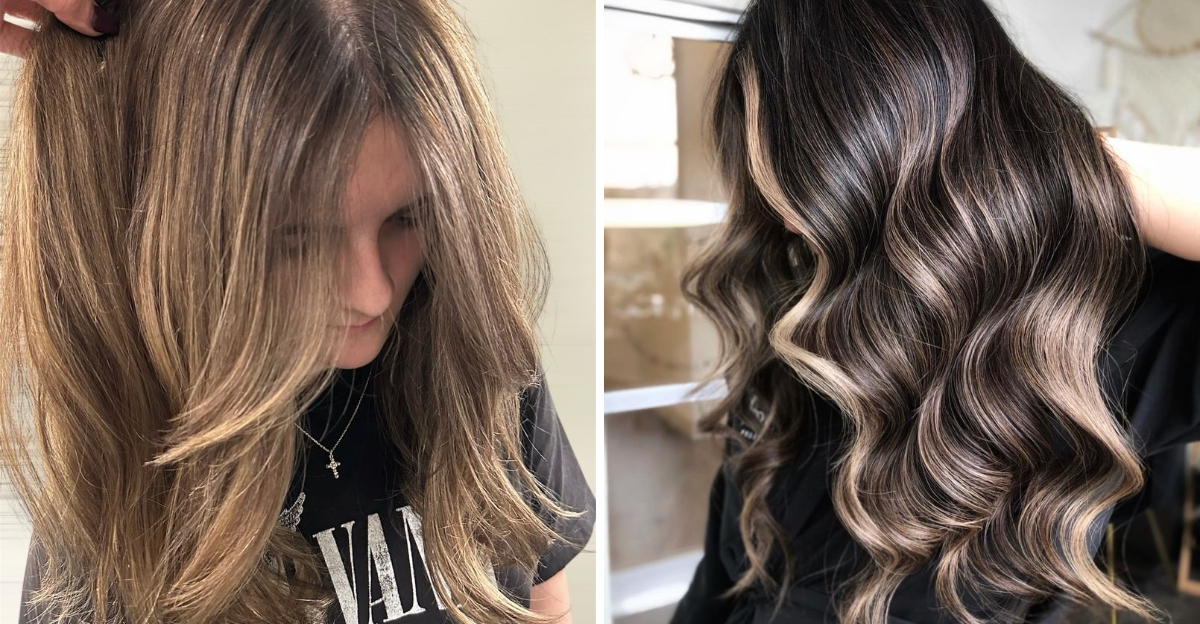
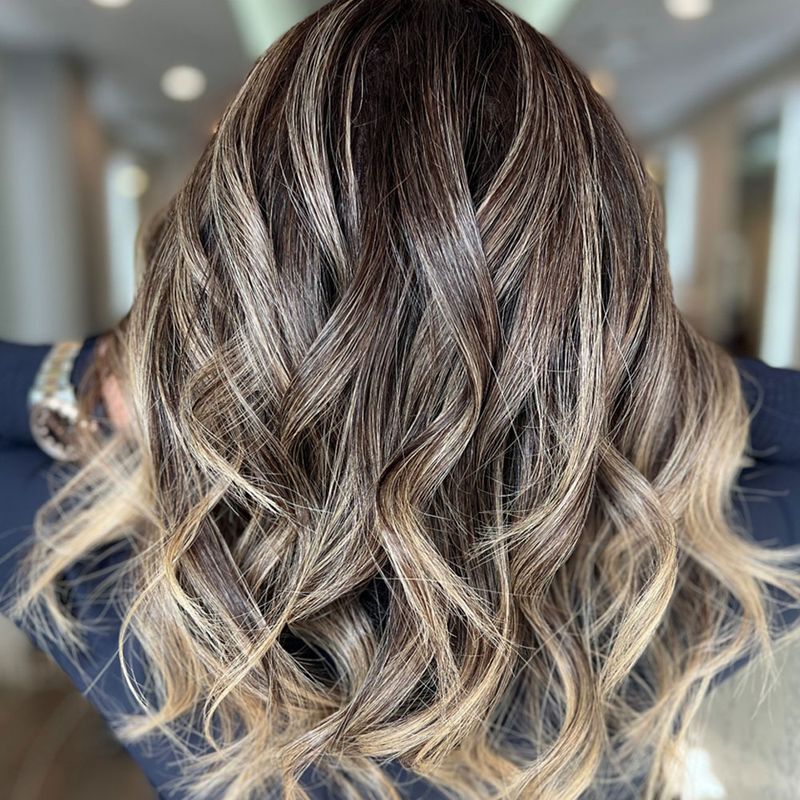
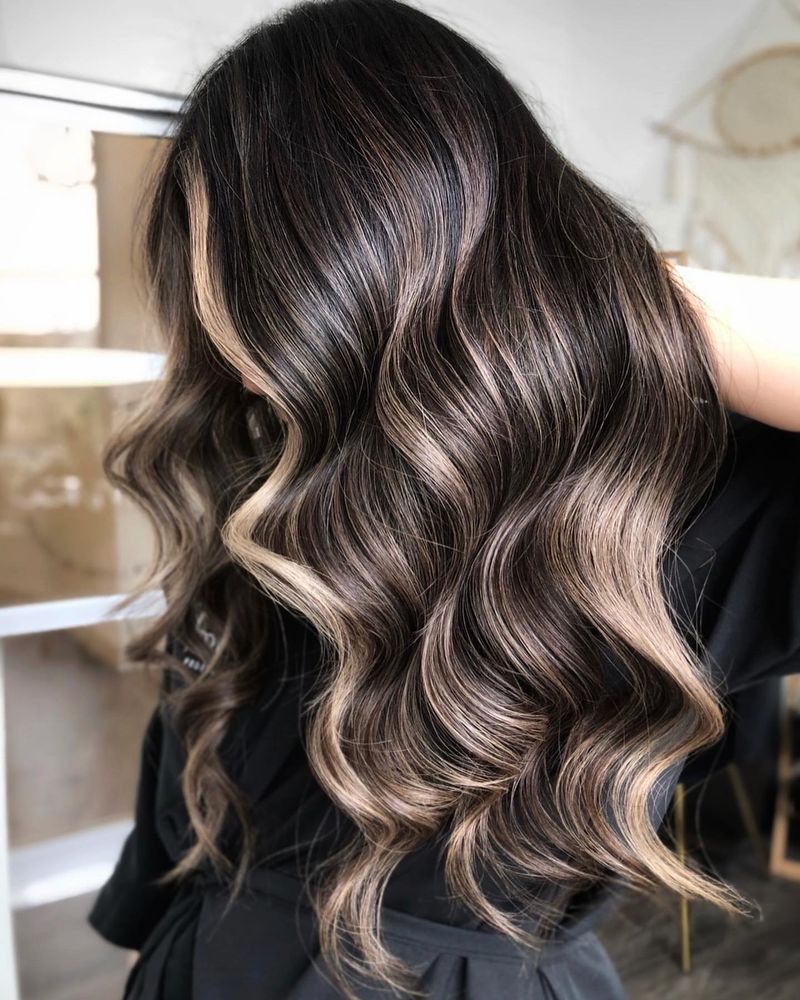
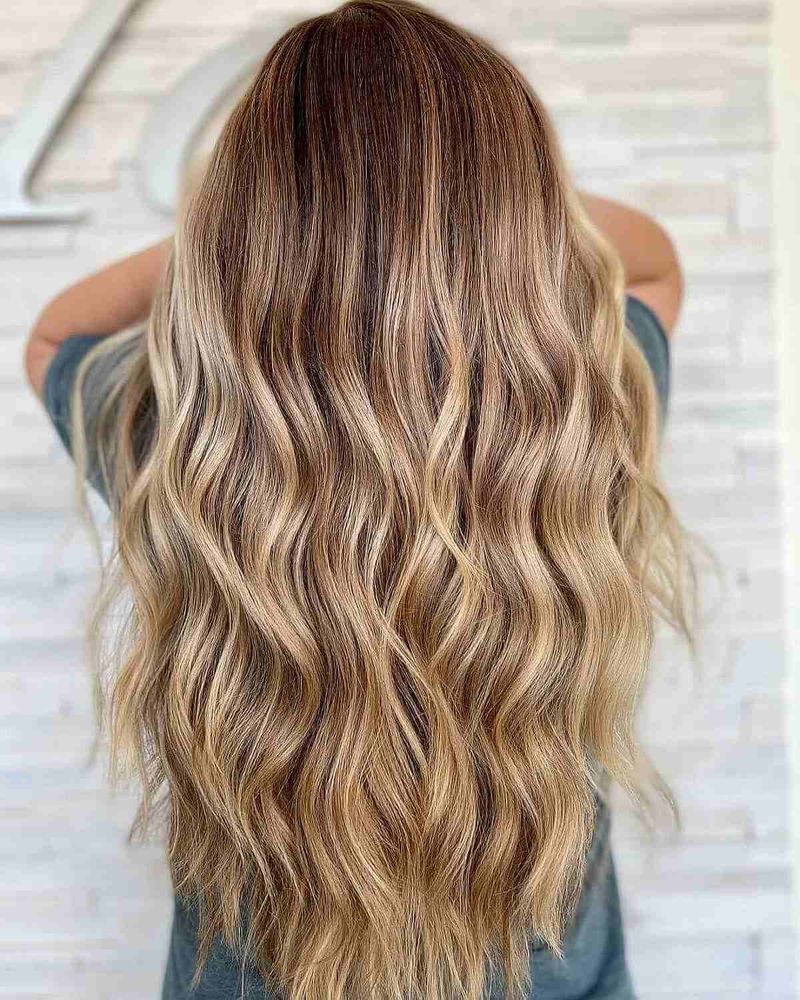
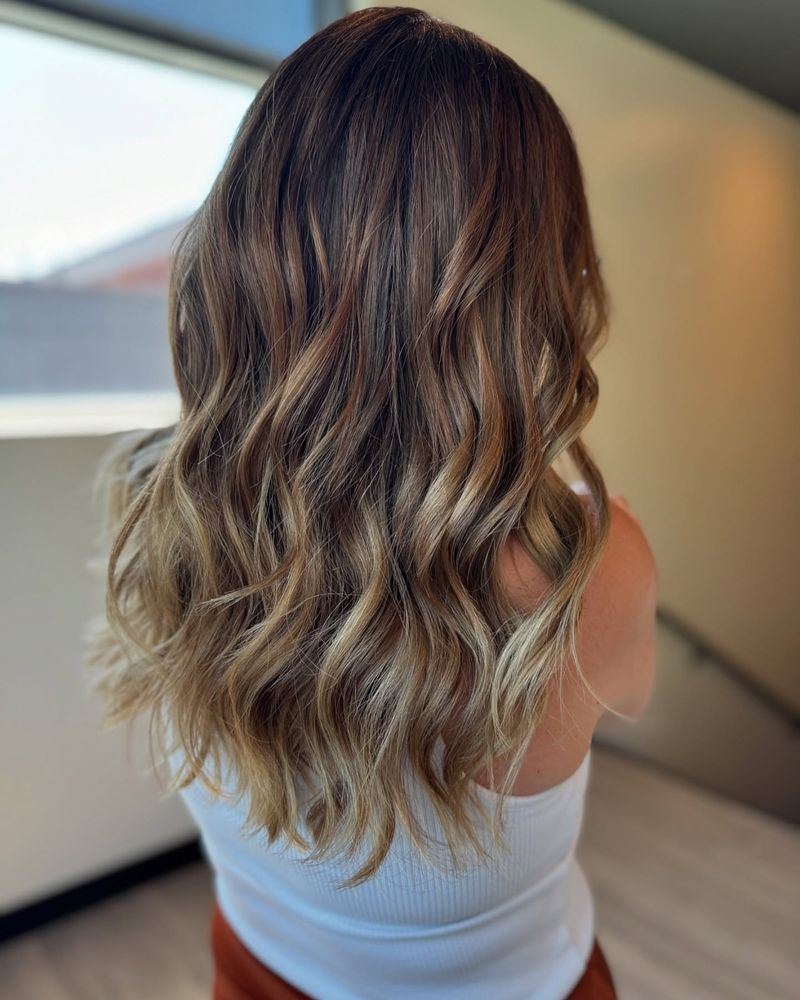
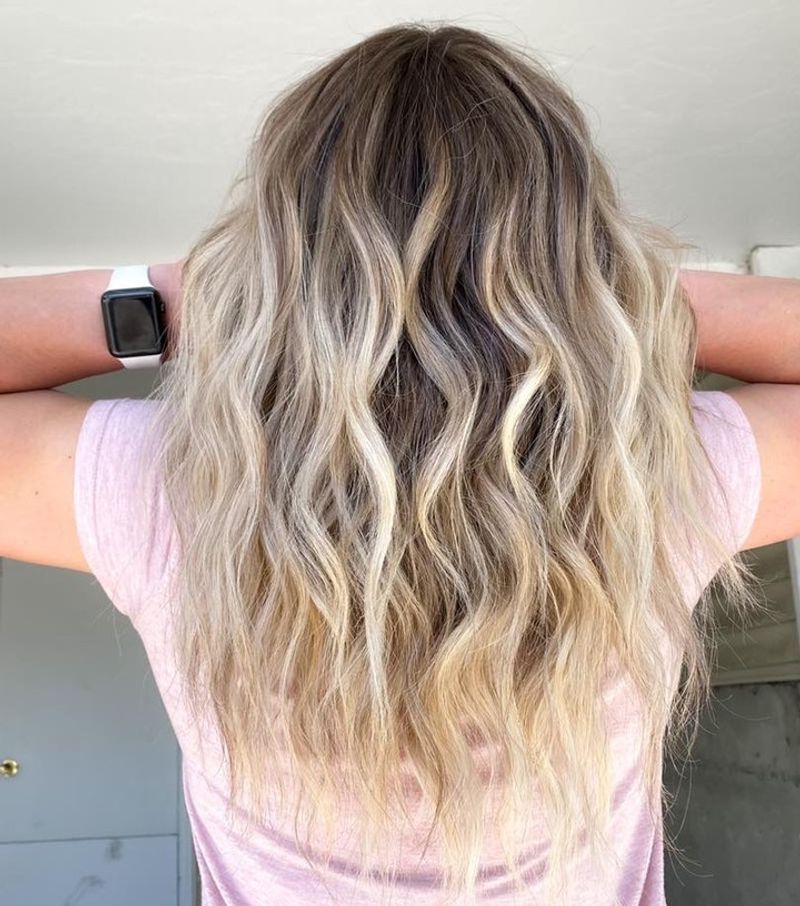
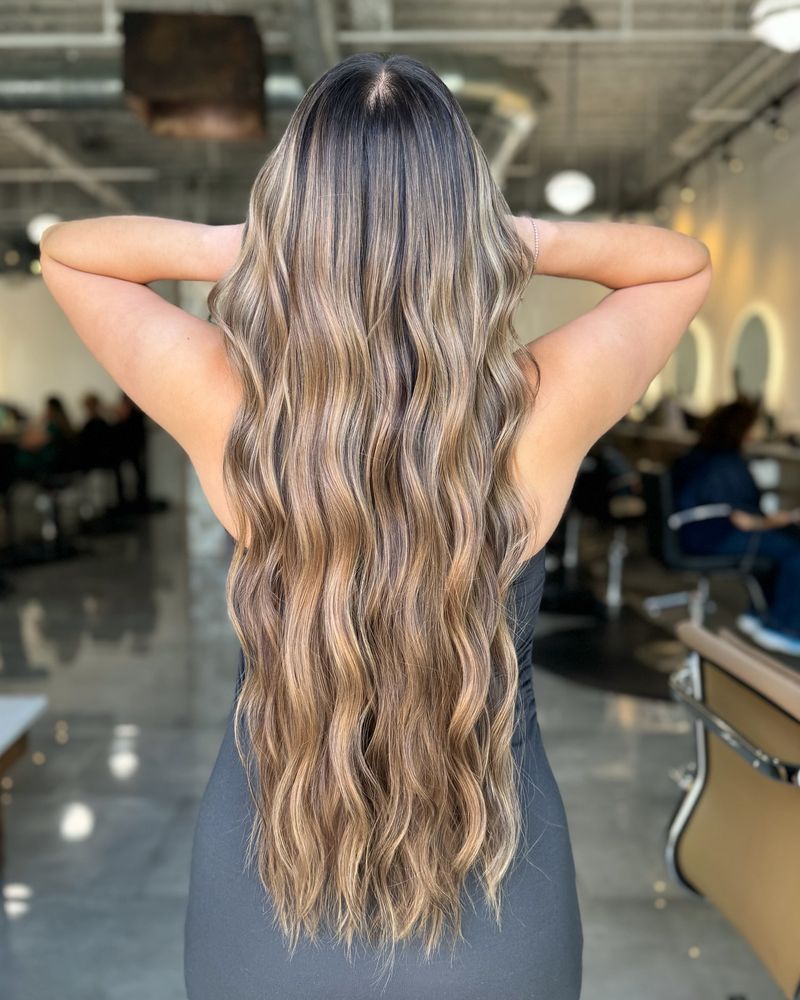
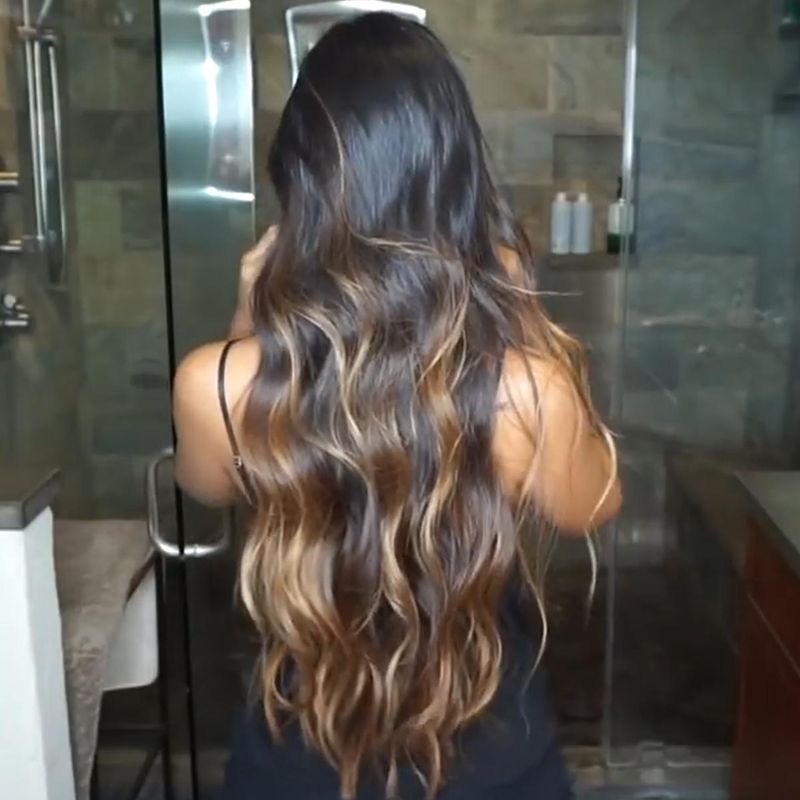
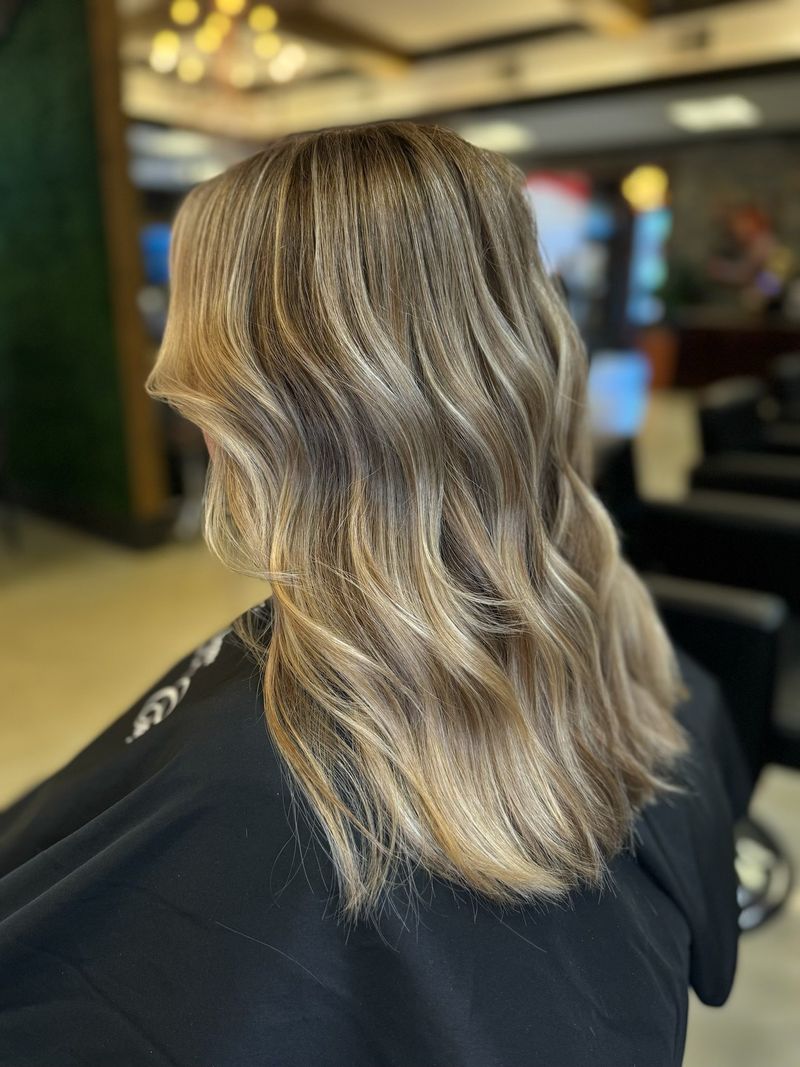
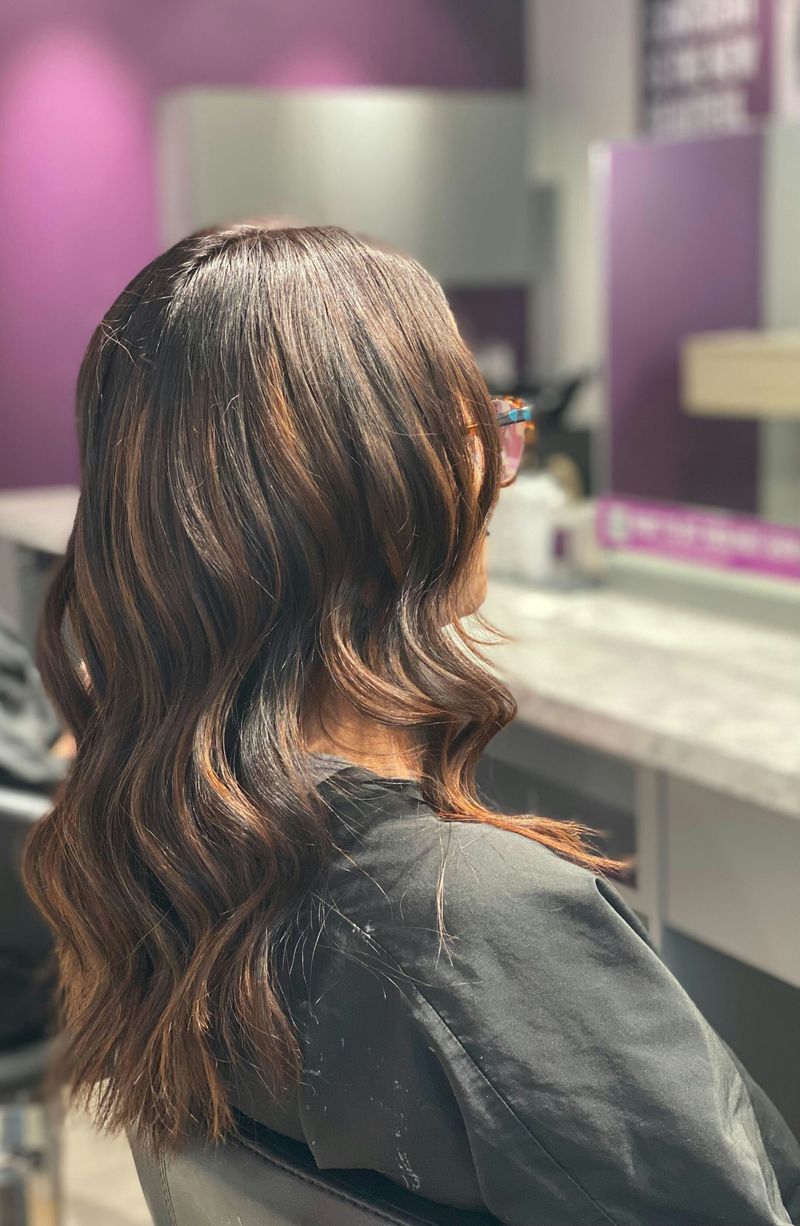
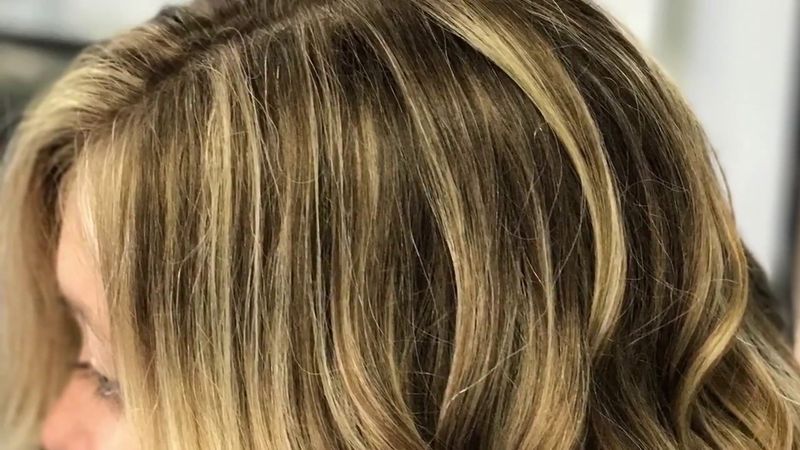
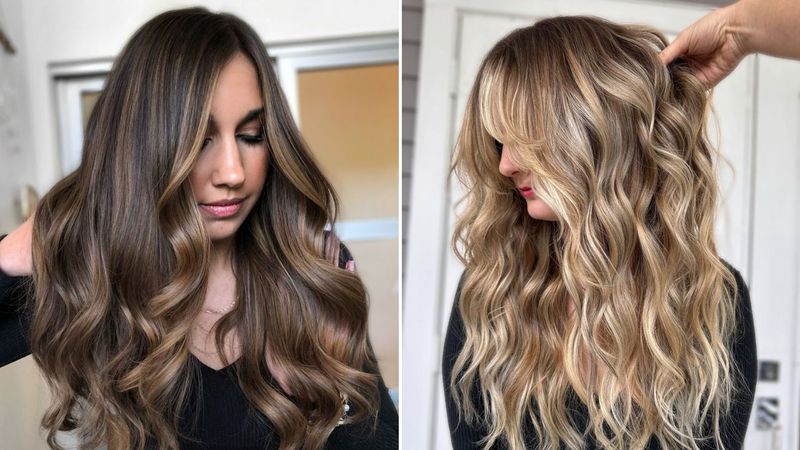
Ready to transform your hair with a stunning dark rooted reverse balayage at home? This trendy technique creates depth at the roots while maintaining lighter ends for a natural, low-maintenance look.
With the right tools and knowledge, you can achieve salon-quality results without breaking the bank.
1. Start With Healthy Hair
Your canvas matters! Deep condition hair a week before coloring to ensure it’s strong enough to handle chemical processing. Healthy strands absorb color more evenly and retain the beautiful dimension that makes balayage special.
Relacionados: -21 Stunning Ways to Rock Gray Hair After Ditching the Dye
2. Gather Professional Tools
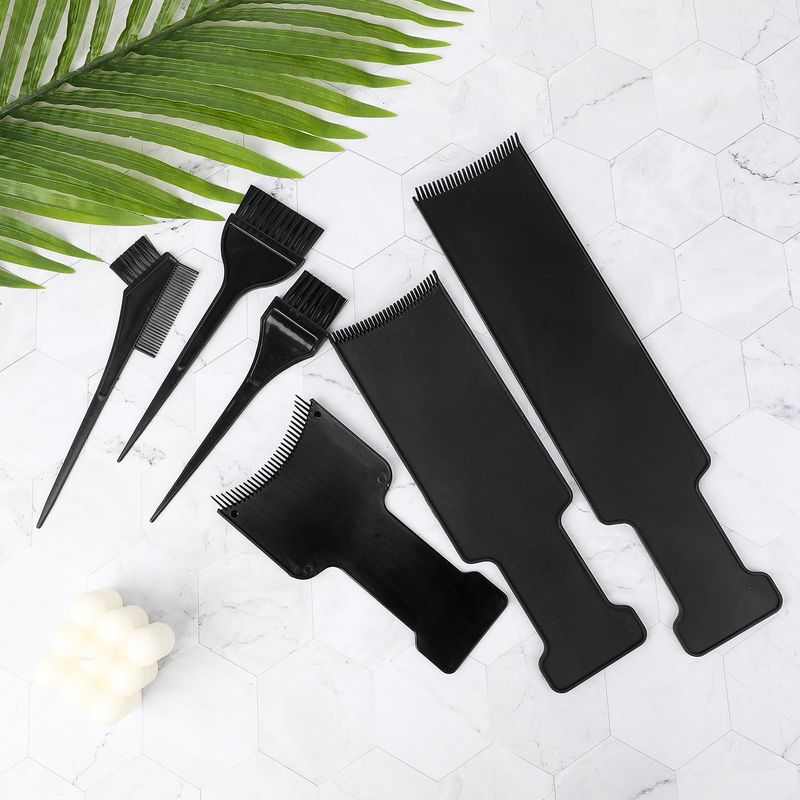
Skip the drugstore kits. Invest in a wide-tooth tinting brush, sectioning clips, plastic bowl (never metal), and developer specifically for balayage. Quality tools create precision application that distinguishes amateur work from professional results.
3. Choose The Right Color Formula
Oil-based formulas work wonders for reverse balayage! They blend more seamlessly than cream developers, creating that coveted soft transition between your dark roots and lighter ends. Always select demi-permanent color for gentler processing.
4. Perfect Your Sectioning Technique
Neat sections are non-negotiable! Divide hair into four quadrants, then create thin horizontal subsections within each. Work methodically from bottom to top, keeping untreated hair clipped away to prevent accidental application.
5. Master The Painting Motion
Forget rigid application! Use sweeping, painterly strokes that start dense at roots and feather downward. Press brush firmly at the root area where you want maximum color deposit, then lighten pressure as you move toward ends.
6. Create A Root Shadow First
Root shadowing creates dimension! Apply your darkest shade first, working it from roots to about 2 inches down. This establishes your base darkness before adding any transition shades for a more natural-looking color melt.
7. Follow The Natural Fall
Hair movement guides application! Apply color following how your hair naturally falls when worn down. This strategic placement ensures the darker roots and lighter ends create dimension in all the right places, even in ponytails.
8. Use Foil Strategically
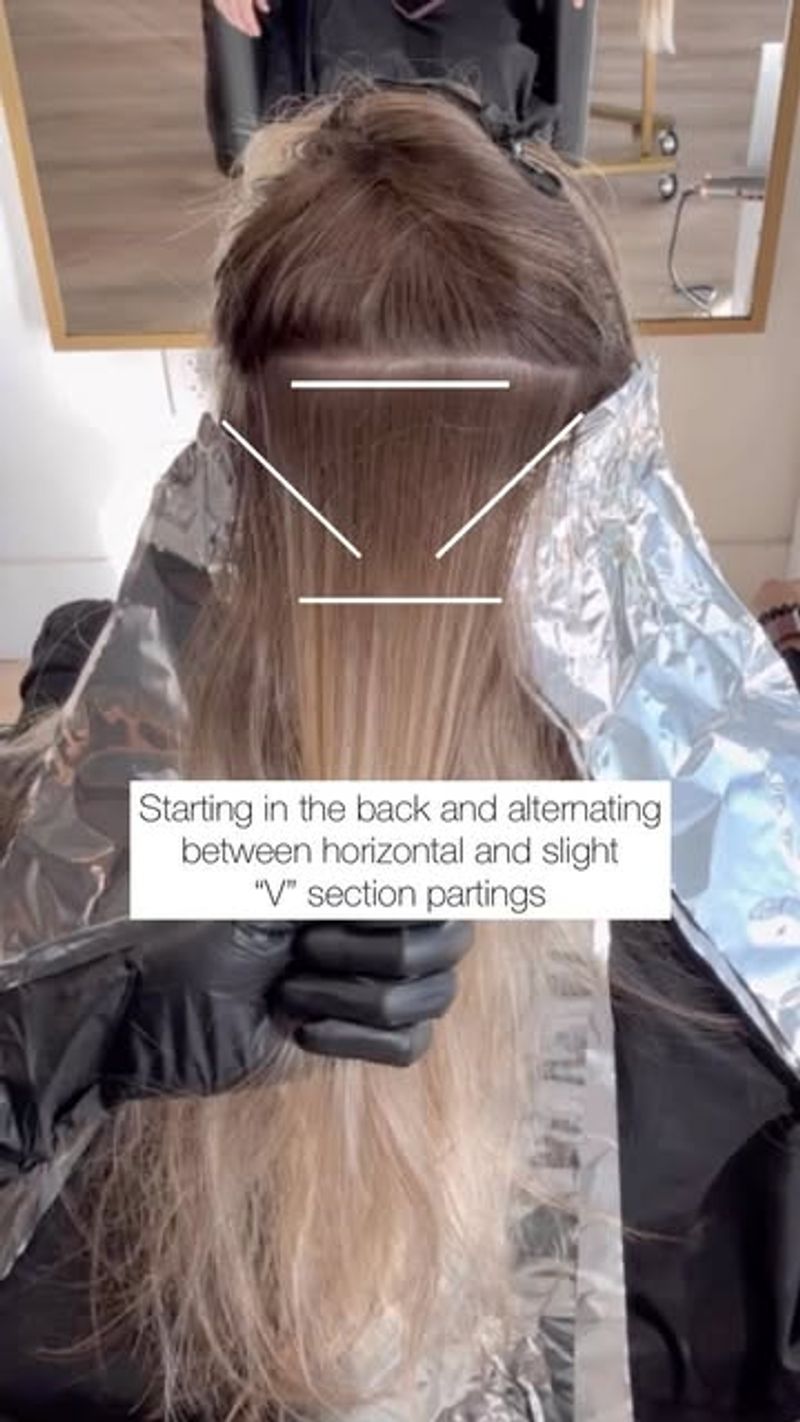
Foils aren’t just for highlights! For reverse balayage, use them to isolate sections where your darker color meets lighter ends. This prevents unwanted bleeding between sections and creates cleaner transitions between shades.
9. Mind Your Processing Time
Patience yields perfection! Check color development every 10 minutes rather than following package timing exactly. Different hair textures process at varying rates – fine hair typically processes faster than coarse or resistant strands.
10. Rinse With Cool Water

Hot water is color’s enemy! After processing, rinse with cool water until it runs clear. This crucial step seals the cuticle, locks in your new shade, and prevents unnecessary color bleeding between your dark roots and lighter lengths.
11. Apply Color-Safe Products
Regular shampoo sabotages your work! Switch to sulfate-free, color-safe products immediately after coloring. These gentler formulas prevent the dark pigment from fading too quickly and maintain the beautiful contrast of your reverse balayage.
12. Schedule Touch-Up Strategy
Maintenance makes the difference! Plan to refresh only your root area every 6-8 weeks, leaving the mid-lengths and ends alone. This strategic approach maintains your color dimension while preventing over-processing of previously colored sections.
13. Fix Blending Mistakes
Harsh lines happen! Keep a clean brush handy to buff out any obvious transitions. Gently work in circular motions at the line of demarcation where dark meets light to create a softer, more natural blend.
14. Tone For Perfect Results
Brassy tones can emerge! Keep purple or blue toning shampoo on hand to neutralize unwanted warmth in your lighter ends. Apply only to the lighter portions while keeping your darker roots relatively untouched for maximum contrast.
15. Protect From Heat Damage

Heat styling threatens your color! Always apply thermal protectant before using hot tools. Excessive heat can fade your darker roots prematurely and create unwanted warmth in your lighter ends, diminishing that beautiful contrast you worked for.