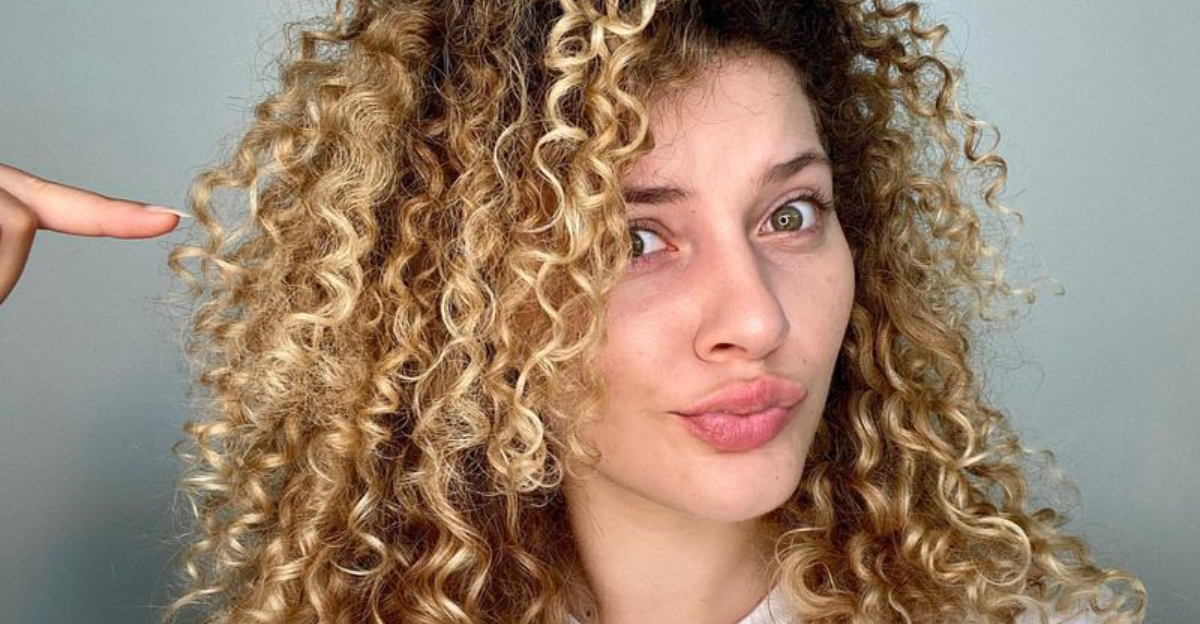
Lightening my natural hair color was a journey filled with research and careful planning. I wanted brighter locks without the breakage and dryness that often comes with bleaching.
Through trial and error, I discovered several methods that gave me the lift I wanted while keeping my strands healthy and strong.
1. Gradual Lightening Sessions
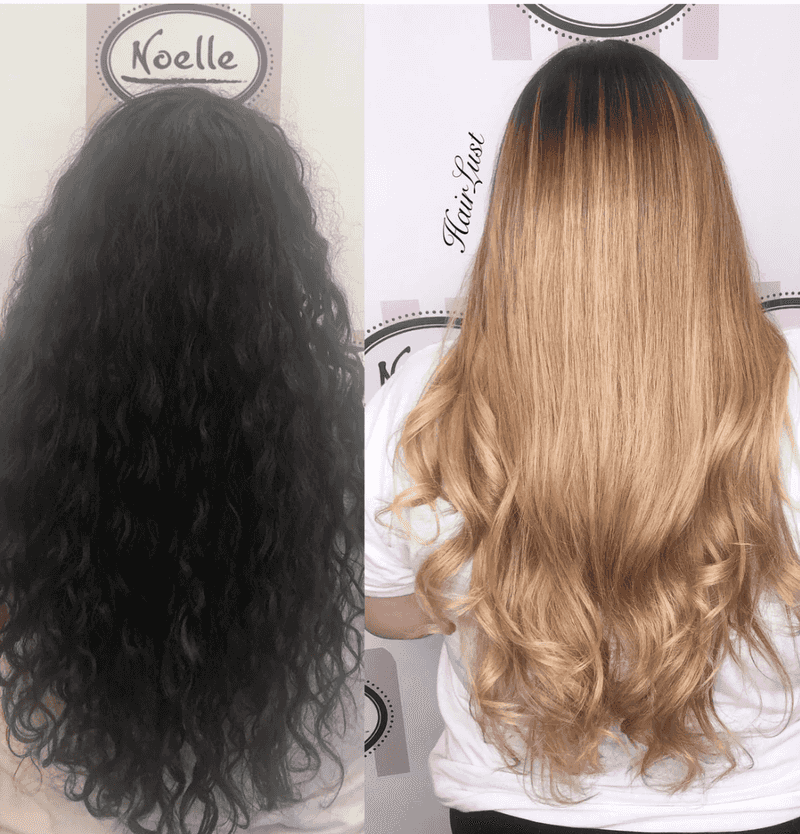
Going slow saved my hair from shock. Instead of bleaching all at once, I spaced out my lightening sessions over several months. This gentle approach allowed my hair to recover between treatments while still achieving my desired shade.
Relacionados: -21 Stunning Ways to Rock Gray Hair After Ditching the Dye
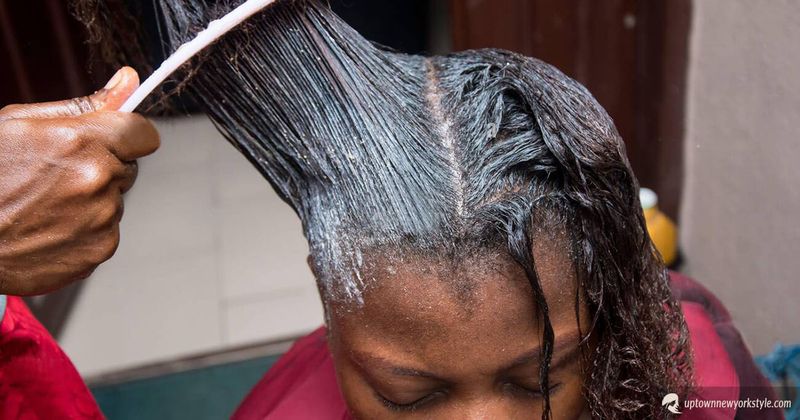
2. Pre-Treatment Oil Soaking
Coconut oil became my secret weapon! Applying it to dry hair the night before lightening created a protective barrier. The oil penetrated my strands, preventing the chemicals from completely stripping my hair’s natural moisture.
3. Low-Volume Developer Choice
Patience trumped speed in my journey. By selecting 10-volume developer instead of stronger options, my lifting process was gentler on my hair cuticles. The slower process preserved my hair’s integrity while still achieving noticeable results.
4. Bond-Building Additives
Bond builders were game-changers for my lightening process. Mixed directly into bleach, these miracle workers maintained the structural bonds in my hair during chemical processing. My strands stayed connected and strong instead of becoming brittle and broken.
5. Strategic Root Application
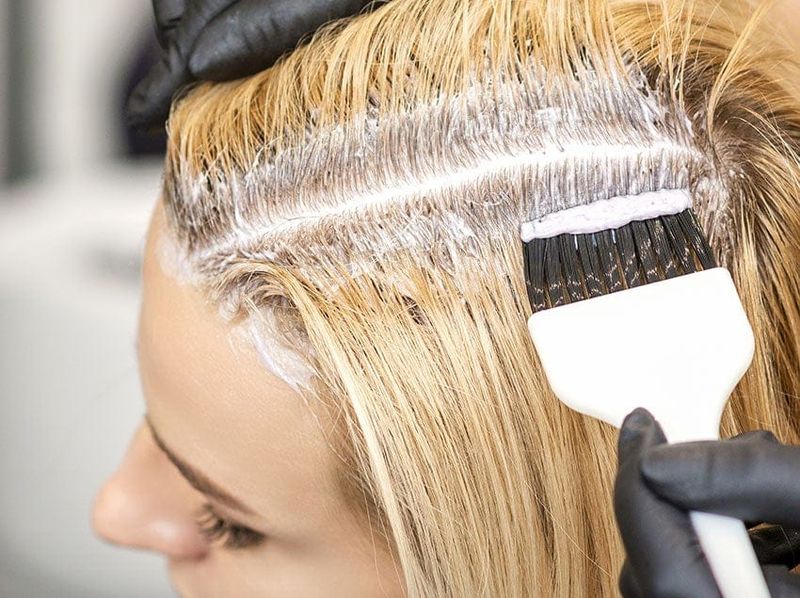
Heat from my scalp accelerates bleach activation! Starting application an inch away from roots prevented over-processing. I saved root application for last, spending just 5-10 minutes there to ensure even color without excessive damage.
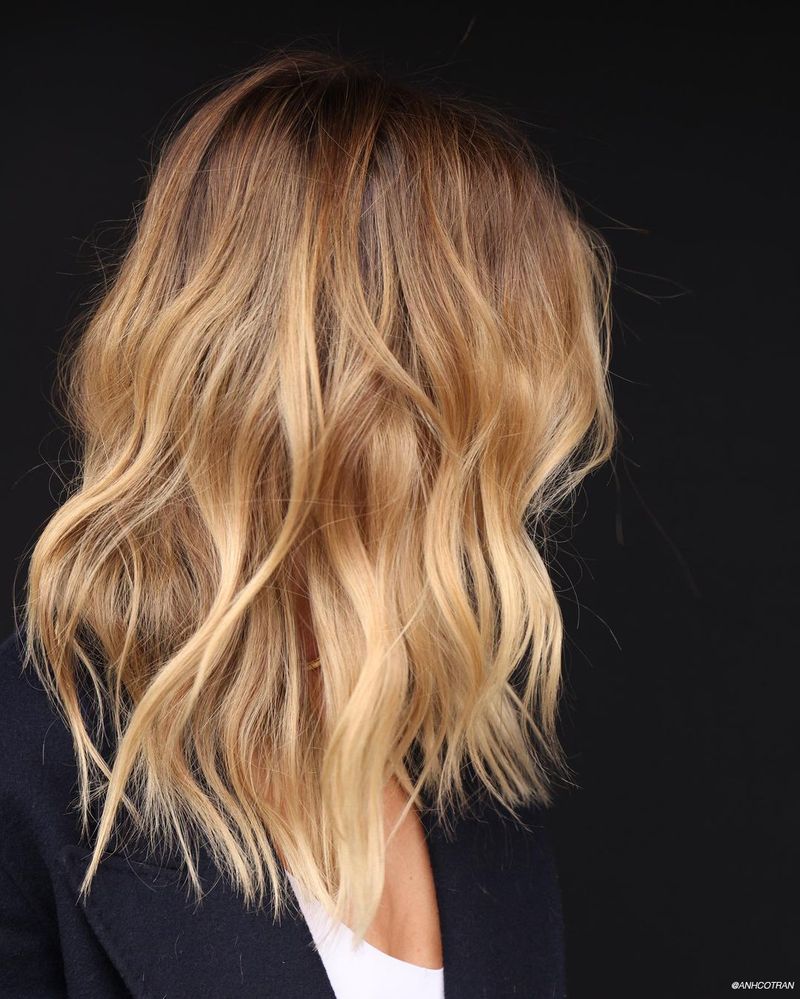
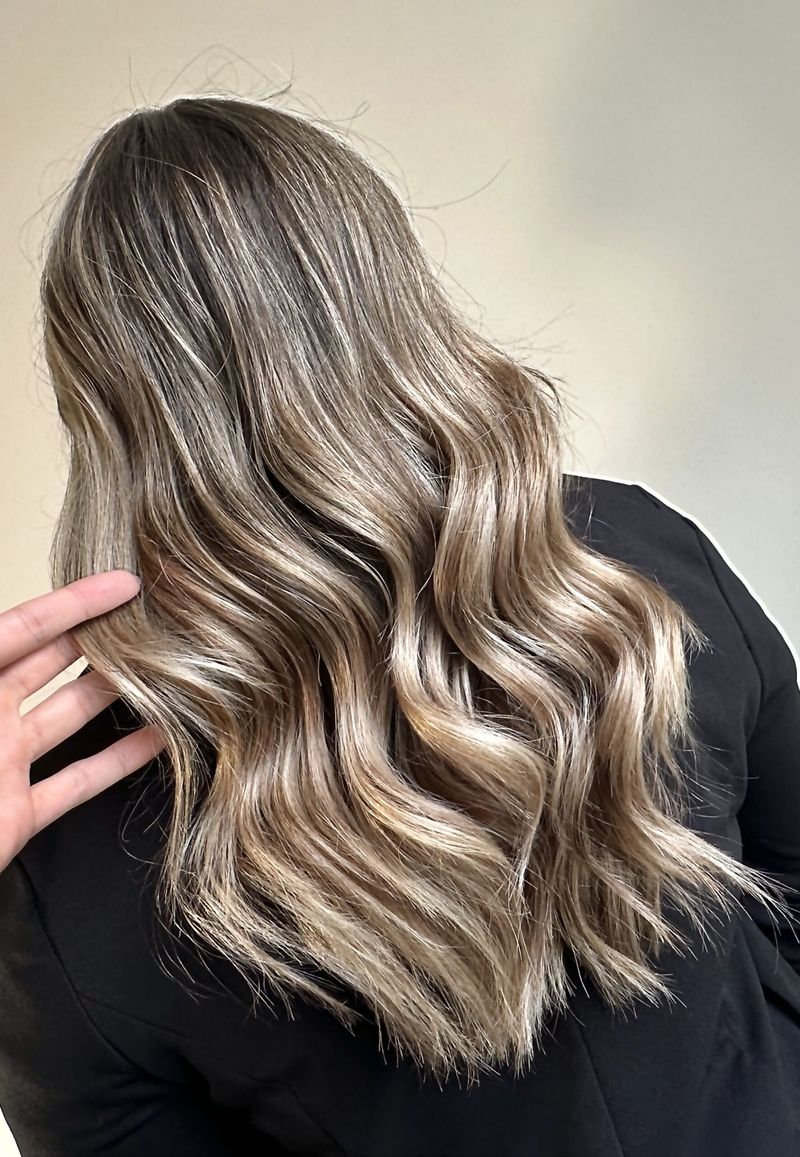
6. Foil-Free Balayage Method
Freestyle painting lightener created dimension without harsh lines. This technique allowed me to focus on surface strands that naturally catch sunlight. The scattered application meant less overall chemical exposure while still brightening my overall look.
7. Protein-Moisture Balance Maintenance
Alternating between protein treatments and deep moisturizing masks kept my hair strong yet supple. Too much protein causes brittleness, while excess moisture creates weakness. Finding this delicate balance prevented the typical post-bleach breakage.
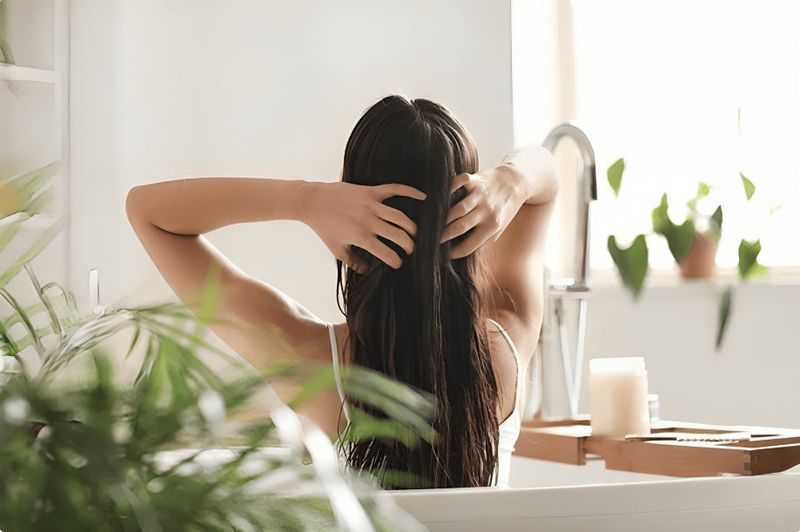
8. Cool Water Rinses Only
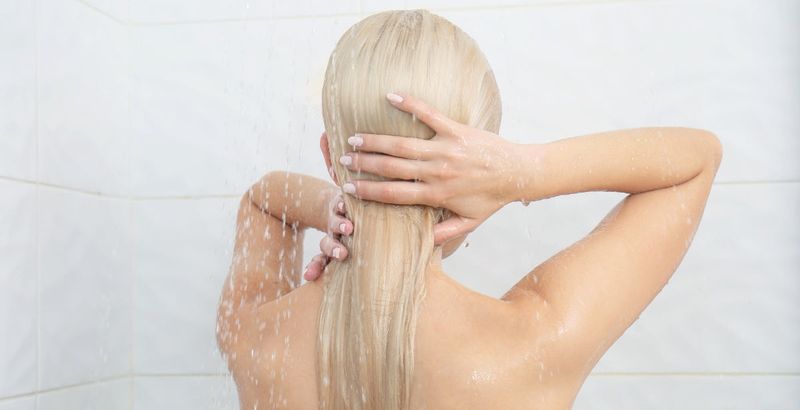
Hot water became my hair’s enemy after lightening. Switching to lukewarm or cool rinses helped seal my cuticles and lock in color. This simple temperature adjustment preserved my new shade while maintaining shine and preventing unnecessary fading.
9. Toning Instead of Re-Bleaching
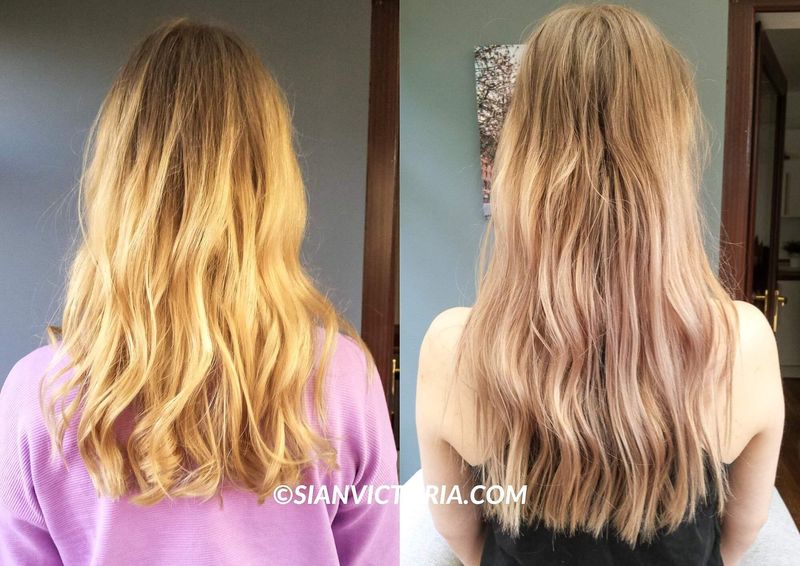
Purple shampoos and toners became my best friends! When my color started looking brassy, I reached for toners instead of more bleach. This approach neutralized unwanted tones without additional chemical damage to my already lightened strands.
10. Silk Pillowcase Protection

Cotton pillowcases were roughing up my delicate lightened strands! Switching to silk dramatically reduced friction and moisture loss overnight. This fabric change meant waking up with smoother hair and fewer broken pieces on my pillow.
11. Heat Styling Vacation
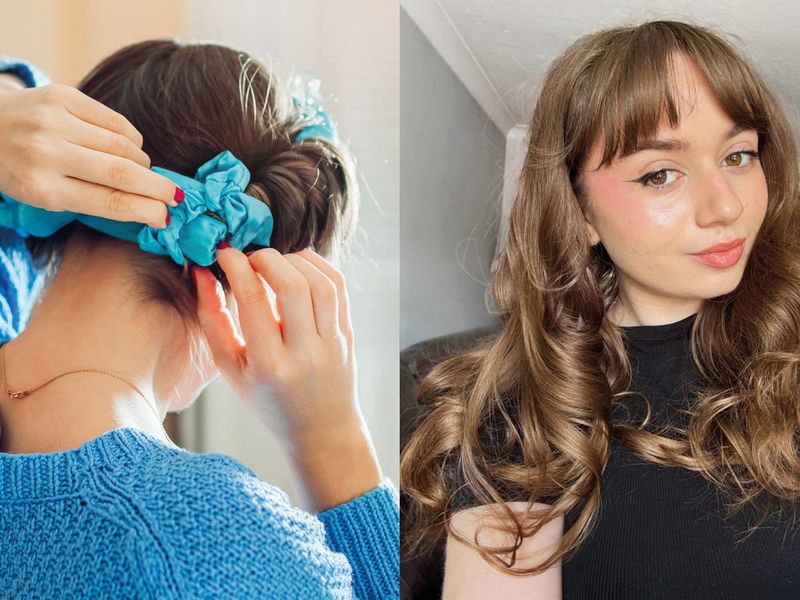
My curling iron got a long break during my lightening journey. Embracing heat-free styling methods gave my processed hair time to recover. Air-drying and overnight braids created texture without the additional stress of high temperatures.
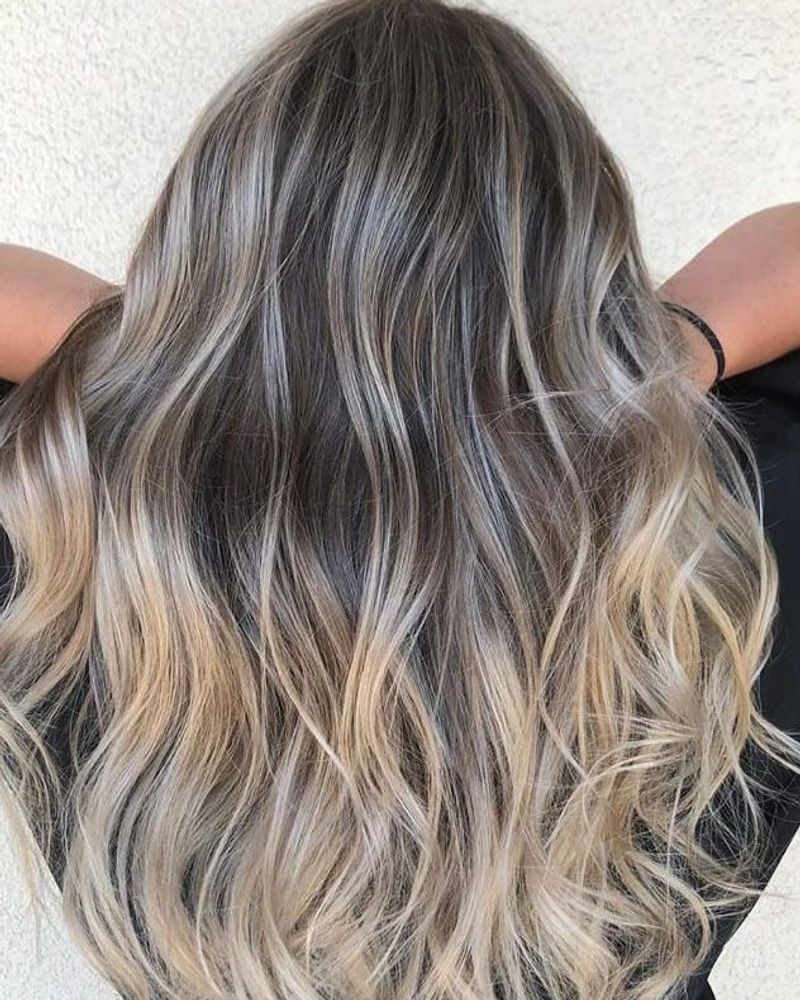
12. Strategic Highlighting Pattern

Full-head bleaching wasn’t necessary for my desired effect! Strategically placed highlights around my face and crown created brightness where it counts. This targeted approach minimized the total amount of hair exposed to chemicals.
13. Acidic pH Treatments

Regular apple cider vinegar rinses restored my hair’s natural acidity after chemical processing. These treatments helped close my cuticles, which bleach tends to lift and damage. The result was smoother, shinier hair that reflected light beautifully.
14. Professional Consultation Investment
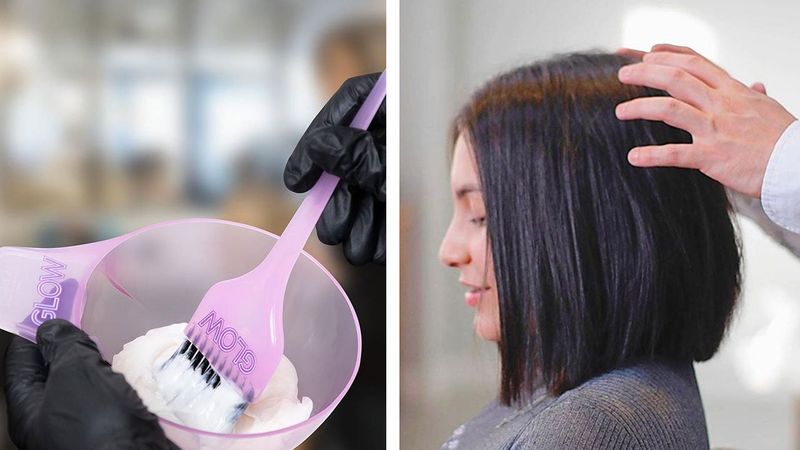
The best decision I made was consulting a professional before starting. An experienced colorist analyzed my hair type and starting color to create a custom lifting plan. This personalized approach prevented the common mistakes that lead to damage.
15. Scalp-Protecting Barrier Cream
My sensitive scalp needed extra protection! Applying petroleum jelly around my hairline and on my ears created a barrier against chemical irritation. This simple trick prevented the burning sensation and redness that often accompanies lightening treatments.