Fine hair is soft, silky and touchable; however, this delicate hair type is easily damaged and tends to fall flat. But these challenges can be overcome with a little know-how and the willingness to give your hair care and attention.
So without further ado, here’s an easy step-by-step guide to creating lasting curls without damaging your fine hair, plus some extra tips on keeping it bouncy and healthy.
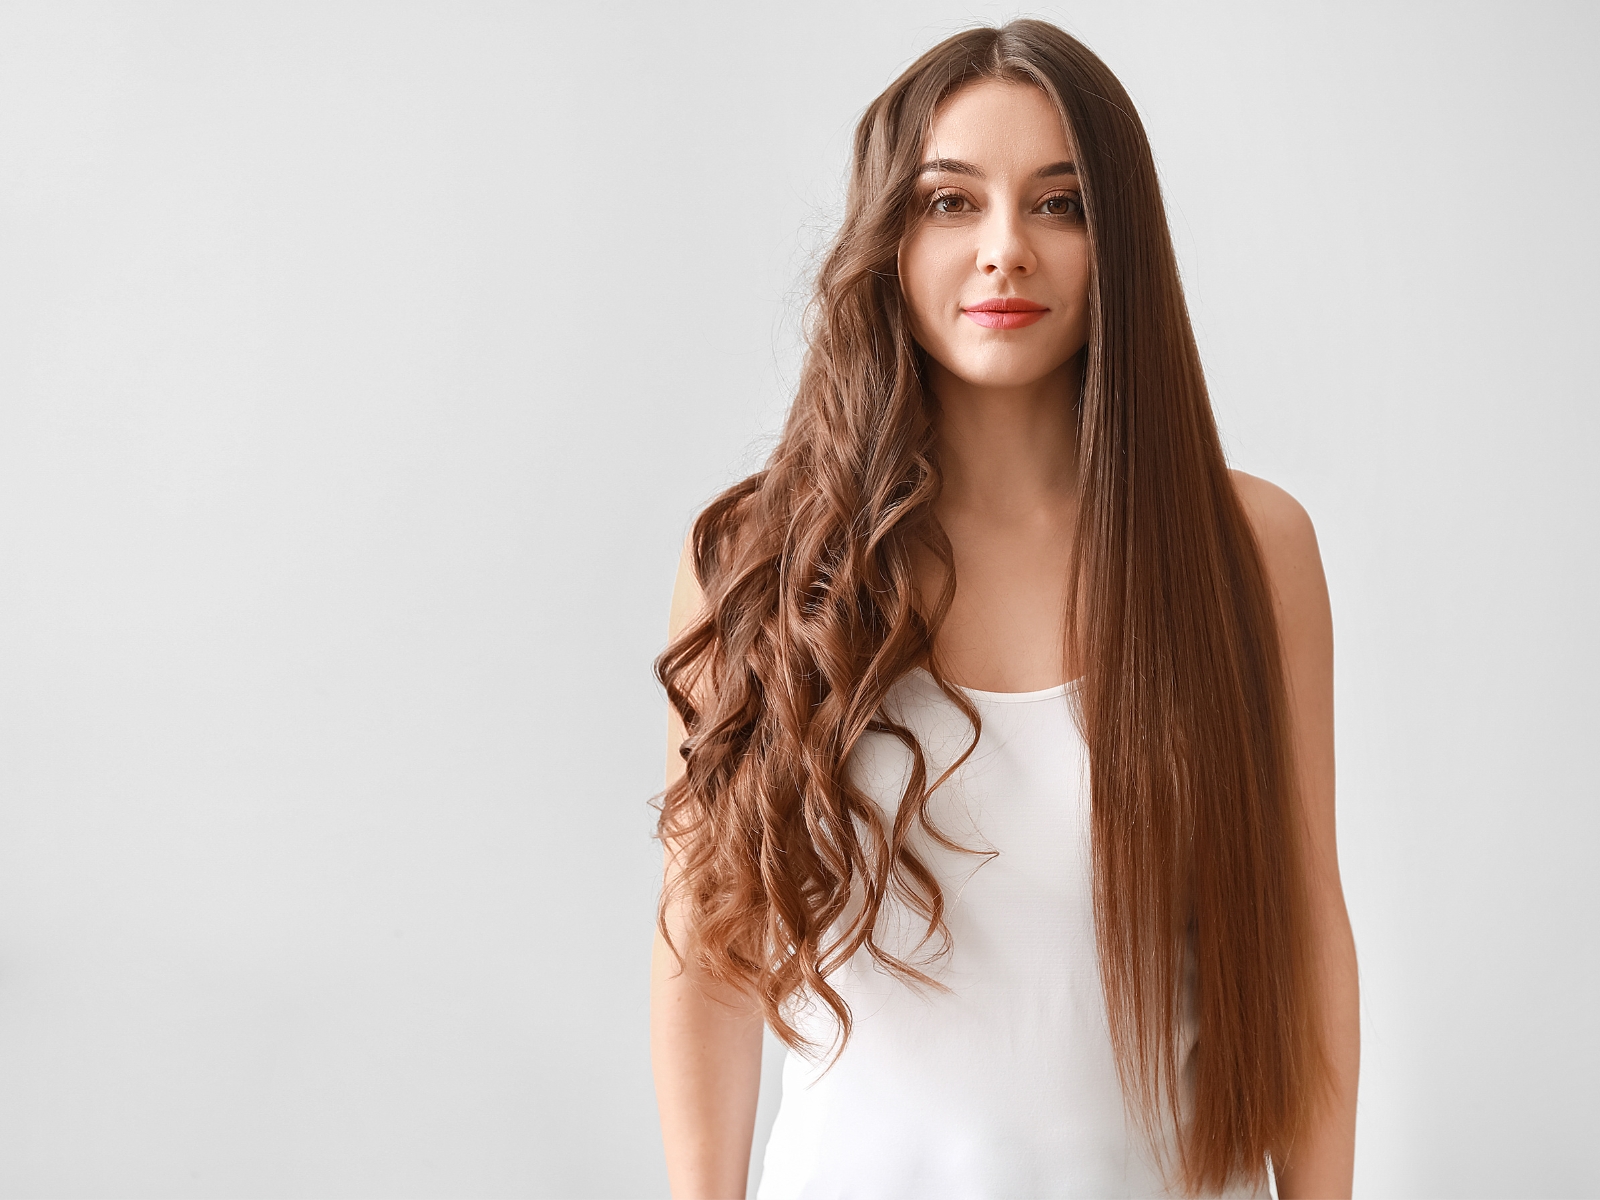
Heat Styling Or No-Heat Curls?

The main issue with fine hair is that it has difficulty holding lift and curl, and to make things worse, your fine strands are prone to tangles, stretching and breakage.
Related: -7 Straight-Hair Problems No One Talks About And 8 Easy Fixes That Shine
Heatless curls take time. With fine hair, they’re a hit and miss—you can never be sure if they’ll actually take. Not to mention that if your hair is shorter or has lots of layers, no-heat curls can be nearly impossible to achieve.
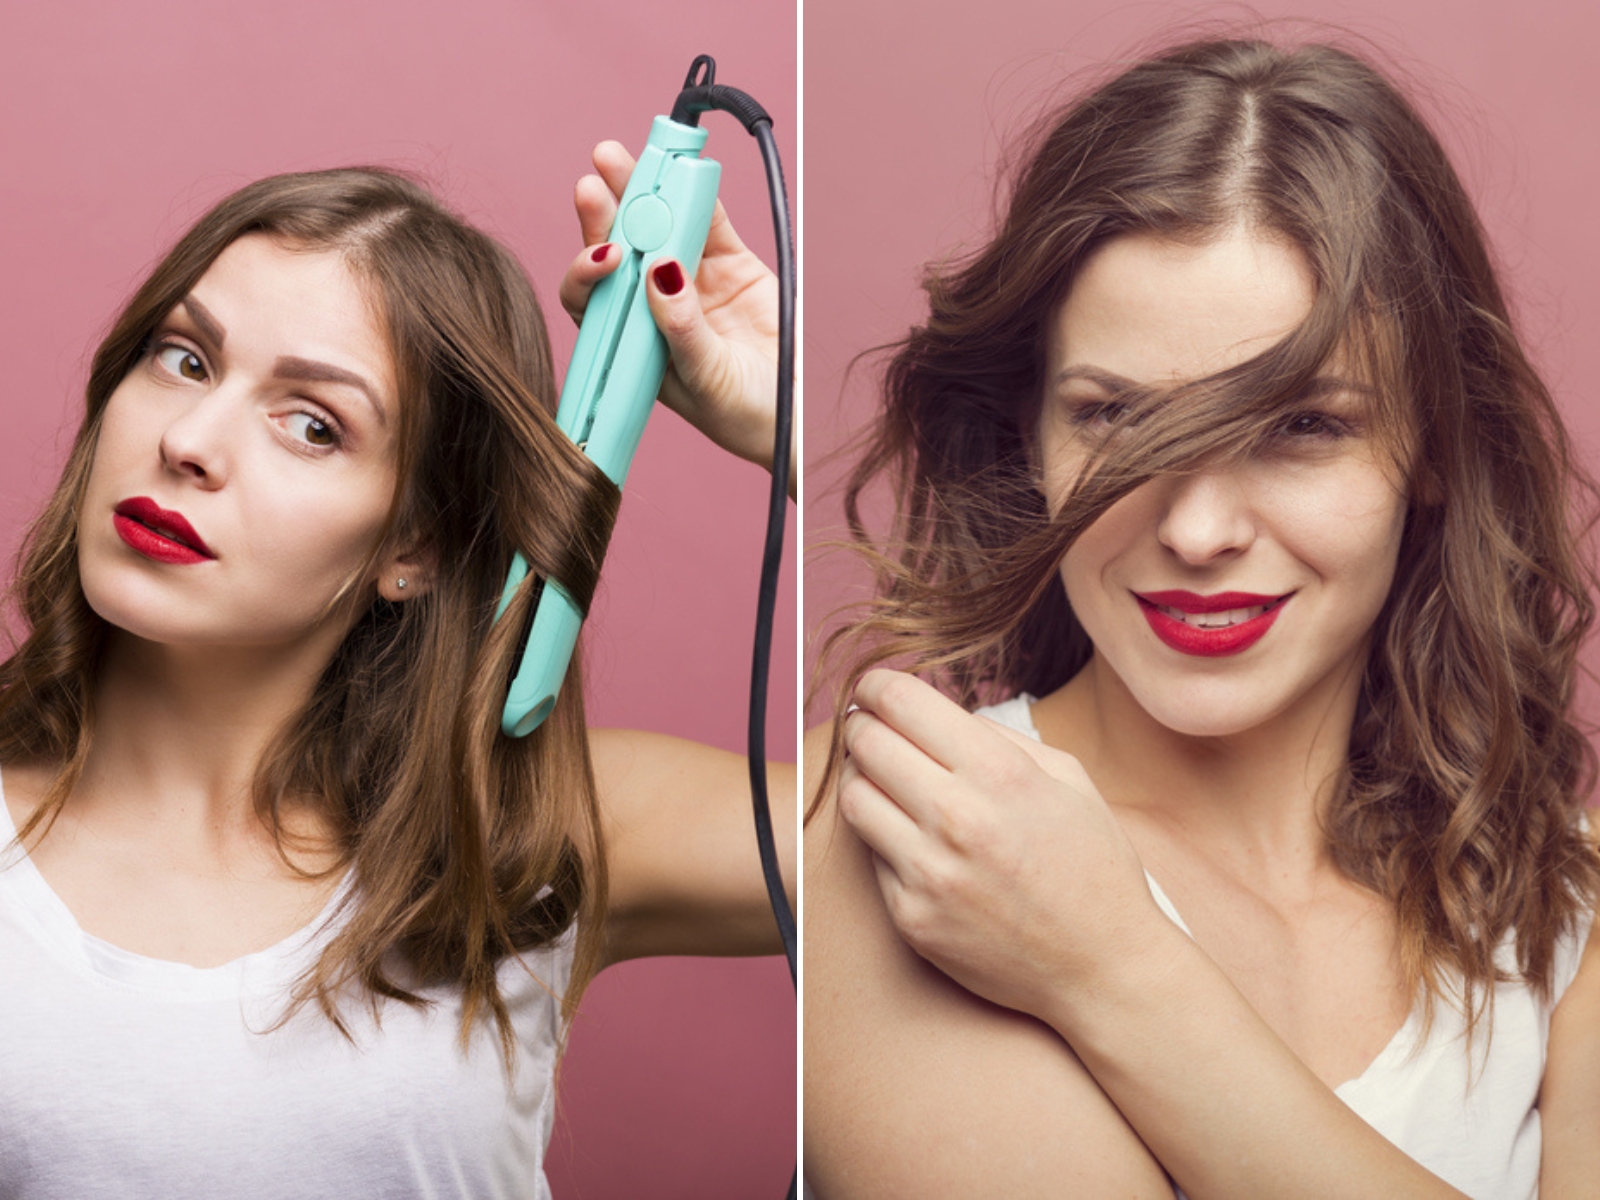
Is heat styling out of the question for delicate fine hair? Absolutely not! With modern heat tools and products, you can easily achieve lasting voluminous curls without damaging your hair.
Which Heat Styling Tool Is Right For You?
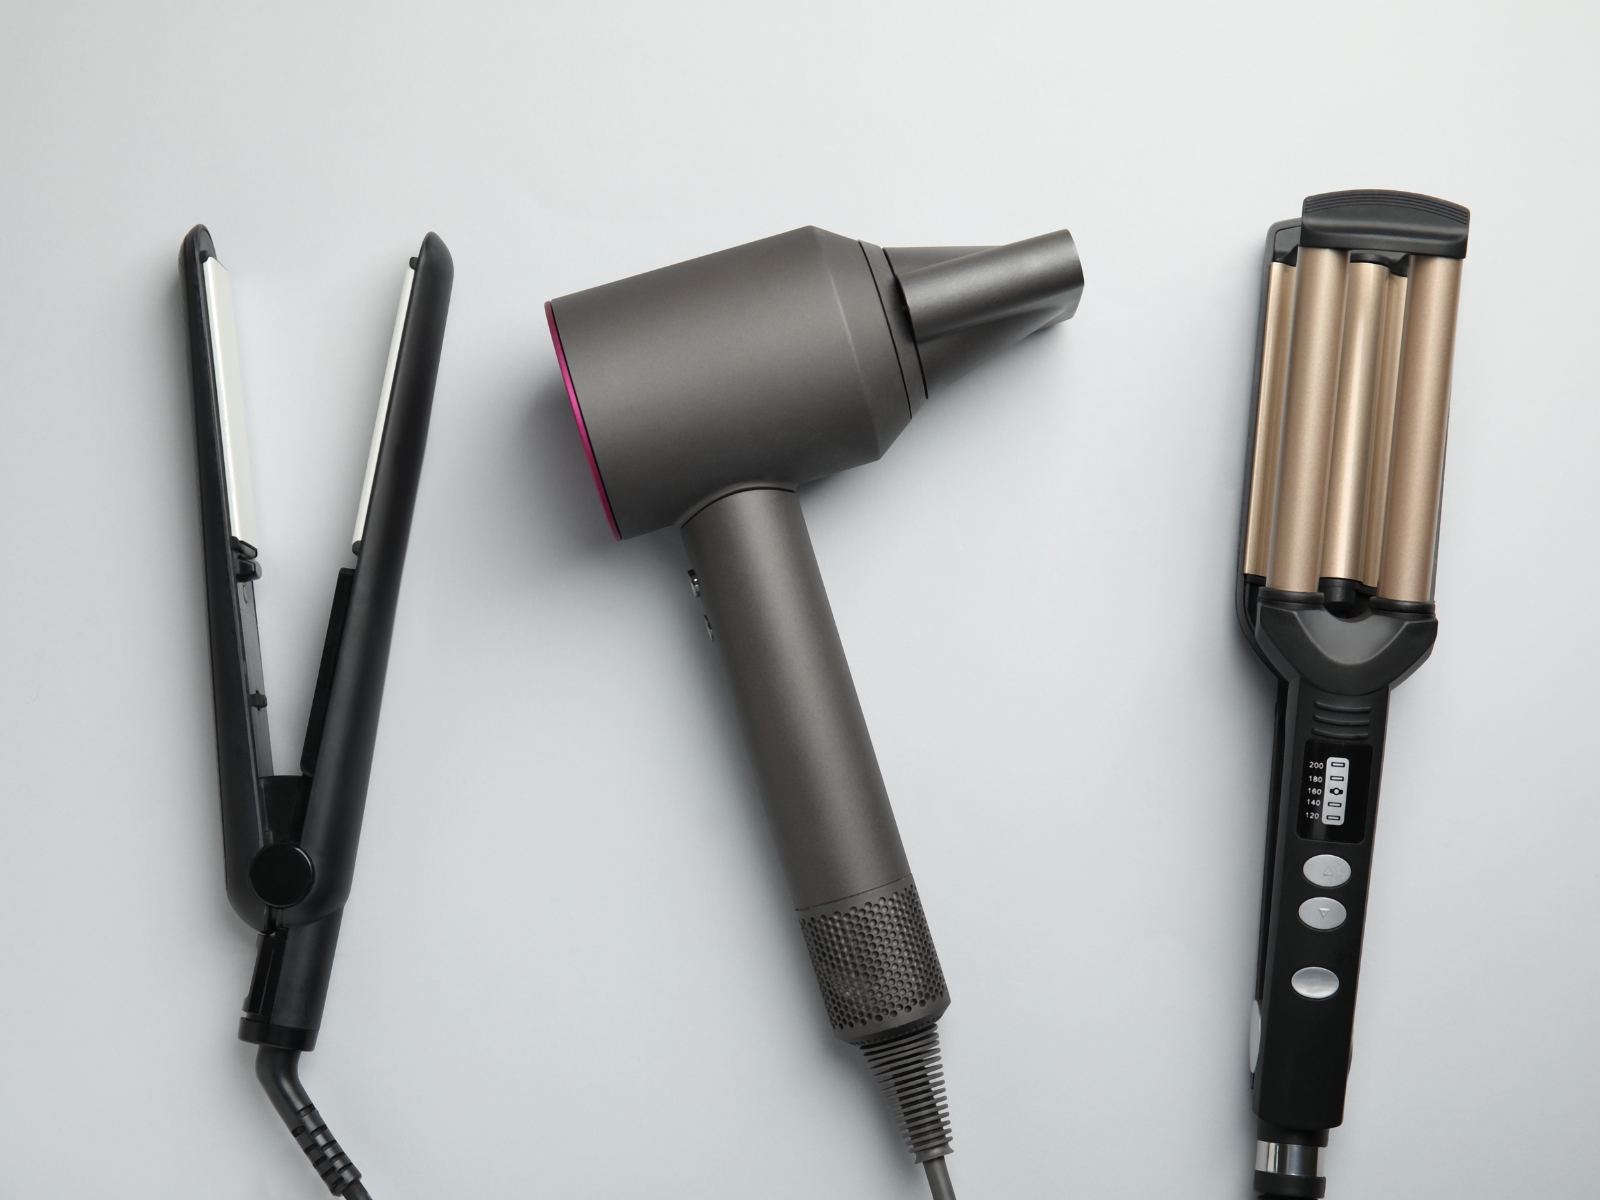
These days, styling tools come in a variety of materials and you can adjust the heat setting for your hair. Using a heat protectant will furthermore ensure that your curls don’t come at a price.
For the most lasting curls, hot rollers give the best results. However, they have a learning curve and purchasing a kit can be risky if you’re not sure that you’ll be able to use them.
The second best choice when it comes to the longevity of your curls is the curling iron. When all pros and cons are taken into account—the ease of use, a speedy process and curls that stay put—this is the best option.
Create Lasting Curls Without Damaging Fine Hair In 4 Easy Steps
Here’s how to quickly and easily add volume and curls that last to fine hair while keeping it healthy.
Products you’ll need:
- Heat-protecting product
- Texture spray
- Optional: volumizing spray
1. Apply product
First apply a heat protectant to the entire length of your hair. This is a necessary step if you want to avoid damage.
Next, apply texture spray to the length, avoiding the roots. The reason you’re using texture spray is to add a little grit to your fine, silky strands which will make the curls form easier and last longer.
Fluff the hair to distribute the product, creating lift.
2. Prepare the hair
Section the hair into manageable sections, clipping back as necessary.
Even though your hair is fine, you might have a lot of it, so it’s important not to take too much hair. You want to be able to wrap your hair evenly around the curling wand with no bumps.
Run a comb through each strand before curling it so that you get even curls.
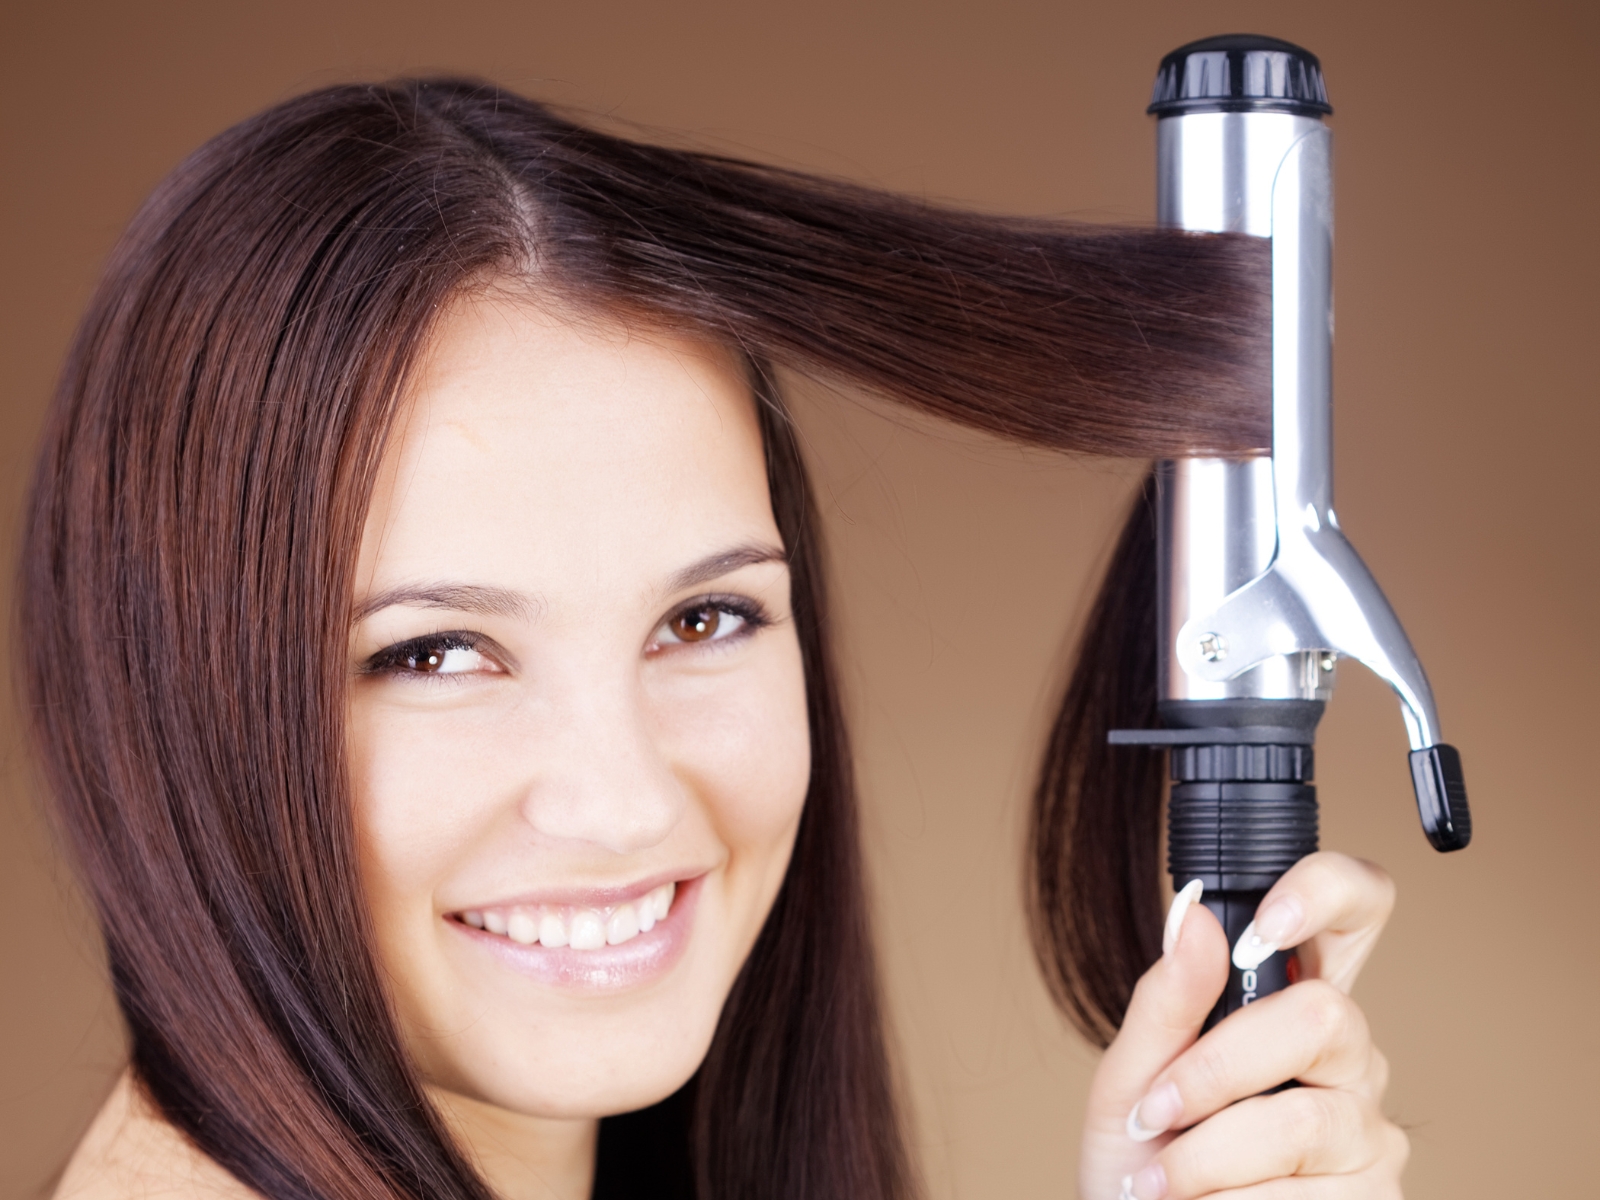
3. Prepare the styling tool
Set the curling iron to the lowest heat setting; this is key to avoiding damage. Because your strands are fine and individual hairs are thin, they don’t need a lot of heat to change shape.
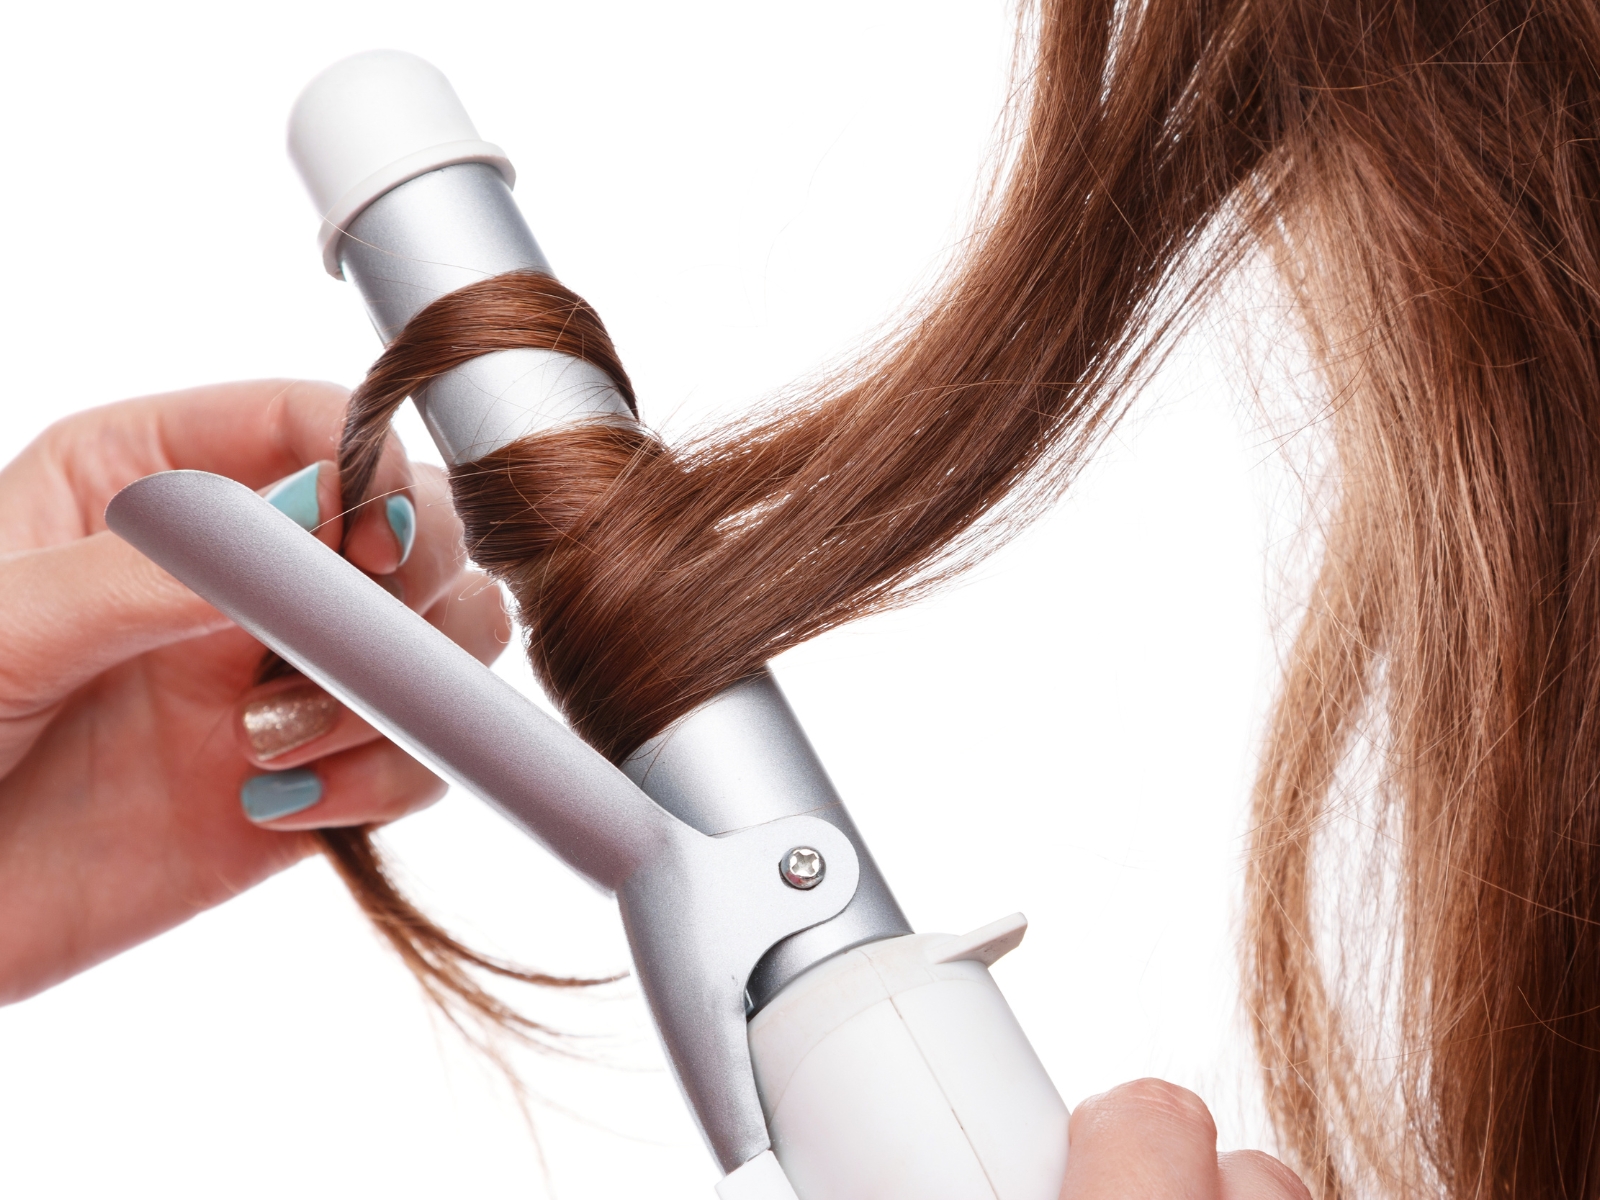
4. Curl your hair
Start curling your hair from the front. Bring the strand forward so that the curls create volume at the hairline and wrap the hair around the wand away from the face, starting at the base.
Let the heat go through the hair, and immediately remove the wand. Holding your hair wrapped around the tool for too long won’t make your curls last longer, but it can damage your hair.
Bring the next section toward the face and wrap around the wand in the opposite direction, and repeat until you’ve curled all your hair.
Let the curls completely cool off before you shake them out to make them last.
Fine Hair Styling Tips And Tricks
• If you’re curling your hair right after washing it, make sure it’s completely dry first. This is extremely important, because using heat tools on damp hair can damage it.
• You’ll get the best results if you curl fresh hair, but you can also do it on the second day to freshen up your style.
• Use a lightweight volumizing shampoo and conditioner to cleanse your hair. Avoid applying conditioner to the roots.
• Invest in a microfiber hair towel and a detangling brush to avoid as much breakage as possible.
• When wrapping your hair around the curling wand, leave the ends out for beachy waves and wrap them around the wand for round curls.
• If you want to make your curls last longer, spray each individual curl with texture spray immediately after you curl it, then let cool.
• When applying product on your curls, spray it into your hands and not directly on the hair, then scrunch where you want it.
• To achieve super-lasting, super-voluminous curls, blow-dry hair with a round brush before curling your hair.
• For extra volume, spray volumizing spray to the roots after you finish curling your hair.
• Freshen up with dry shampoo for instant volume boost. Don’t comb it out of your hair; leave it in for extra texture instead.
• If you don’t have a curling wand, you can also use a flat iron, but it’s a little more difficult. Here’s a video to help you out.
Frequently Asked Questions
1. What is the best curling iron for fine hair?
To curl your hair quickly and minimize damage, opt for a curling iron with a barrel made of a material which distributes heat evenly, such as ceramic or tourmaline.
2. What temperature should curling iron be for fine hair?
Go with the lowest setting of your curling iron, no higher than 200ºF.
3. What size curling iron is best for fine hair?
Depending on the length of your hair and how large you want your curls to be, you can choose a curling iron anywhere from 0.75 to 1.25 inches in diameter, with 1 inch being the most versatile.
4. Why do my curls fall flat after curling?
Your curls might be losing their form because you’re not letting them set—you shouldn’t touch your curls until they’ve cooled down.