Embarking on the journey to lighten your brown hair at home can be both exciting and nerve-racking. With the right guidance, you can achieve salon-quality results right from your bathroom. Follow these 15 easy steps, complete with images, to safely bleach your brown hair and reveal a stunning, lighter shade.
1. Step 1: Gather Your Supplies
Before starting, make sure all your supplies are ready and within reach. This includes gloves, bleach powder, a mixing bowl, and a brush. Having everything prepared will ease the process significantly and help prevent any mid-step mishaps.
2. Step 2: Test a Strand
Strand tests are crucial to predict how your hair will react to bleaching. Select a small section of hair and apply a tiny amount of the bleach mixture. This step ensures you achieve the desired shade without unexpected surprises.
Gerelateerd: -7 Straight-Hair Problems No One Talks About And 8 Easy Fixes That Shine
3. Step 3: Protect Your Skin
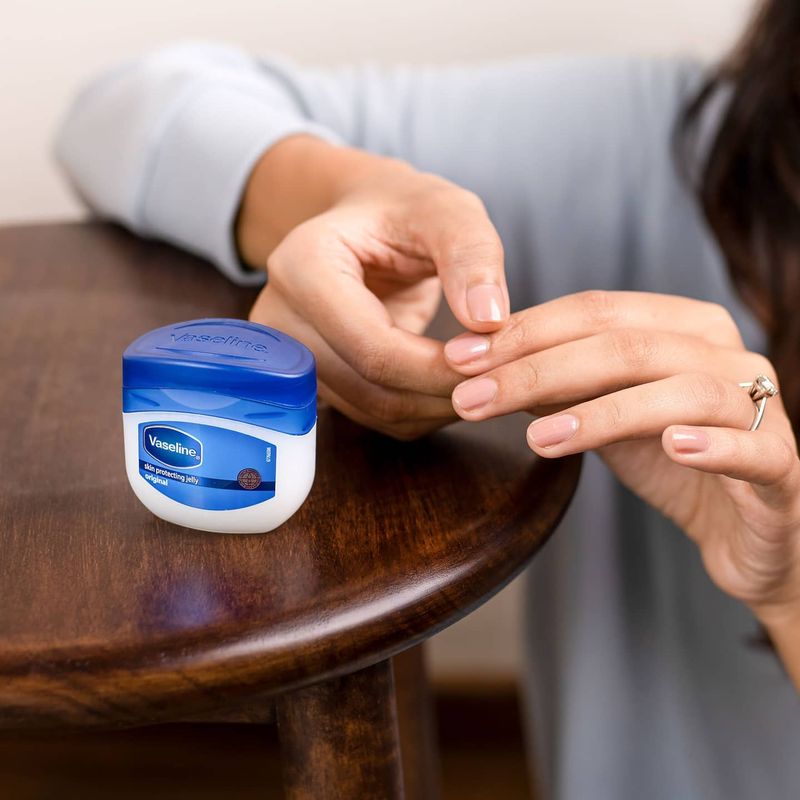
Apply petroleum jelly around your hairline and ears to protect your skin from irritation. This prevents the bleach from causing redness or discomfort, especially if your skin is sensitive.
4. Step 4: Mix the Bleach
In your mixing bowl, combine the bleach powder and developer. Stir until you achieve a smooth consistency. The mixture should be free of lumps, ensuring the bleach applies evenly to your hair.
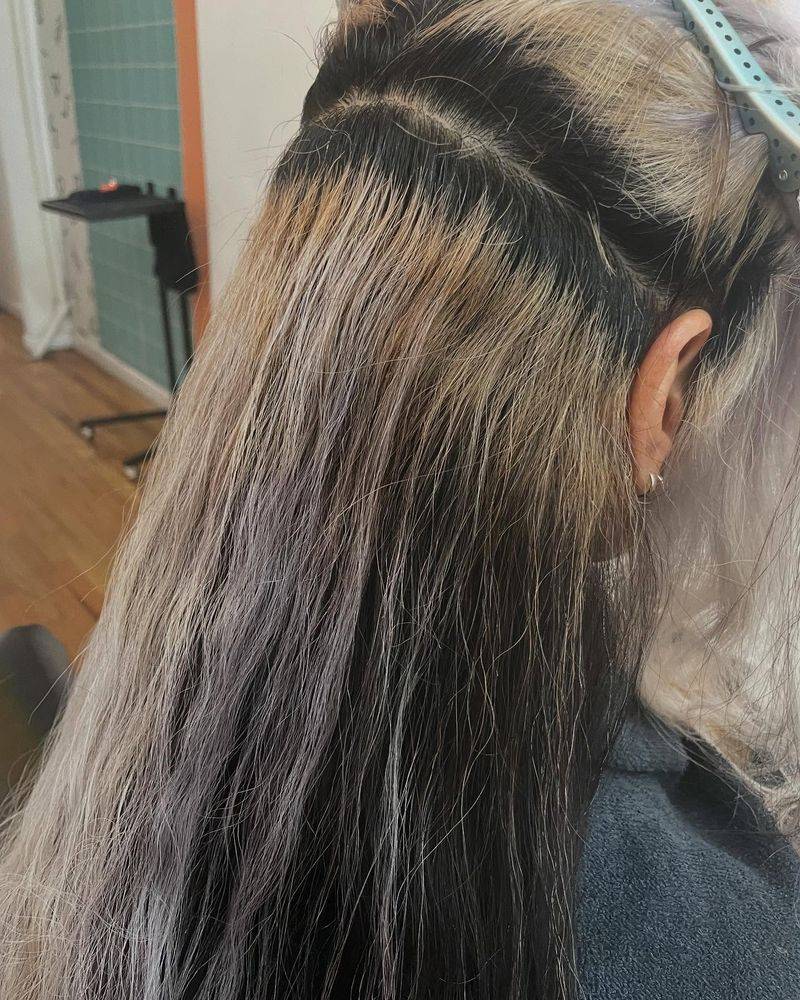
5. Step 5: Divide Your Hair into Sections
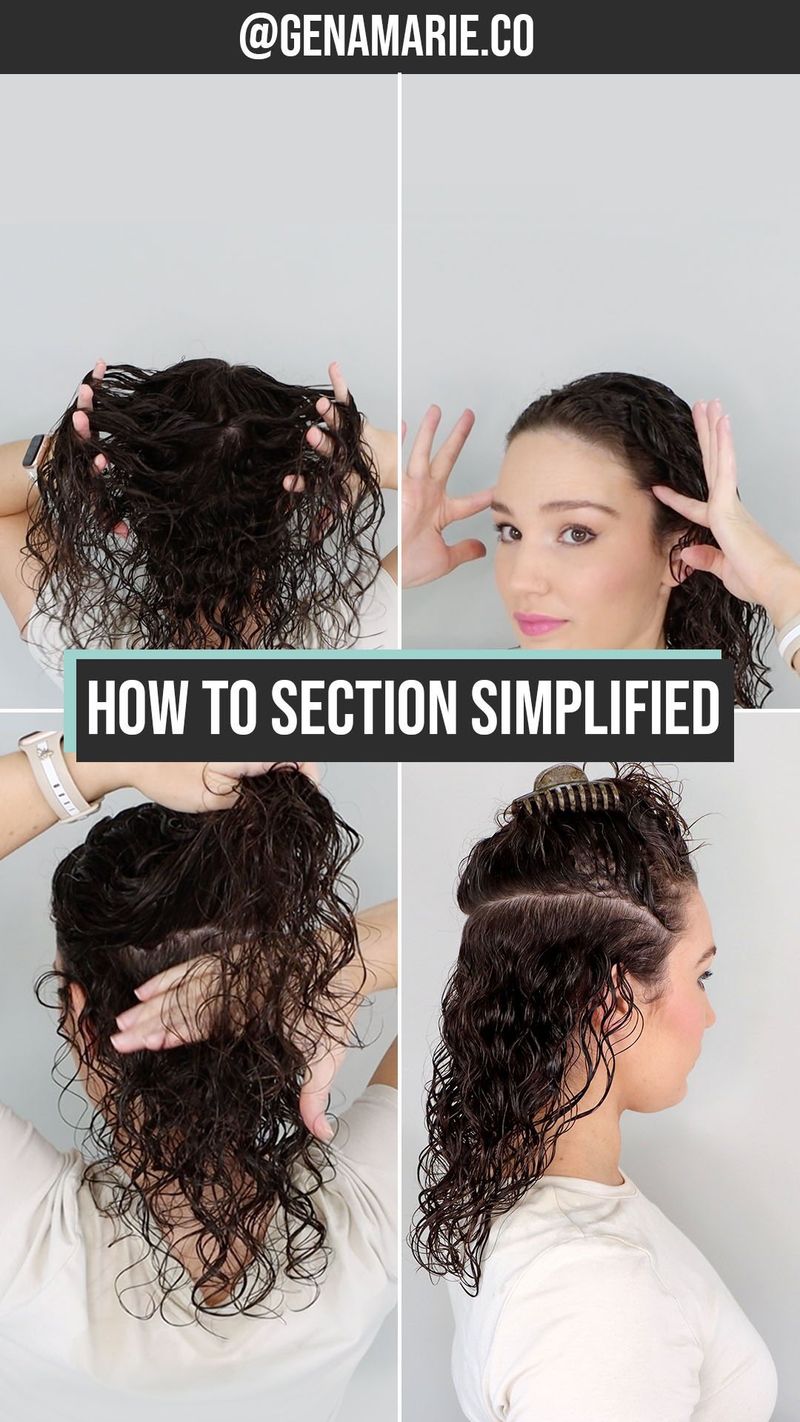
Part your hair into manageable sections using clips. This helps in even application and prevents missing spots. Proper sectioning is key for a uniform color throughout your hair.
6. Step 6: Apply the Bleach
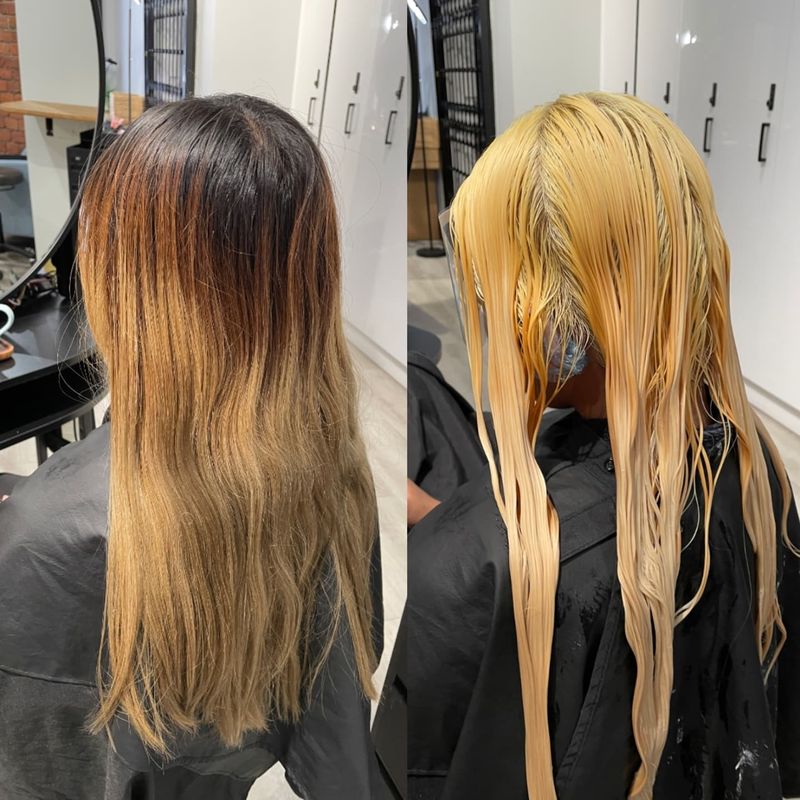
Starting from the ends, apply the bleach using a brush. Work your way up to the roots. This technique ensures the bleach processes evenly, avoiding uneven color and unwanted patches.
7. Step 7: Monitor the Processing Time
Keep a close eye on the clock to ensure you don’t over-process your hair. Regular checks every 10 minutes can prevent damage, leading to a healthy, vibrant finish.
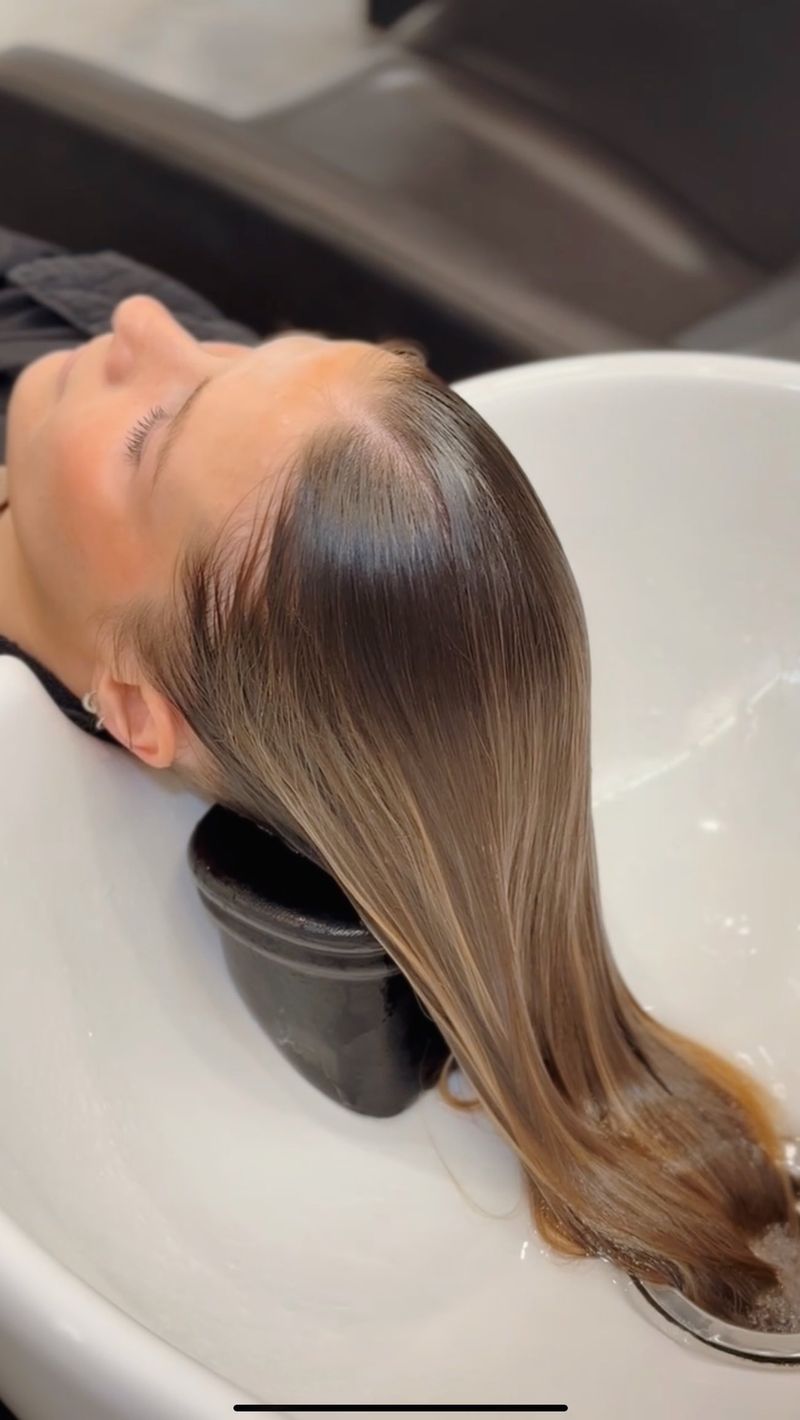
8. Step 8: Rinse Out the Bleach

Once the desired lightness is achieved, rinse your hair thoroughly with lukewarm water. This step washes away the bleach, stopping the lightening process and preparing your hair for the next stages.
9. Step 9: Deep Condition
After bleaching, your hair needs nourishment. Apply a deep conditioner to restore moisture and strength. This helps repair any damage and maintains healthy, shiny locks.
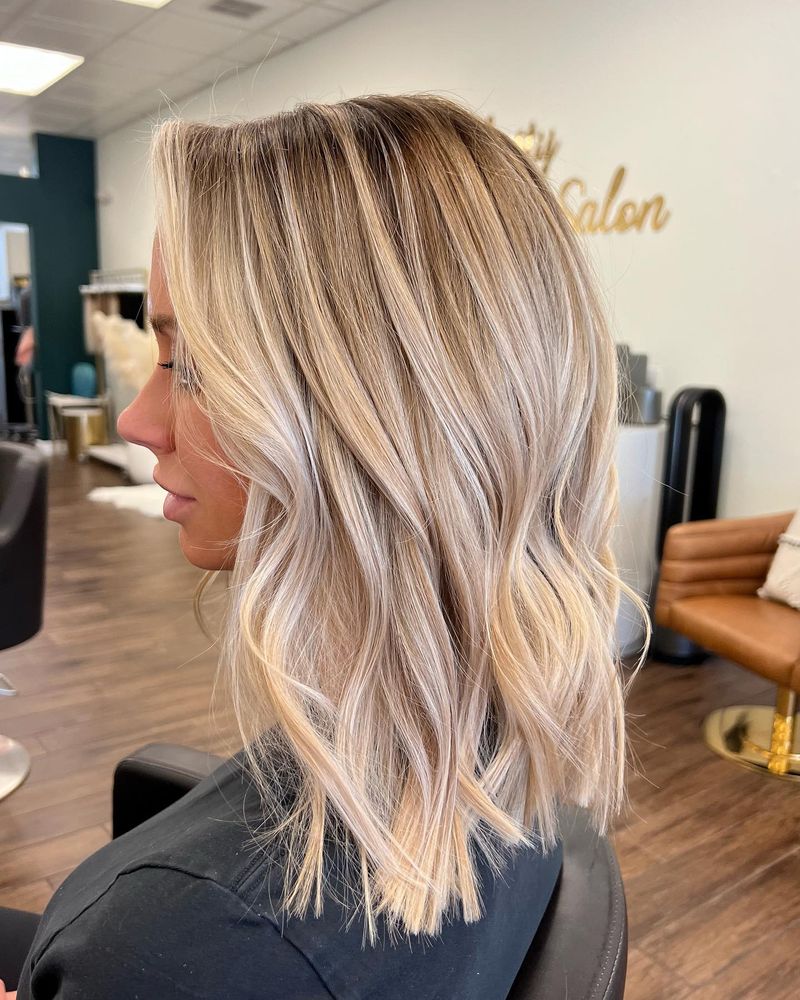
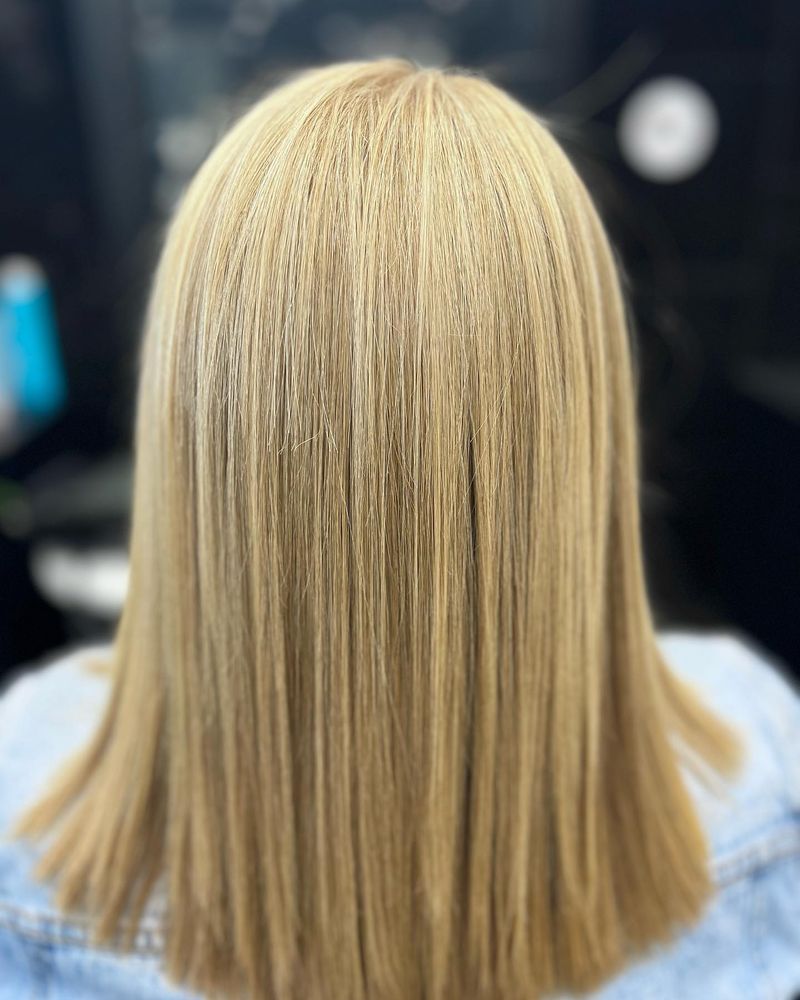
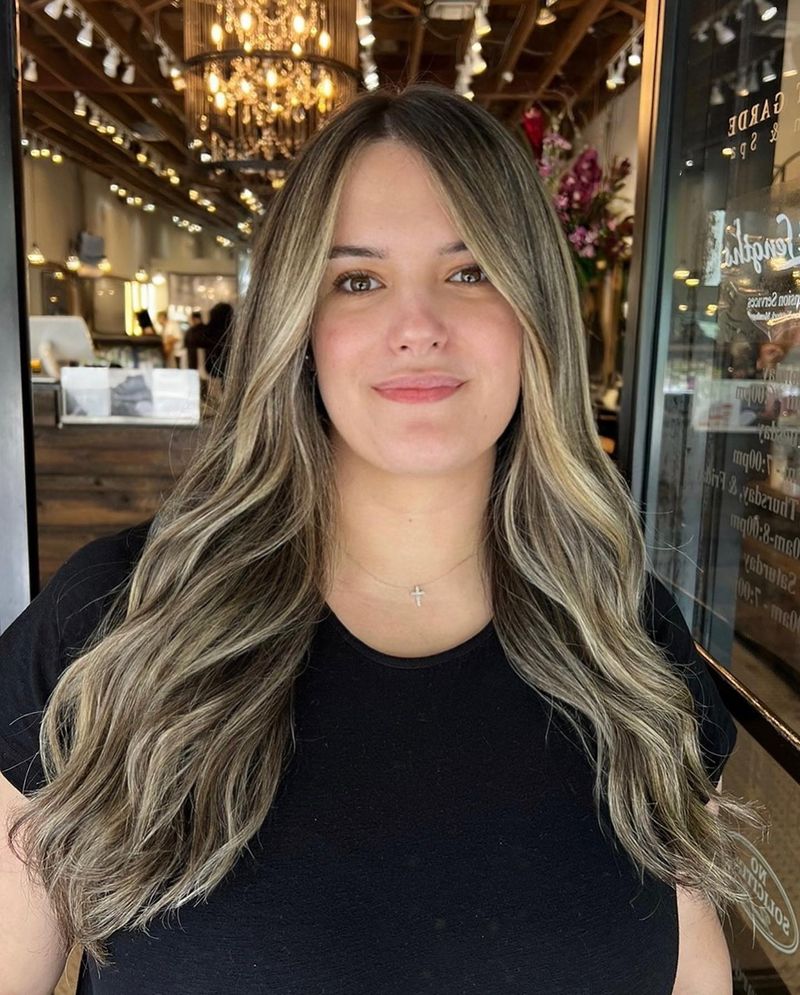
10. Step 10: Tone Your Hair

Use a purple shampoo or toner to counteract any brassiness. This step helps achieve a cooler, more natural color, enhancing the overall look of your bleached hair.
11. Step 11: Moisturize and Protect
Moisturizing is key to maintaining healthy hair after bleaching. Use a leave-in conditioner to lock in moisture and protect your hair from environmental damage.
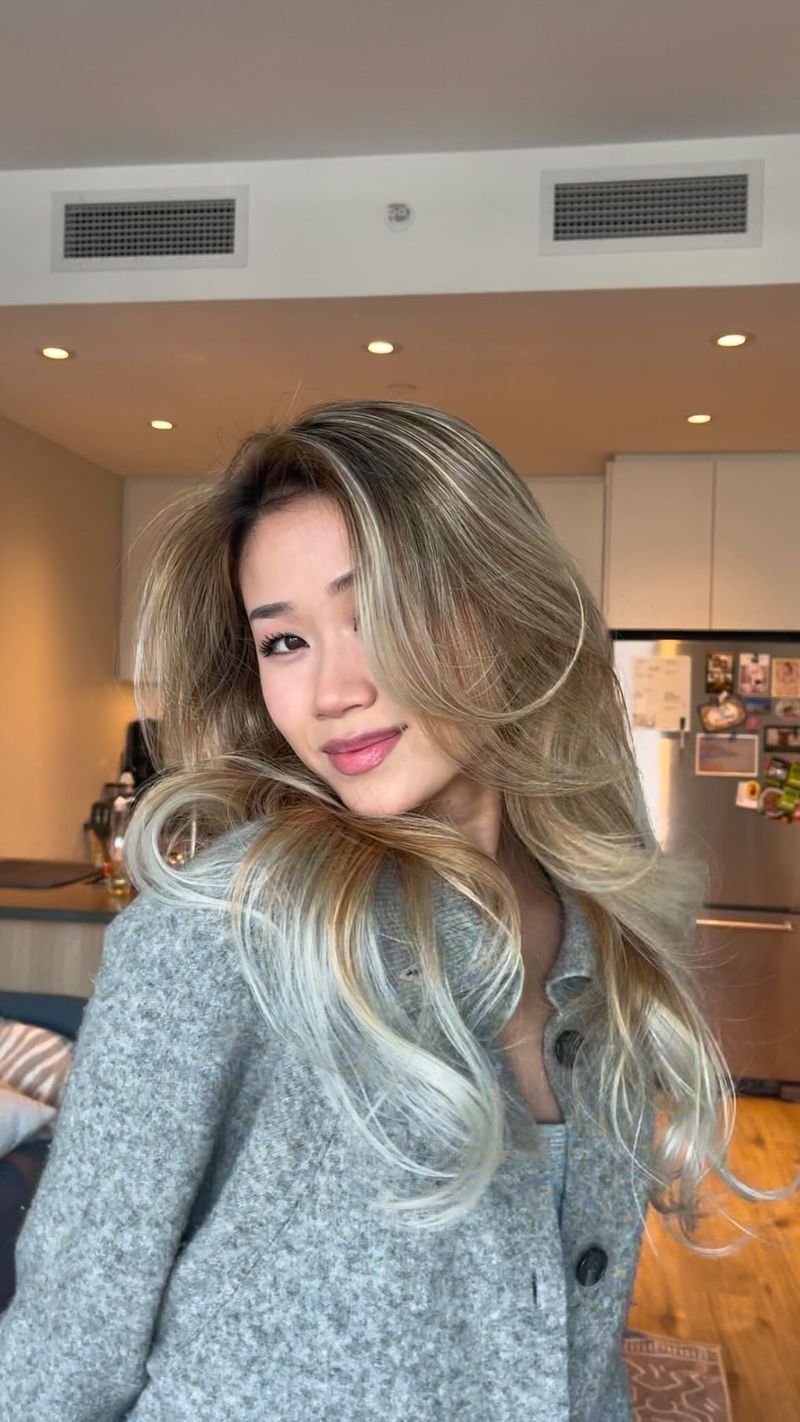
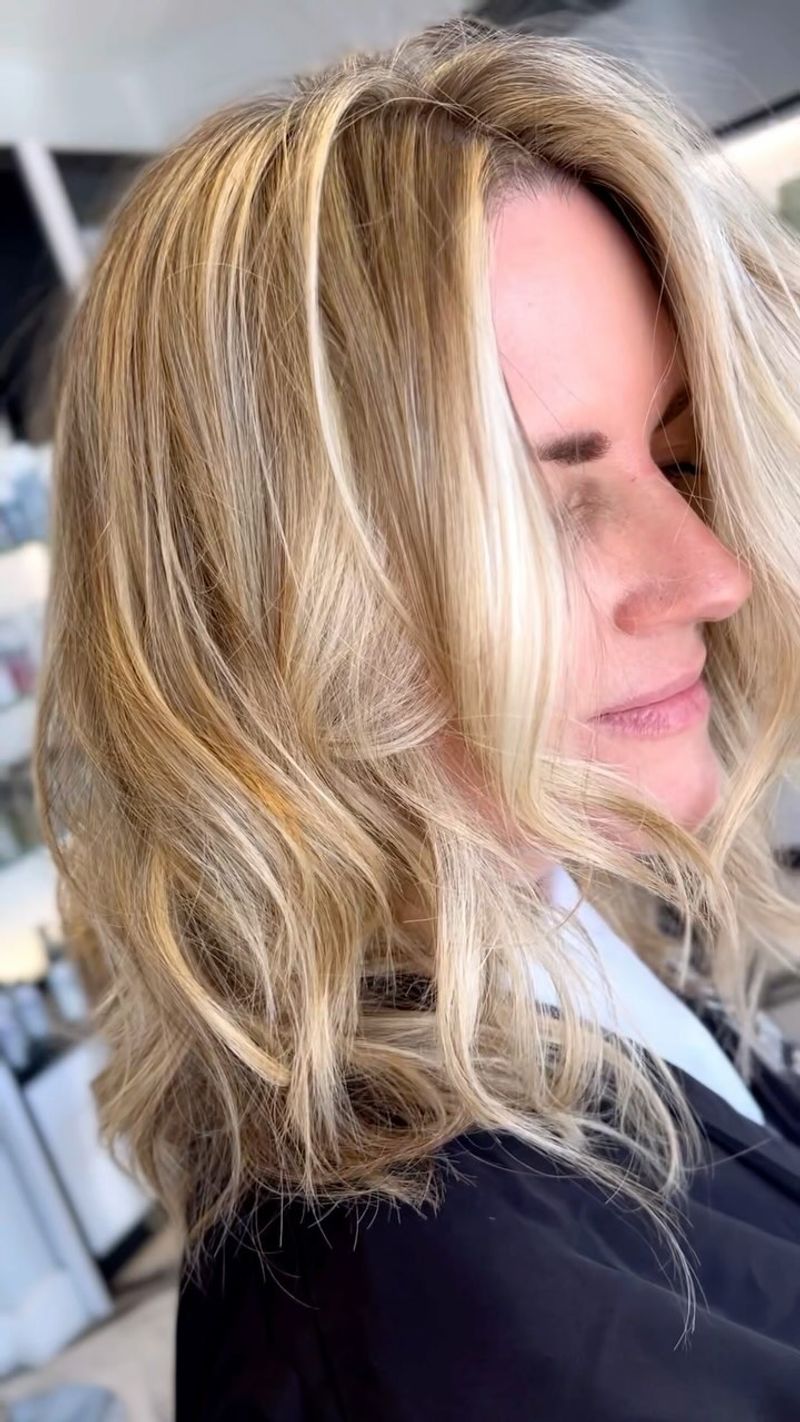
12. Step 12: Style Your Hair
With your hair lightened, explore new hairstyles that complement your look. Experimenting with different styles can enhance your new color and boost your confidence.
13. Step 13: Regular Touch-Ups
Maintain your look by doing regular root touch-ups. This ensures your hair remains vibrant and evenly colored, keeping the lighter shade fresh and consistent.
14. Step 14: Avoid Heat Tools
To prolong the health of your bleached hair, avoid using heat styling tools frequently. Excessive heat can lead to dryness and damage, so embrace natural textures and styles whenever possible.
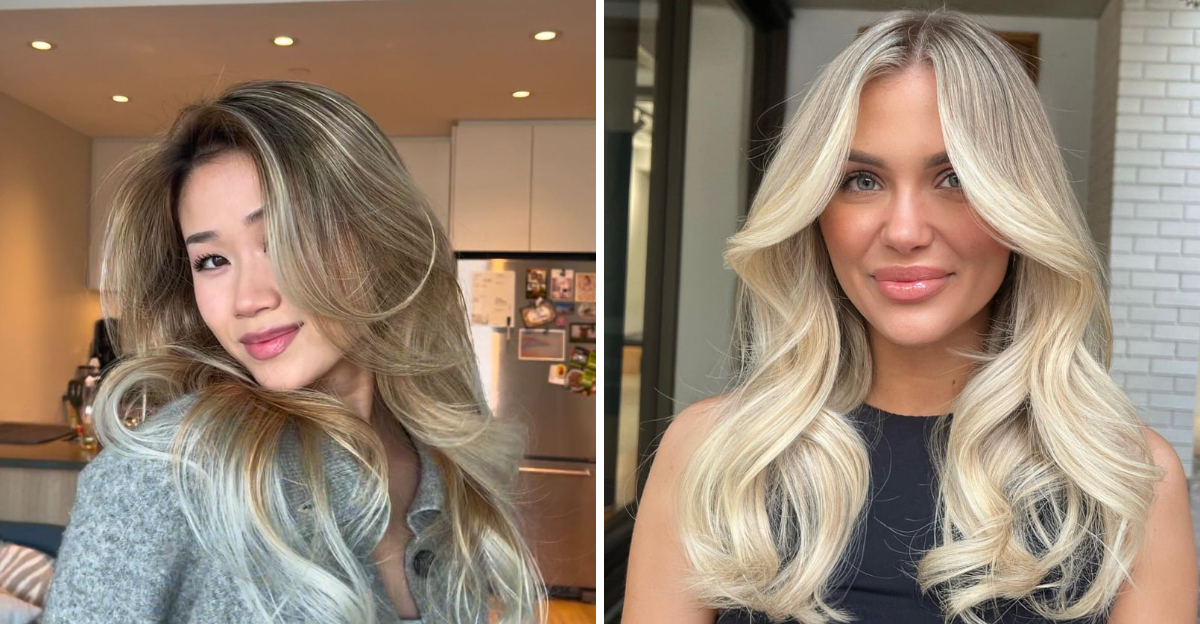
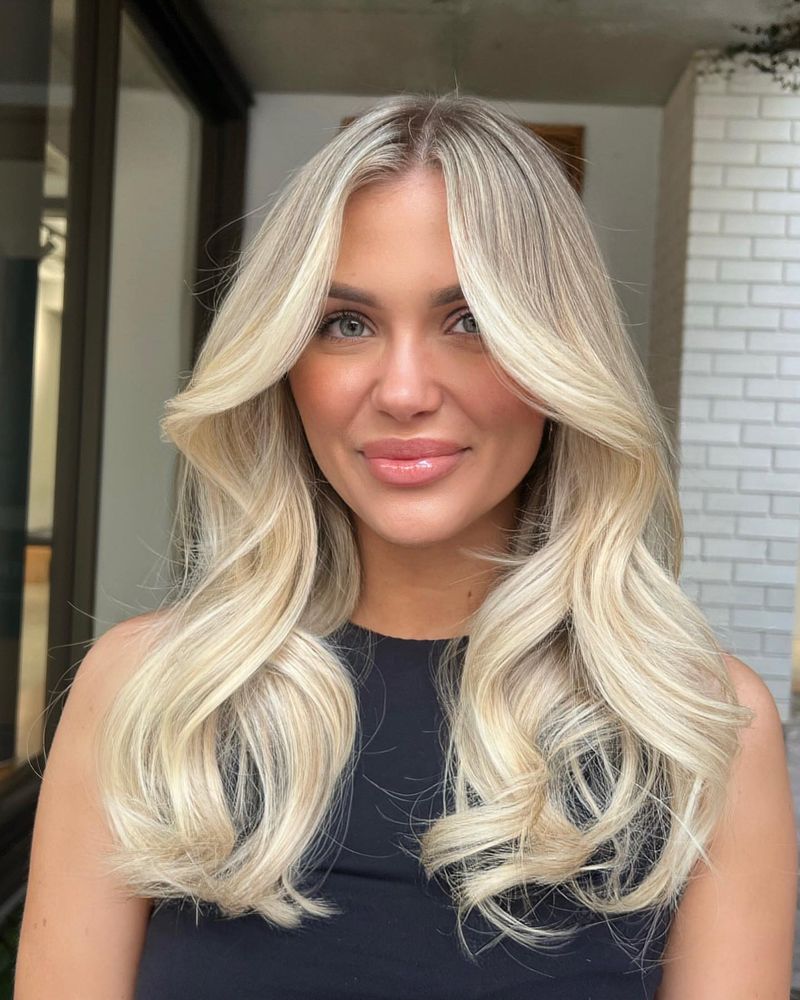
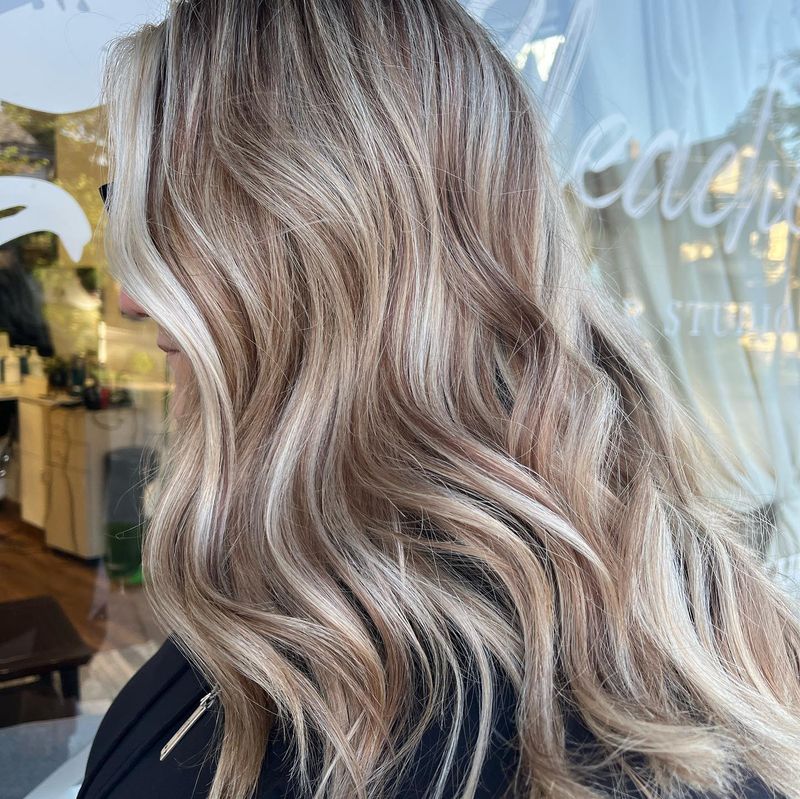
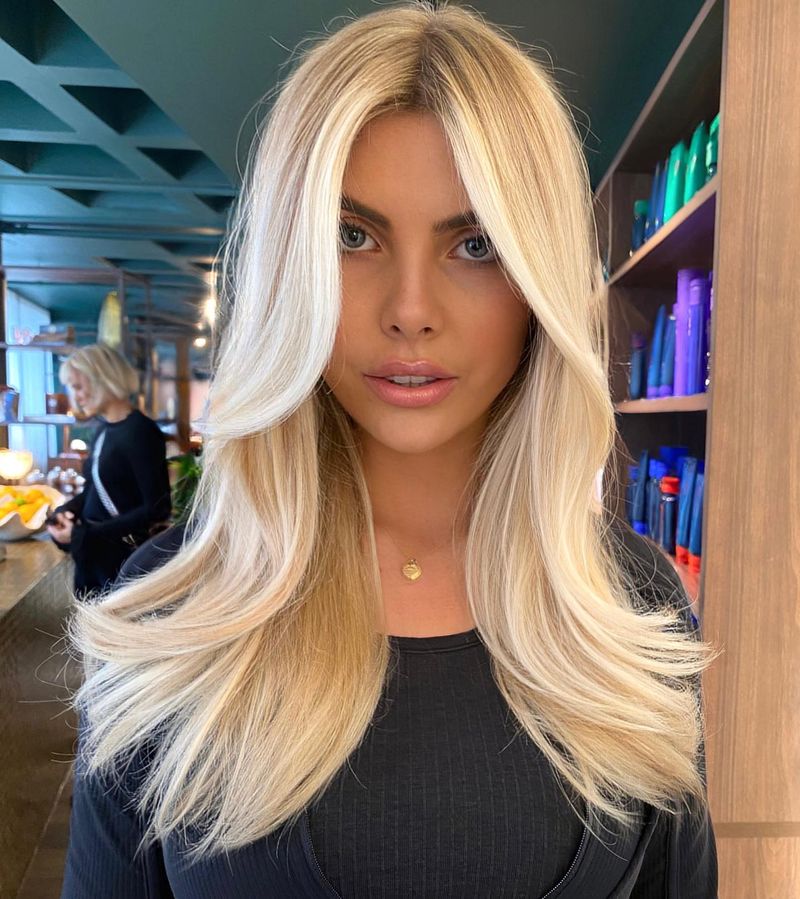
15. Step 15: Embrace Your New Look
Enjoy your beautiful new color! Flaunt your lighter locks with confidence, and remember that this transformation is a fresh beginning for your hair journey.