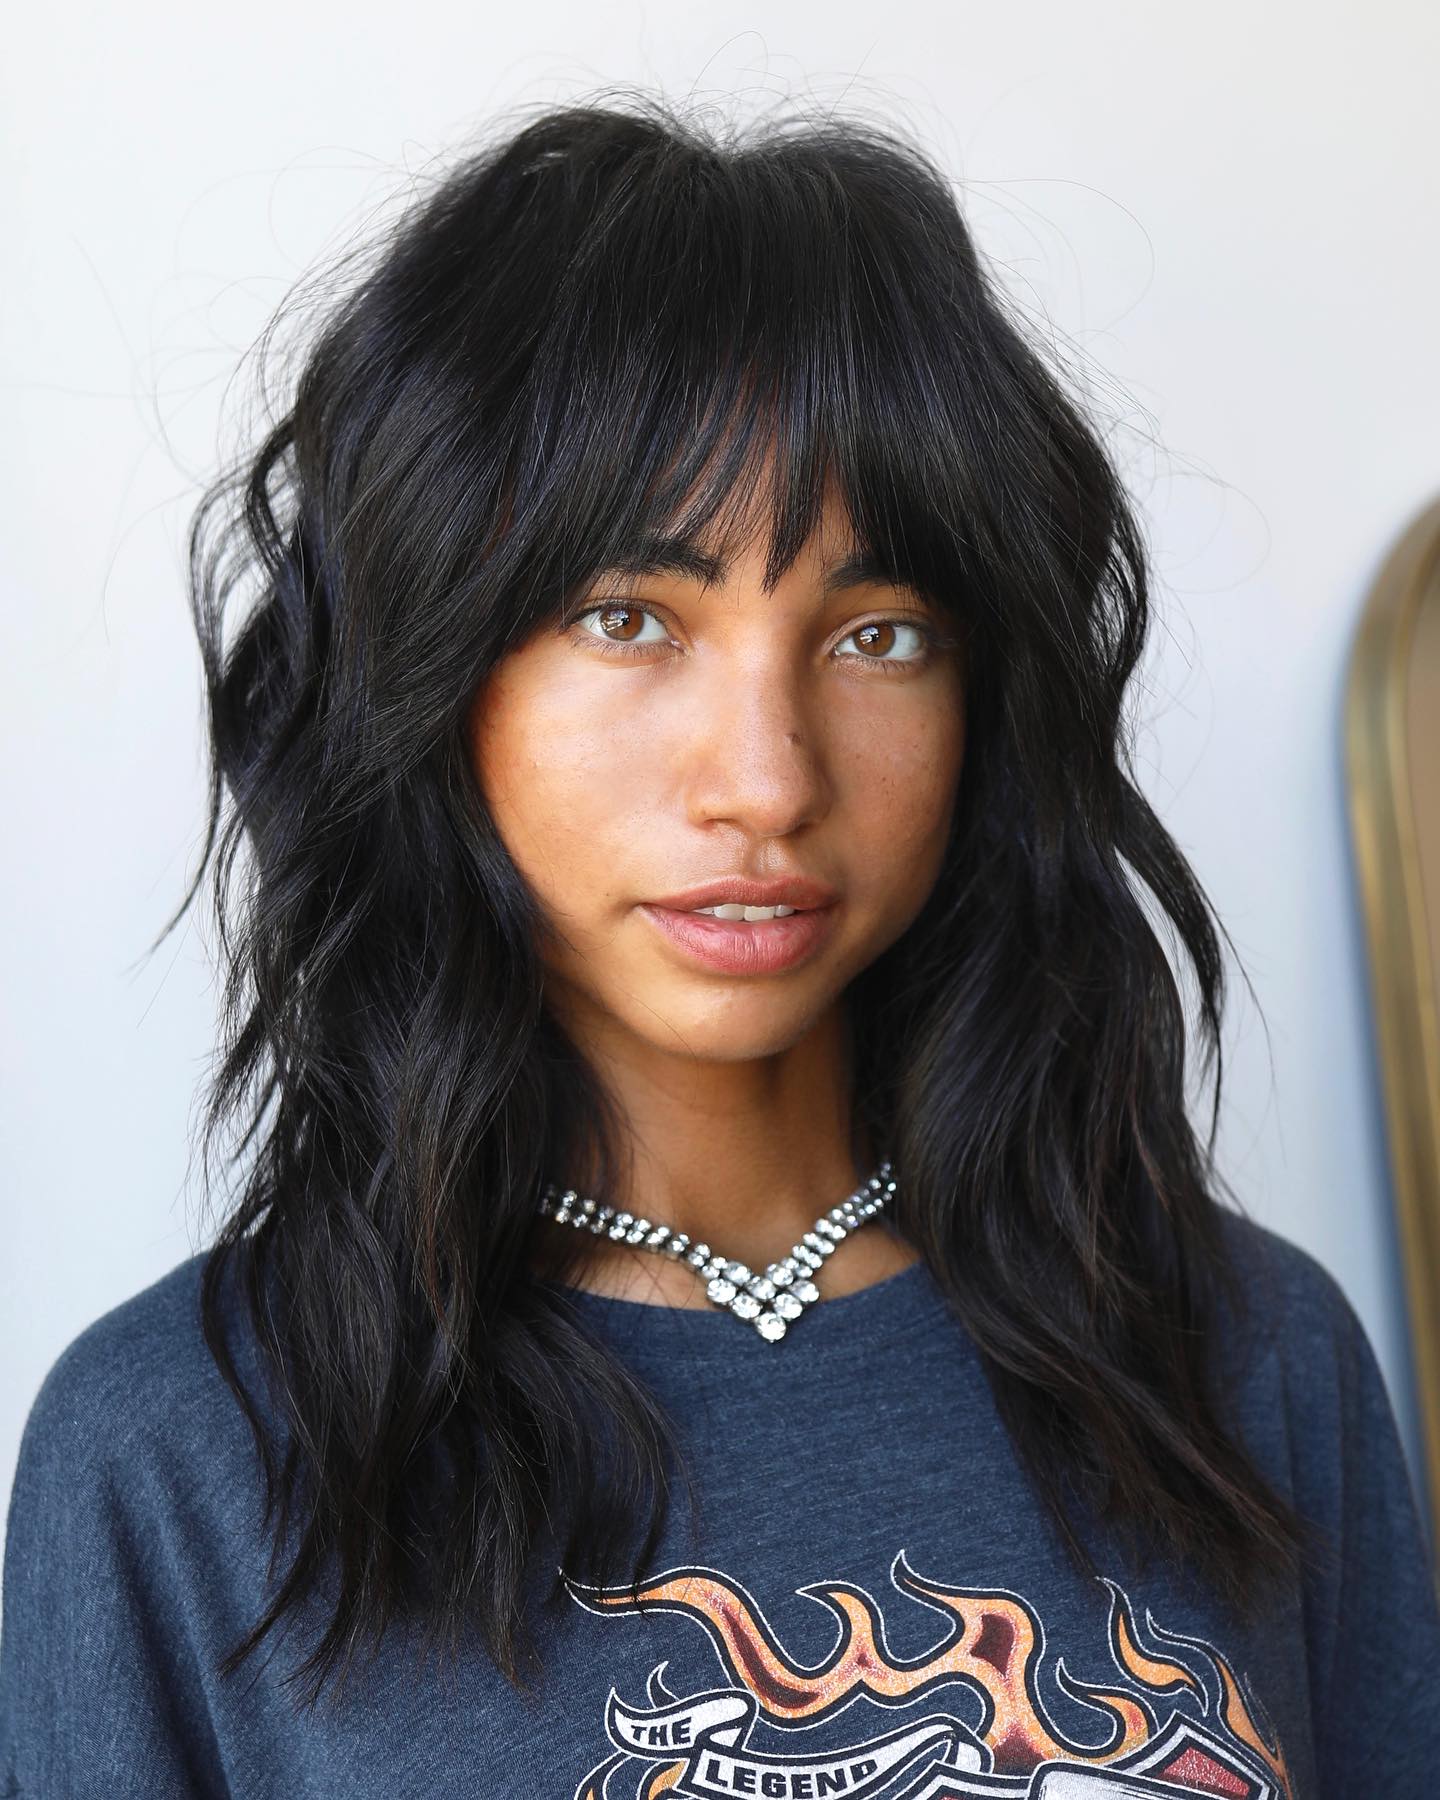
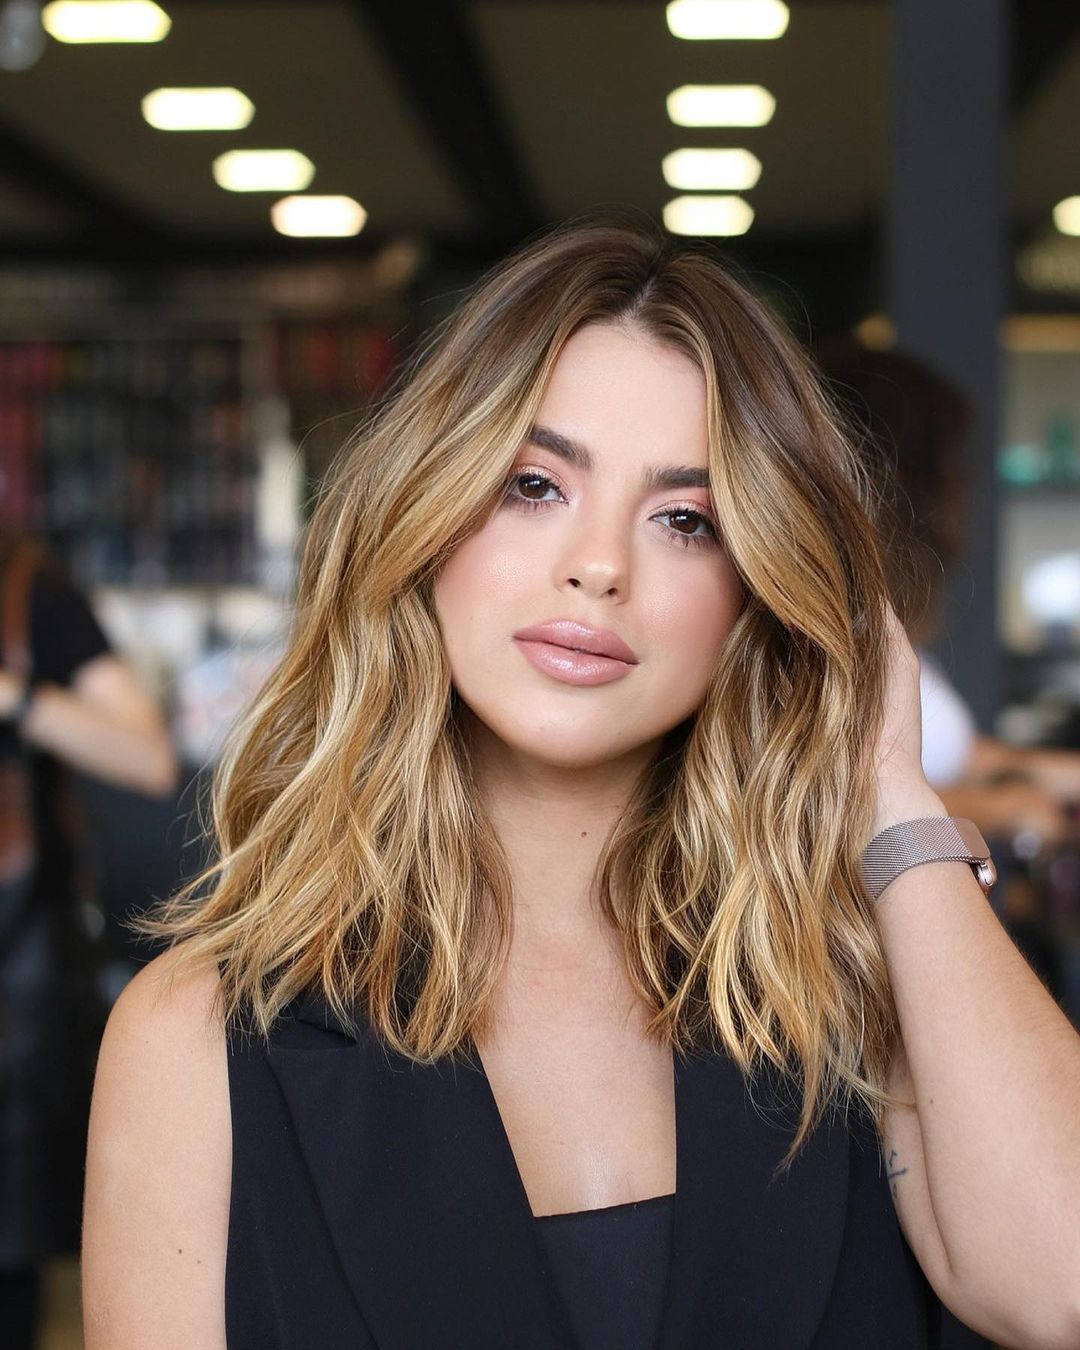
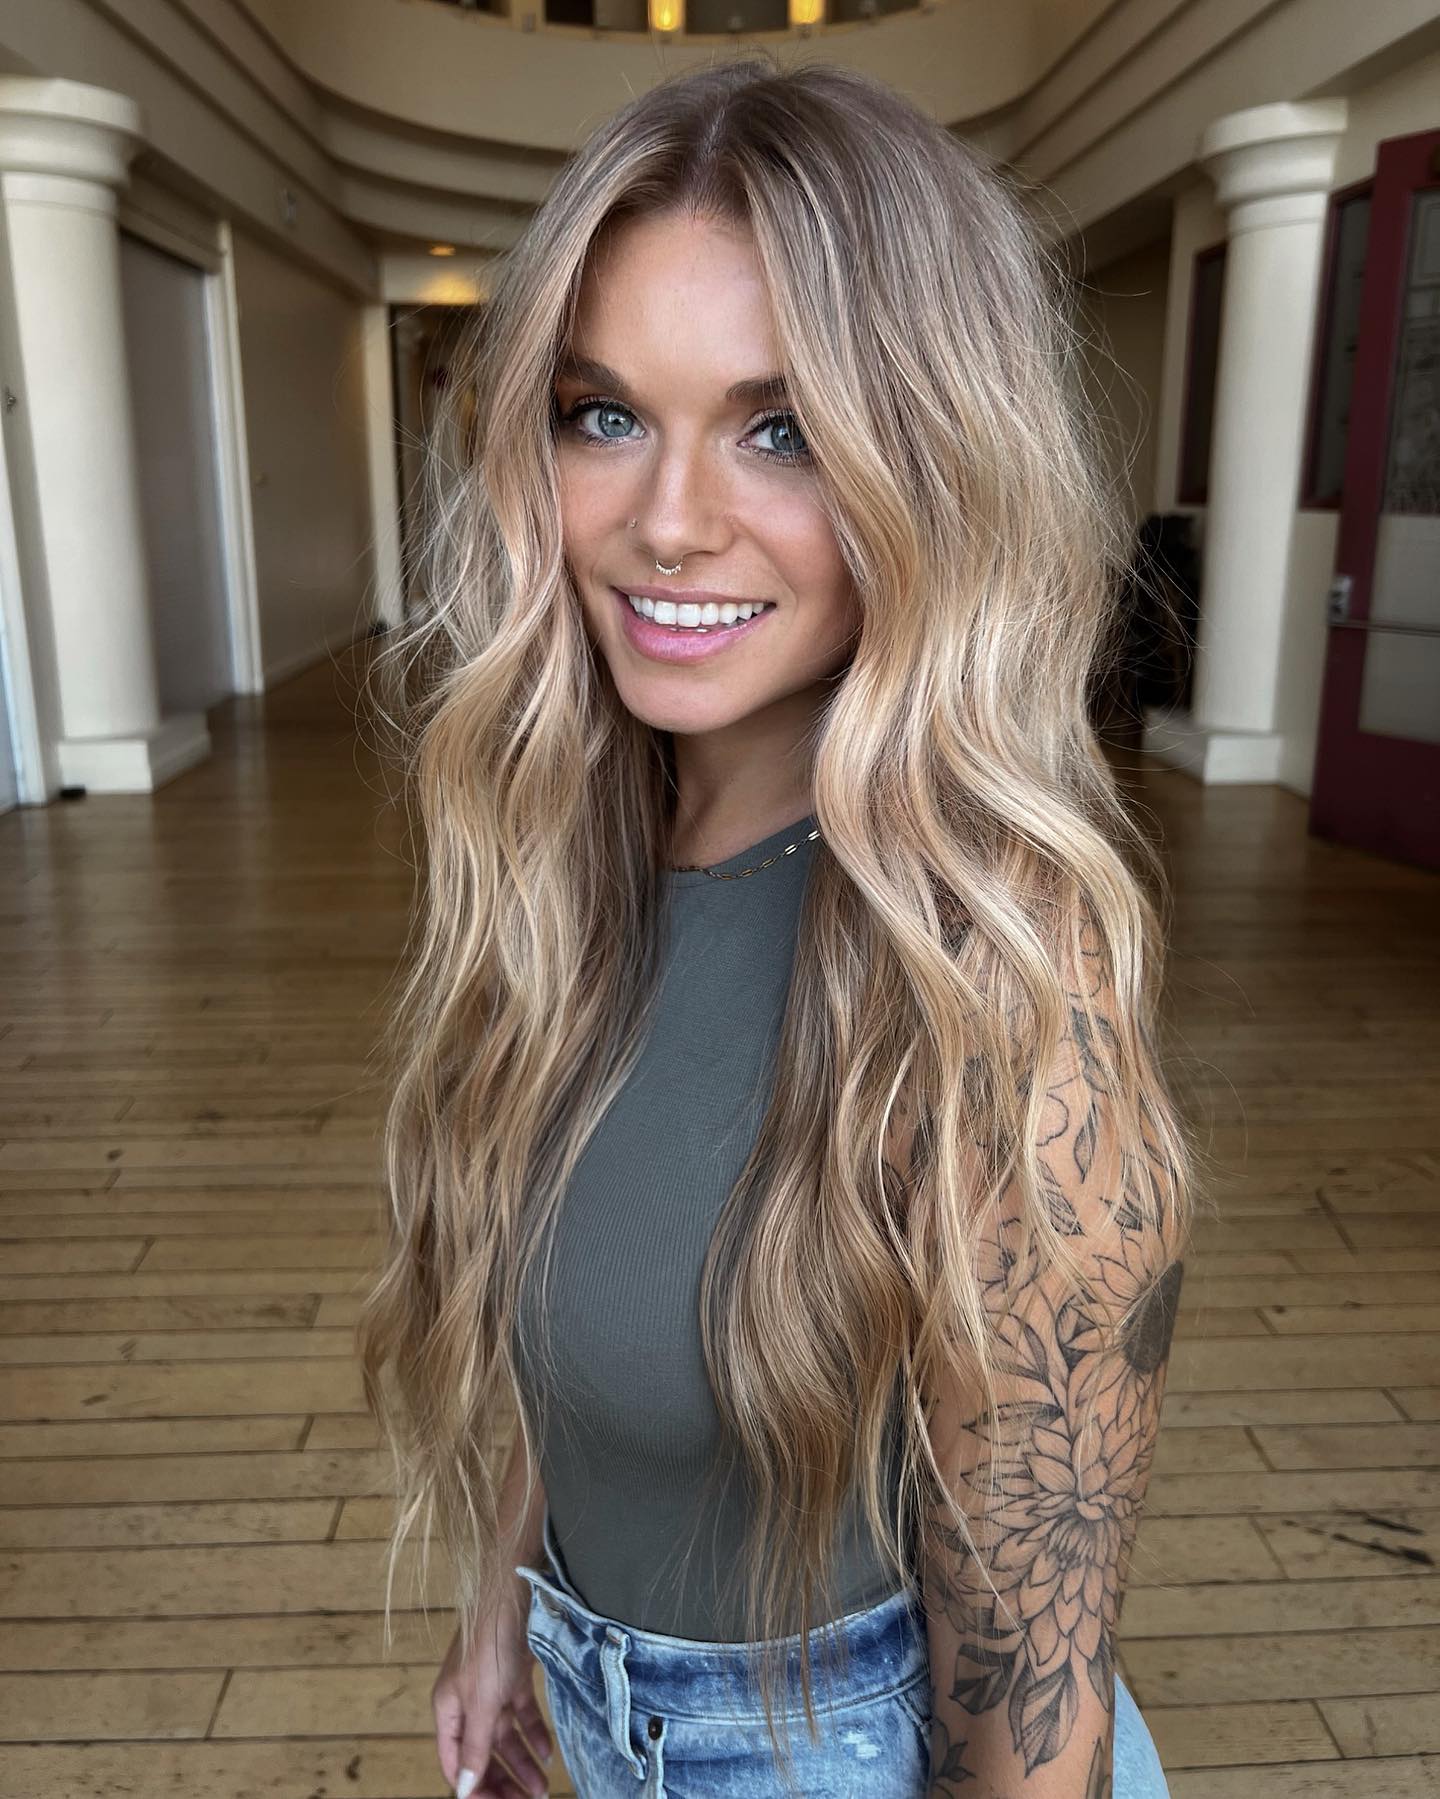
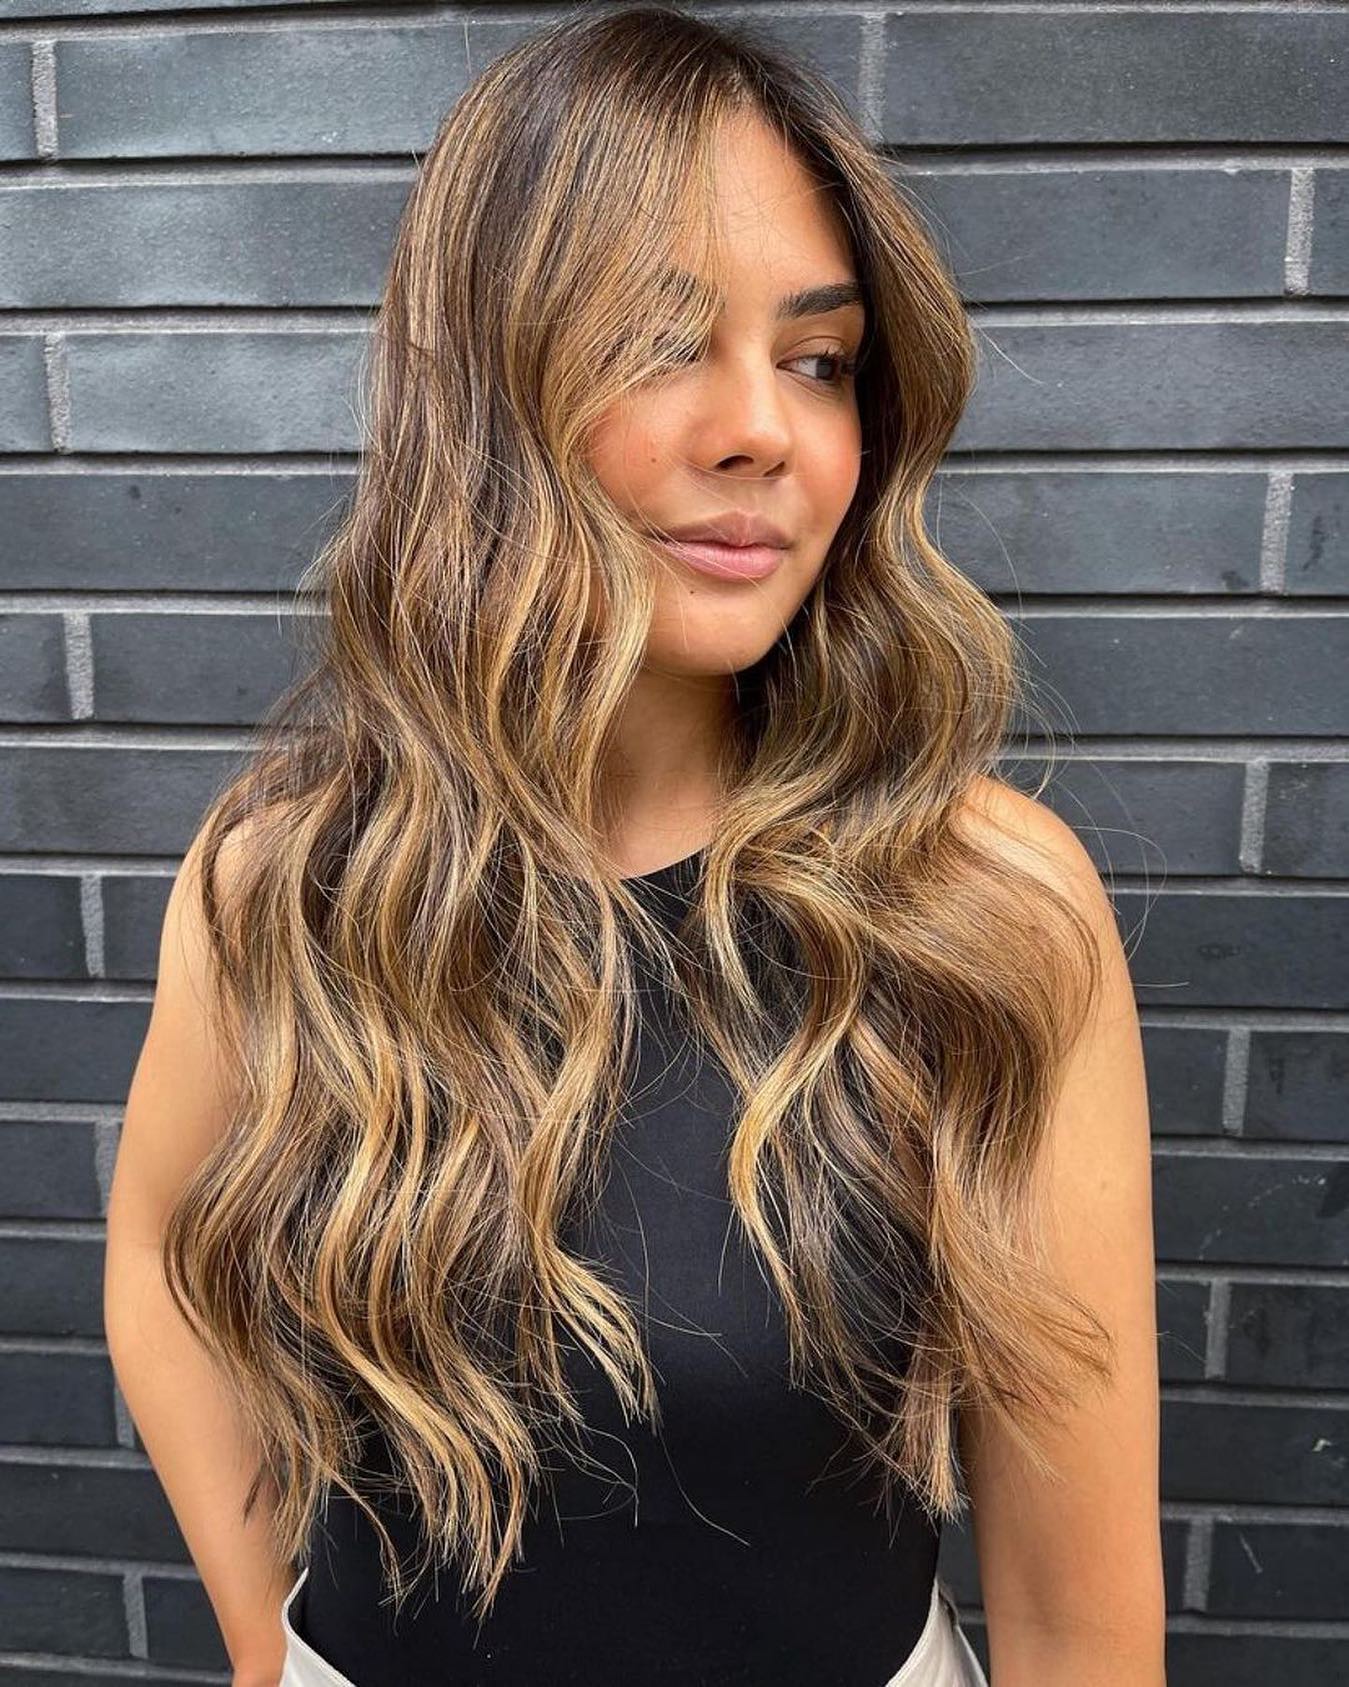
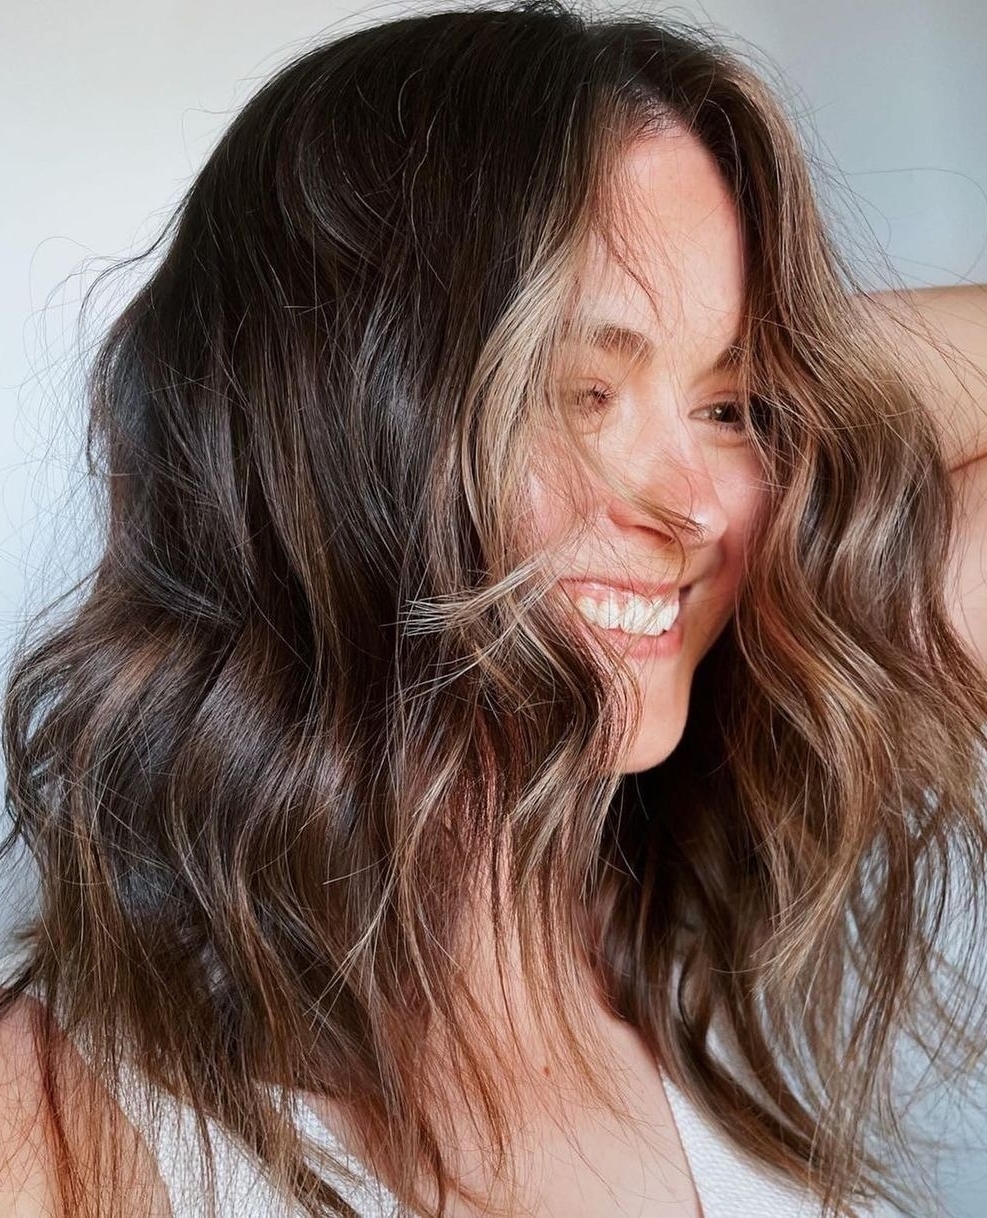
Hairstyle trends may come and go, but we can’t seem to get over beach waves. Loved by fashionistas worldwide and the personal favorite of many hairstylists, this laid-back yet glamorous style continues to reign supreme: everyone covets the perfect beach waves. Tousled, effortless and pretty, this versatile and wearable way to wear your hair looks amazing on all hair lengths and face shapes.
We’ll walk you through everything you need to know to master this iconic look, with plenty of example pics to inspire you. Grab your styling tools and don’t forget to bring heat protection!
How To Get Perfect Beach Waves
We’ll praise this gorgeous style later; right now, let’s get right down to what you came here for: tips for achieving flawless beach waves.
Related: -15 Subtle Reasons People Stop Loving Their Hair as They Get Older
Depending on your preferences, you can use a curling iron, a hair straightener or opt for one of many heatless methods. Let’s explore these techniques in detail.
Beach Waves Using Heat Styling Tools
You can create gorgeous waves with a curling iron or a flat iron. Both tools will give you similar results and in the end, it comes down to what you prefer or which tool you already have. The secret is not in the tool, but in the technique.
The steps are the same for both—prep, curl, finish—but the way the tools are used is different.
1. Prep
- Dry or blow dry your hair. Always start with clean, dry hair when using heat styling tools. If your hair is wet or damp, applying direct heat will damage it. You can touch up day-old waves, but you won’t be able to create a great look from scratch if your hair isn’t fresh.
- Apply products: a heat protectant to shield your hair from the heat and a product with hold to make your waves last longer. Find more details about the products below.
- Divide your hair into manageable sections using hair clips or pins. This makes it easier to style and prevents overexposure to heat. Depending on the length and density of your hair, you might need more or fewer sections, or none at all if you’re only doing accents or the hair near your face.
2. Curl with a curling iron
- What size curling iron is best for beach waves? If you have short hair or prefer tighter waves, the most versatile curling iron size is 1″ barrel. If your hair is past your shoulder or you prefer loose waves, 1.25″ barrel is perfect for beachy waves.
- What type of curling iron to use? Ceramic barrels distribute heat evenly and help reduce frizz, so they’re the most common material for heat styling tools. Tourmaline barrels emit negative ions that seal the hair cuticle, resulting in smoother, shinier waves. Titanium barrels heat up quickly and maintain high temperatures, which makes them great for thick or coarse hair, but they can also damage your hair unless you’re careful.
- Creating perfect waves will take some trial and error, and the way you hold the curling iron is key. Watch the following tutorial, then practice the movement with the curling iron turned off until you get the hang of it.
2. Curl with a flat iron
- Choose a flat iron with curved edges for smoothest waves. Flat irons are made of the same materials as curling irons—check out the information above for more details.
- There are multiple ways to curl your hair using a hair straightener, each with slightly different results. If you’re a beginner, try this tutorial for a simple method that works.
3. Finish up
- Break up the waves by running your fingers through the ends or brush through for even looser look. Make sure your waves are cool before you touch them or they might loosen too much.
- Spray with hairspray or texturizing spray.
STYLING TIPS
- Curl the front pieces away from the face. Then, you can alternate the direction to get a more tousled look.
- Take small sections of hair, about 1-2 inches wide.
- Leave about 1-2 inches at the end to get that carefree beachy look.
- Let your curls set before you touch them.
- If not sectioning your hair, curl in the front, then go towards the back, working your way around your head.
- If you’re going for an extra laid-back look, you can only curl random sections, focusing on the face-framing pieces.
- Let the heat go through the hair and remove the tool to avoid damage. A slow single pass is better than going through your hair multiple times.
- Never exceed 450ºF, and the temperature should only go this high if you have coarse hair that otherwise won’t curl. Go with the lowest setting of your curling iron if you have fine hair, no higher than 200ºF.
- To make your waves last longer, spray each strand with texture spray immediately after you curl it, then let it cool.
PRODUCT TIPS
When aiming for beach waves, selecting the right products can make a significant difference. Protect your hair and add texture and shine to your gorgeous waves. Here’s what each product does.
- Use shampoo and conditioner that don’t weigh your hair down.
- Lightweight leave-in conditioner will keep your hair hydrated and nourished and give you an extra level of protection.
- Apply a heat protectant spray or serum to your hair before using heat styling tools to protect your hair from high temperatures.
- Mousse specifically meant for waves is lightweight and provides hold without stiffness. Apply to damp hair.
- Texturizing spray will add grip and volume to hair, making it easier to create waves. You can also use dry shampoo to achieve this.
- Hair oil or serum will tame frizz and add a glossy finish to your beach waves. Apply to the ends of your hair after styling.
- Flexible hold hairspray can set your waves without sacrificing movement.
SAFETY TIPS
When working with heat styling tools, safety comes first.
- Adjust temperature settings: use the lowest effective temperature for your hair type to minimize heat damage. Fine or damaged hair should use lower temperatures, while thicker hair may need higher temperatures.
- Preheat your heat styling tool fully to prevent hot spots that can lead to damage.
- Avoid leaving the tool in one spot for too long and keep it moving along the length of your hair to prevent overheating.
- Don’t overuse hot tools and give your hair a break from heat to prevent damage.
Heatless Beach Waves
It seems like there’s always a brand new heatless waves technique going viral, but there are some tried and true methods that have been proven to work.
The underlying concept is the same for all: you dampen your hair, then twist, braid or wrap your tresses around a tool. Leave overnight to wake up with wavy hair. Some common heatless styling methods are:
BRAIDS
Before going to bed, braid your hair into several sections and undo in the morning. The type of waves depends on the size of the braids and how tight you make them.
PIN CURLS
Divide your hair into several sections, twist each section and secure it with a bobby pin.
SOCK BUN METHOD
Cut the toe off of a clean sock and roll it into a doughnut shape. Tie a high ponytail, pull it through the sock donut, then wrap sections around the sock bun, securing with pins. This works best for very long hair.
HEADBAND CURLS
Place a headband around your head. Take small sections of hair and wrap them around the headband, tucking the ends in.
WRAP WAVES
Place a commercial curling rod or a simple bathrobe belt across the top of your head and wrap sections around it.
PAPER TOWELS/RAGS
Cut rags or paper towels into strips, roll small sections of hair around them and tie them up.
ROPE BRAID WAVES
Create two rope braids on damp hair, air dry and unravel for waves.
HEATLESS WAVES: PROS AND CONS
The advantages of heatless methods can’t be overstated: you get beach waves but no heat damage, and it’s all yours with minimum effort and hassle. But while they’re convenient and gentle on your hair, they do come with some considerations.
- They’re time-consuming and often require leaving your hair overnight or for several hours to set the waves.
- The outcome can be unpredictable. Some days, you might wake up with perfect waves, while other times they may not turn out so great.
- You have less control. With heat styling tools, you have precise control over the temperature and direction of the curls, while you might not achieve uniform waves throughout your hair with a heatless method.
- If you have short hair, achieving beach waves without heat can be difficult because heatless methods work best on medium to long hair.
- Heatless waves may not last as long as curls created with heat. They might lose their shape faster, especially if your hair is prone to straightening out.
- Most heatless methods involve dampening your hair, which can lead to frizz.
Now for the fun part: inspo pics. Take a look at beach waves in all their glory and you’ll start getting those tools ready!
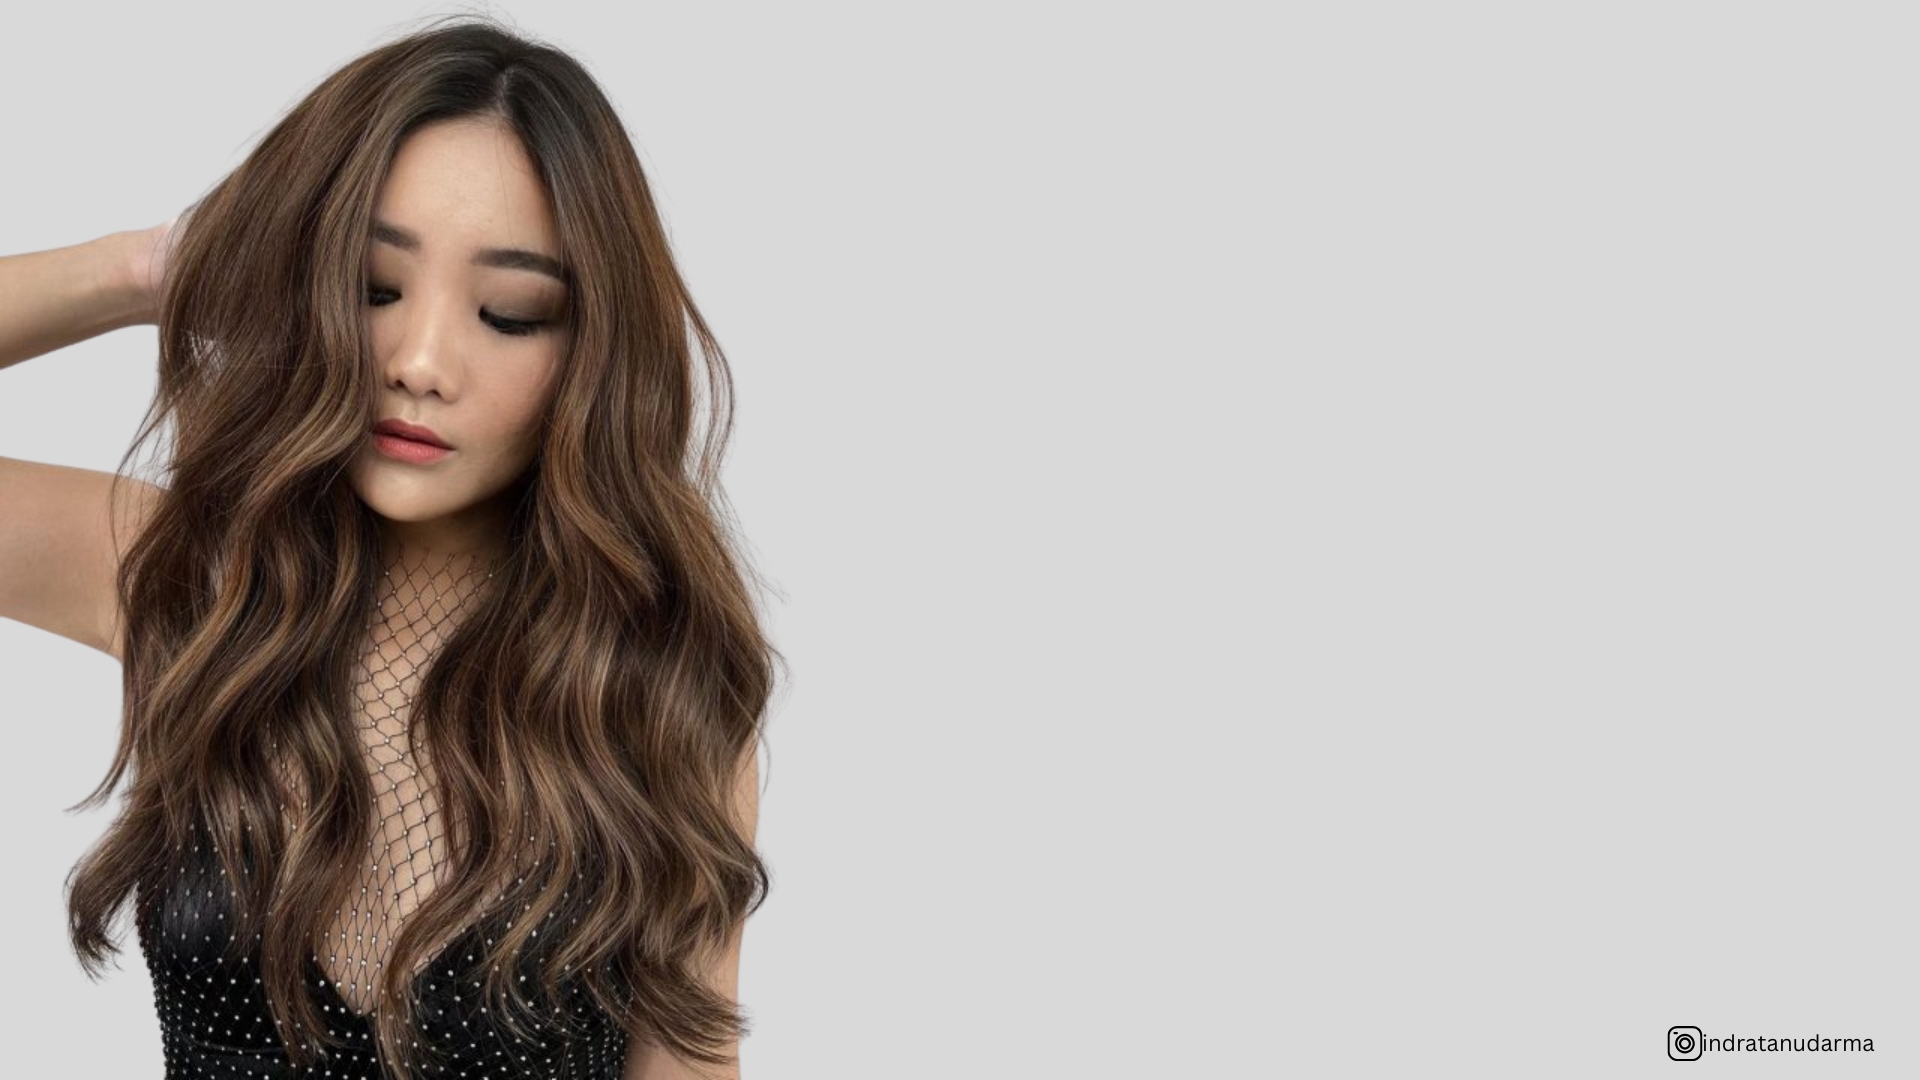
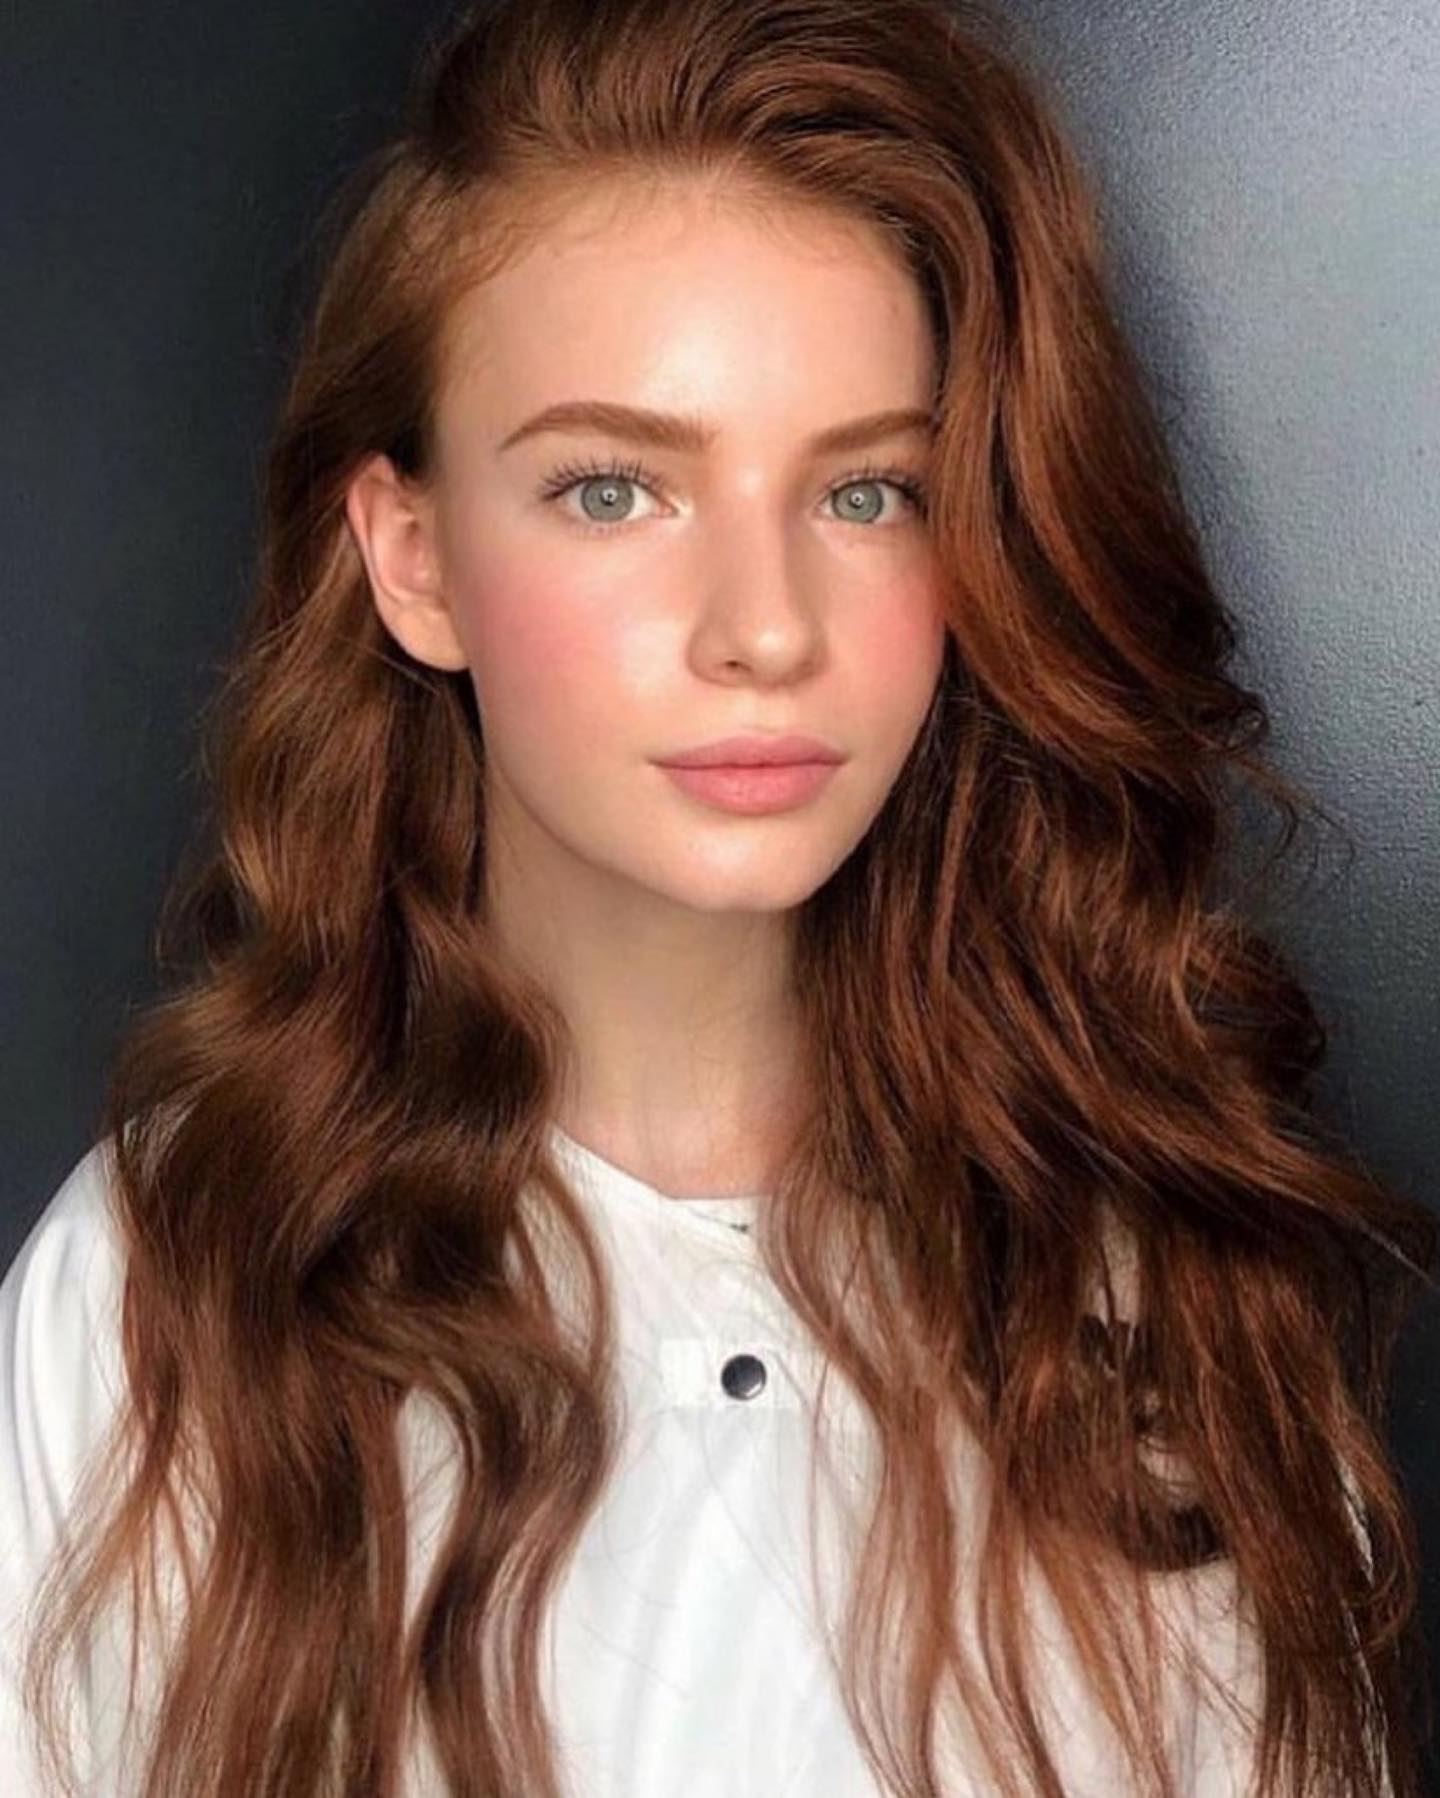
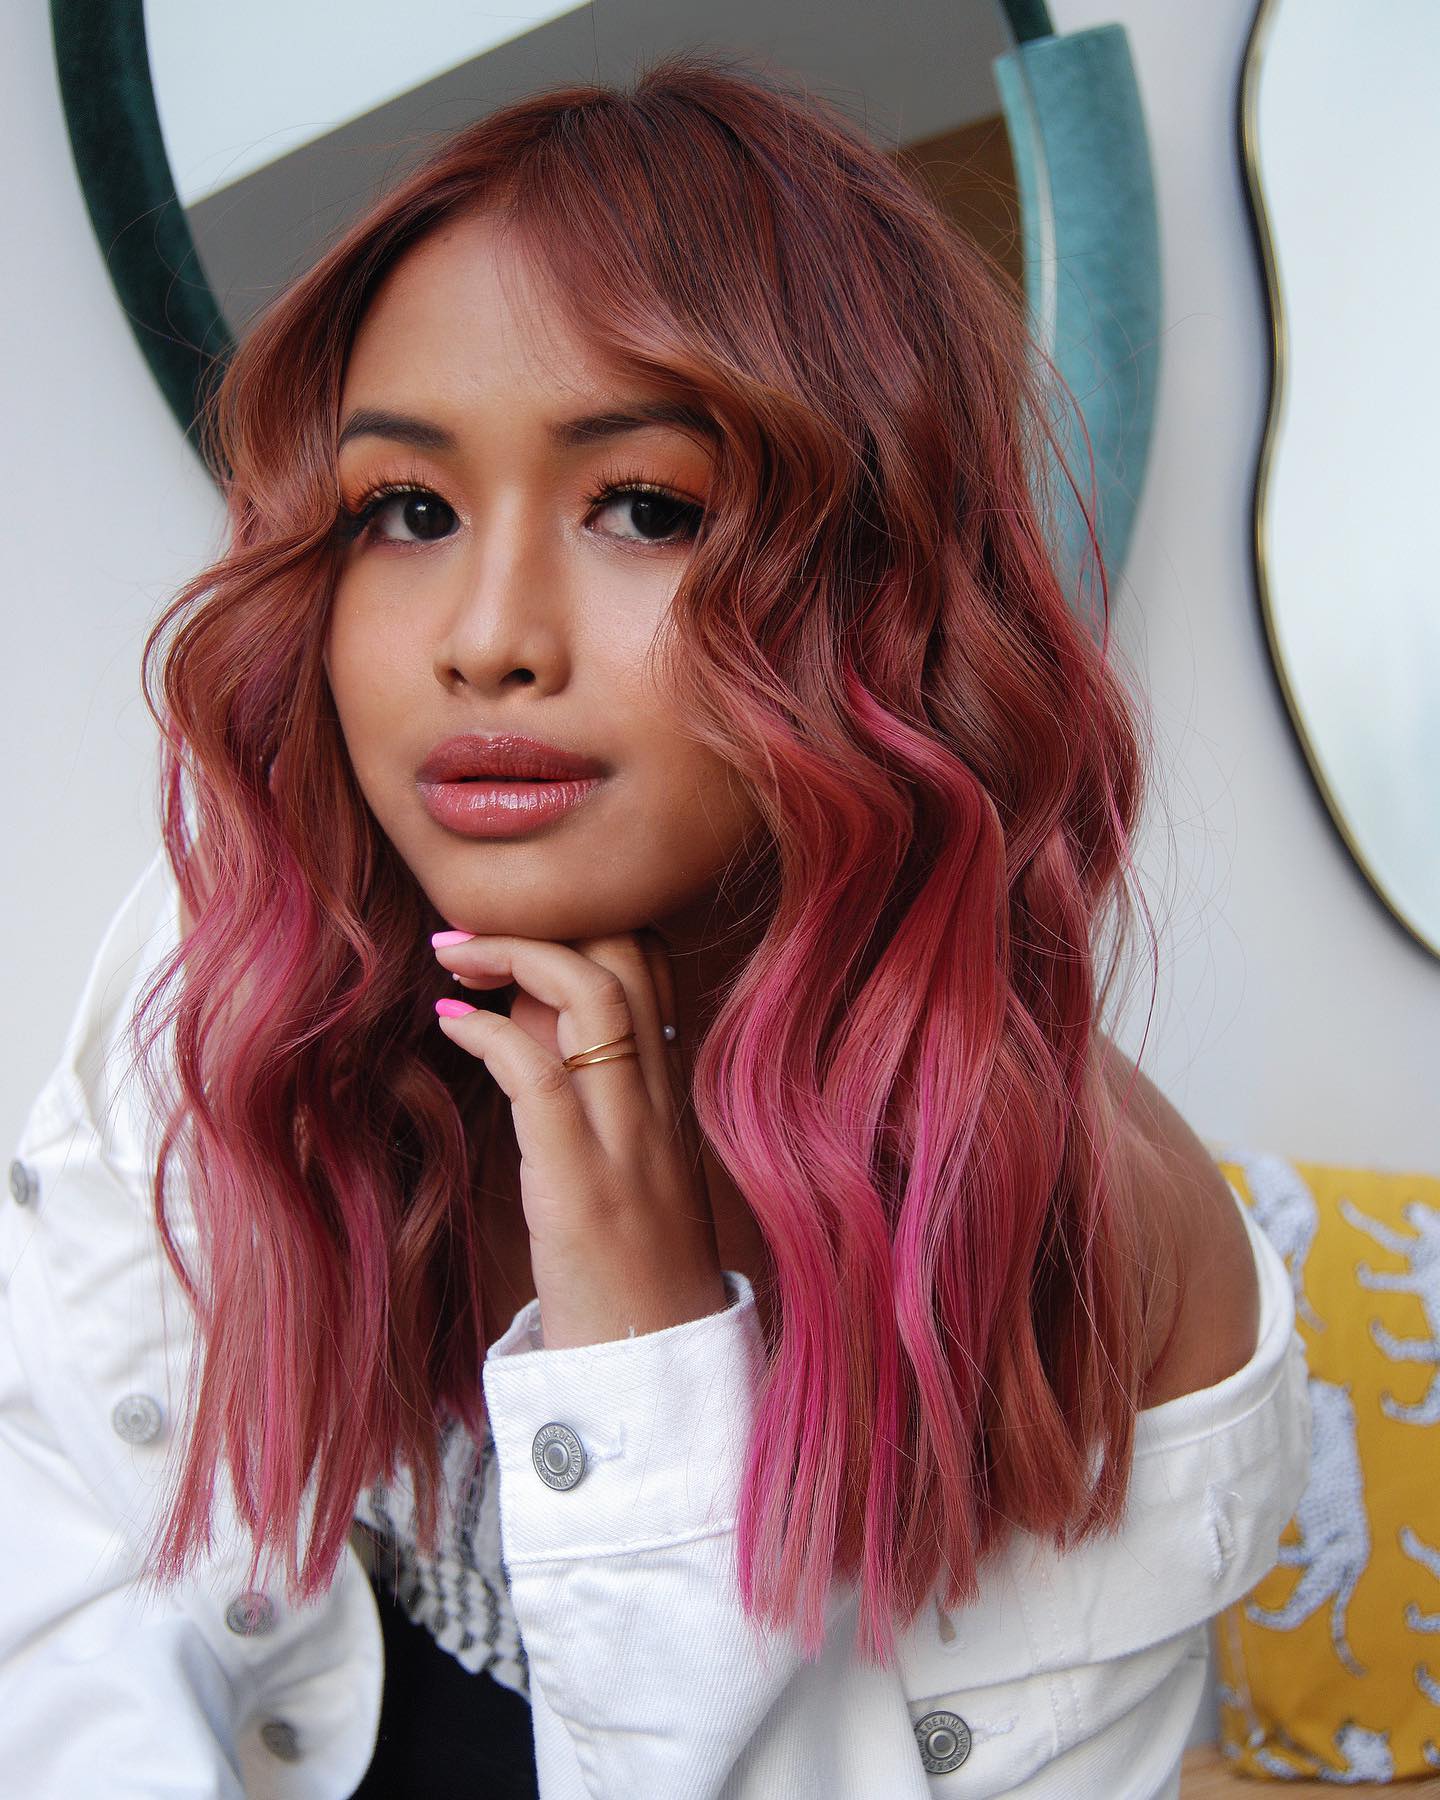
1. Copper Hair With Beach Waves
Beach waves have come a long way from the “just got back from vacation” aesthetic. Suitable for any occasion, they’re perfect whenever you want a natural-looking style that looks deliberate without being overstyled.
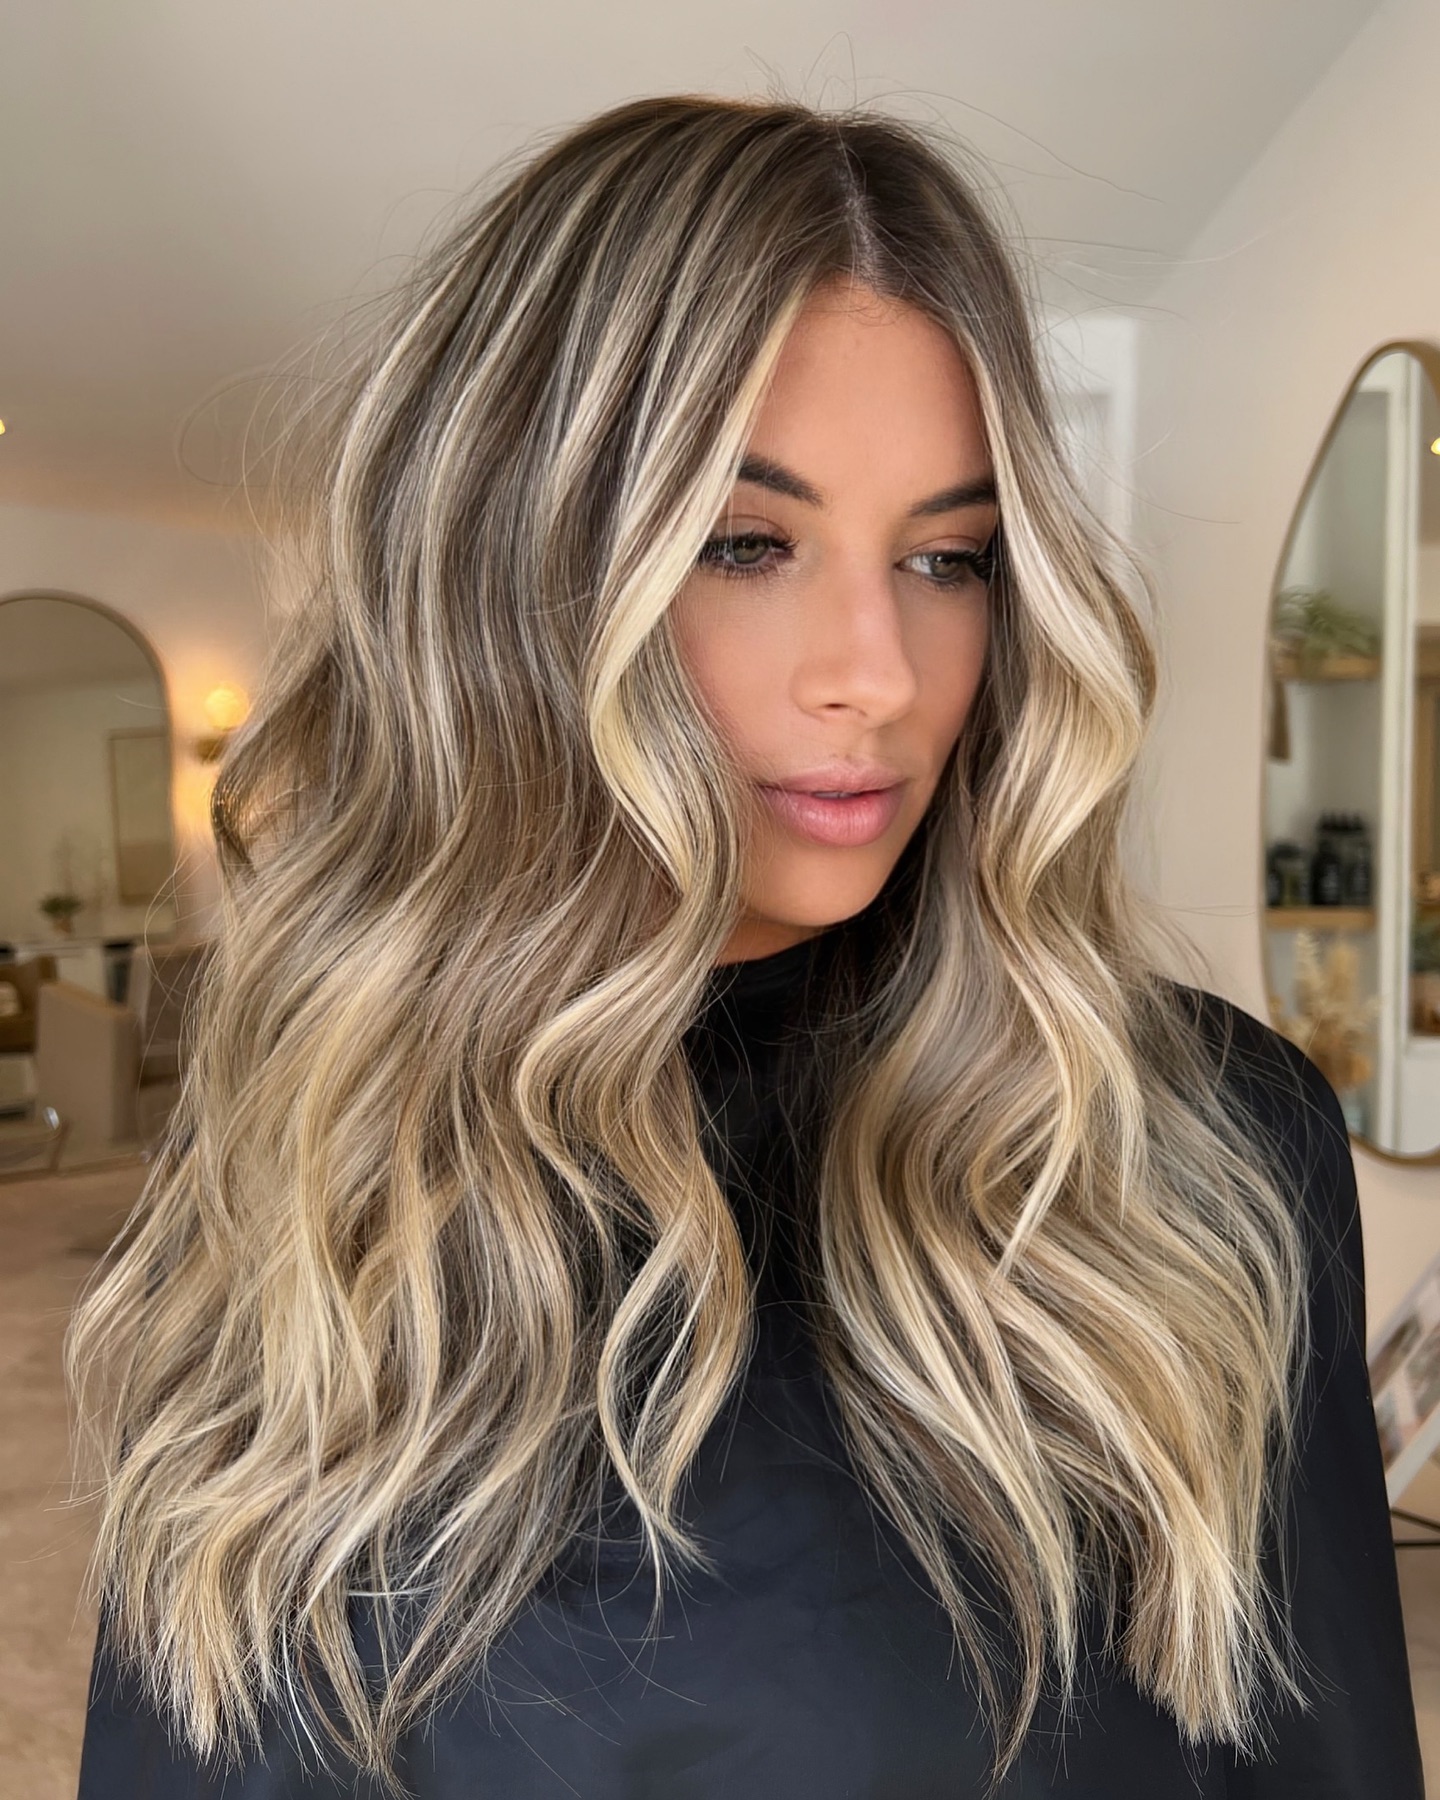
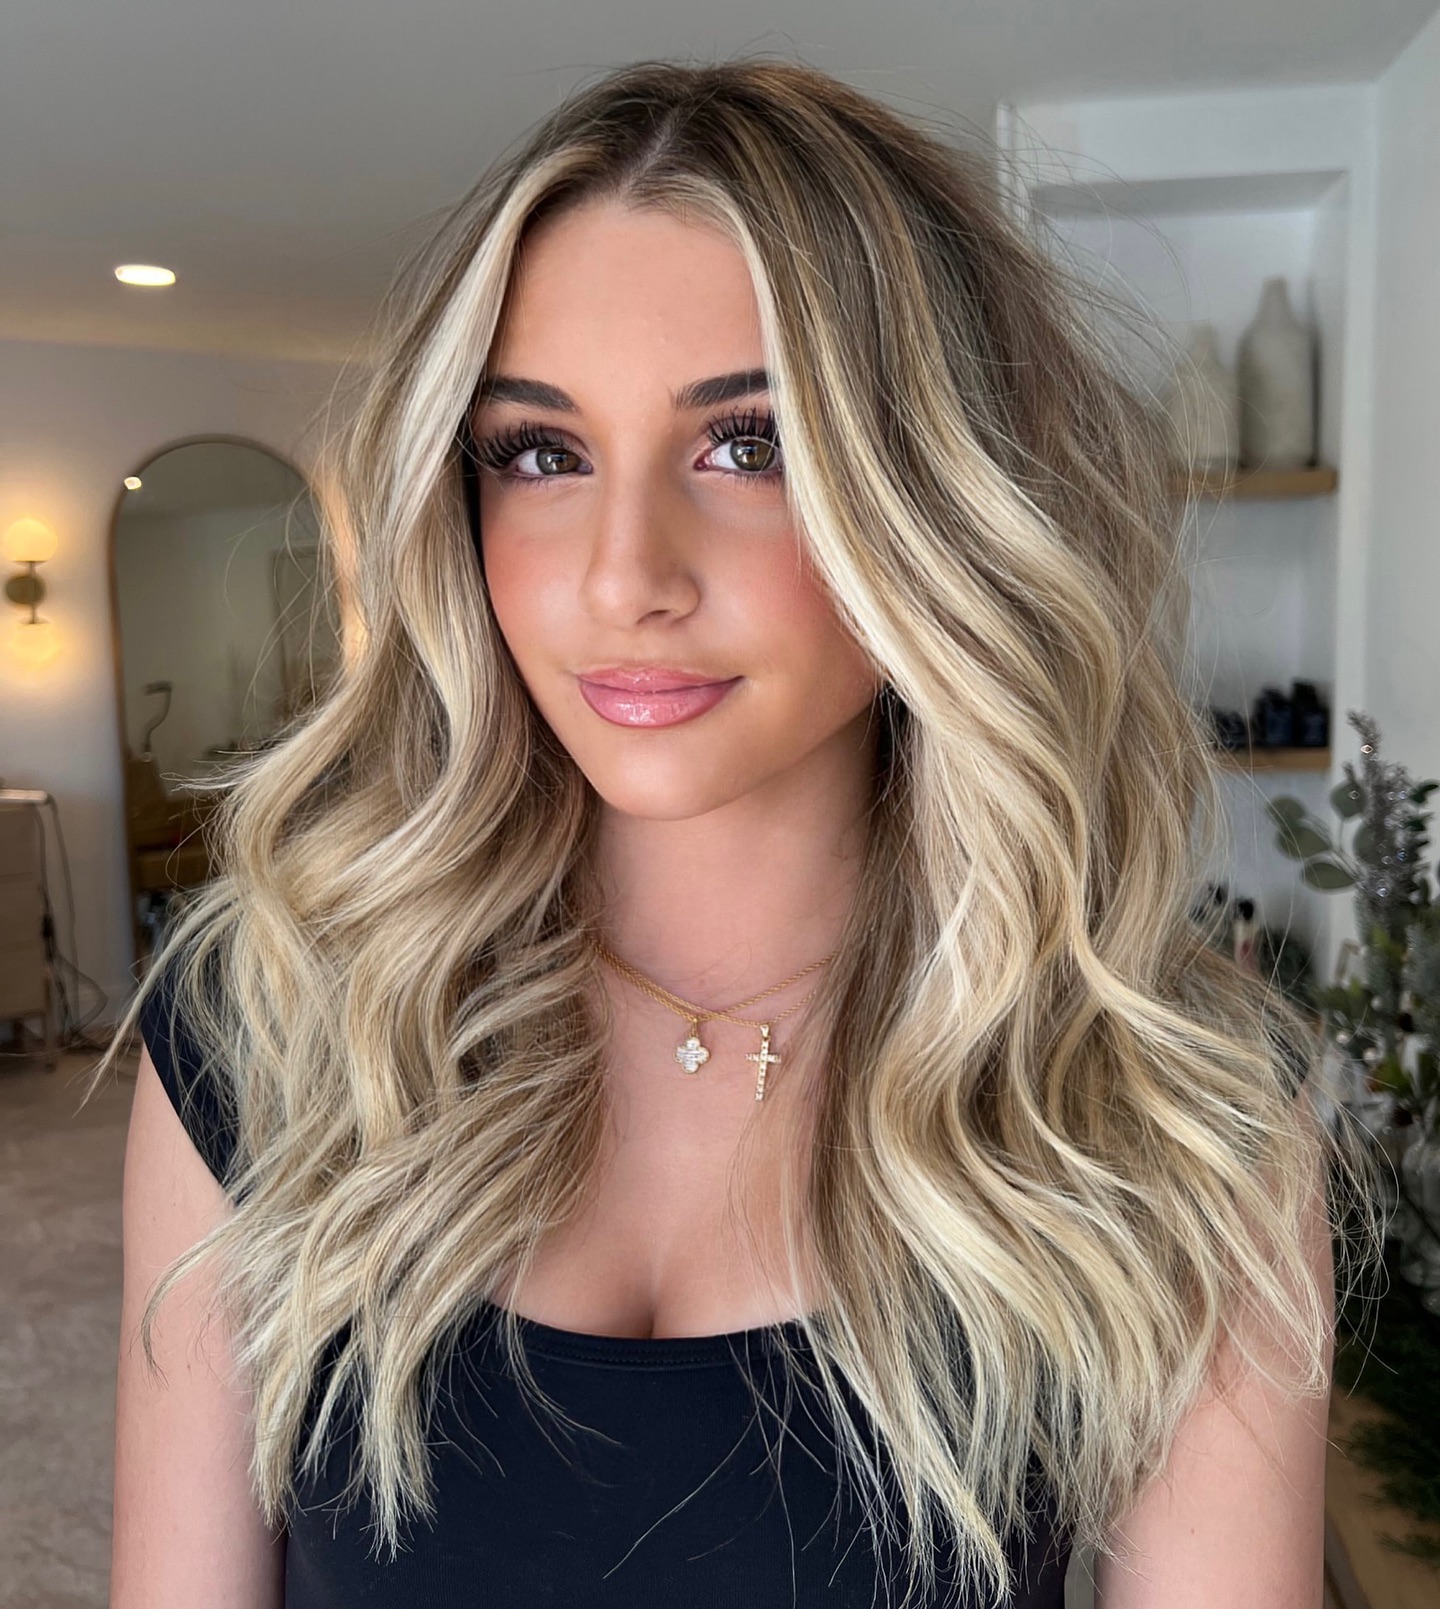
2. Blonde Face-Framing Highlights
The timeless appeal of beach waves is in the fact that they’re universally flattering: they complement all hair lengths and face shapes—and never look dated.
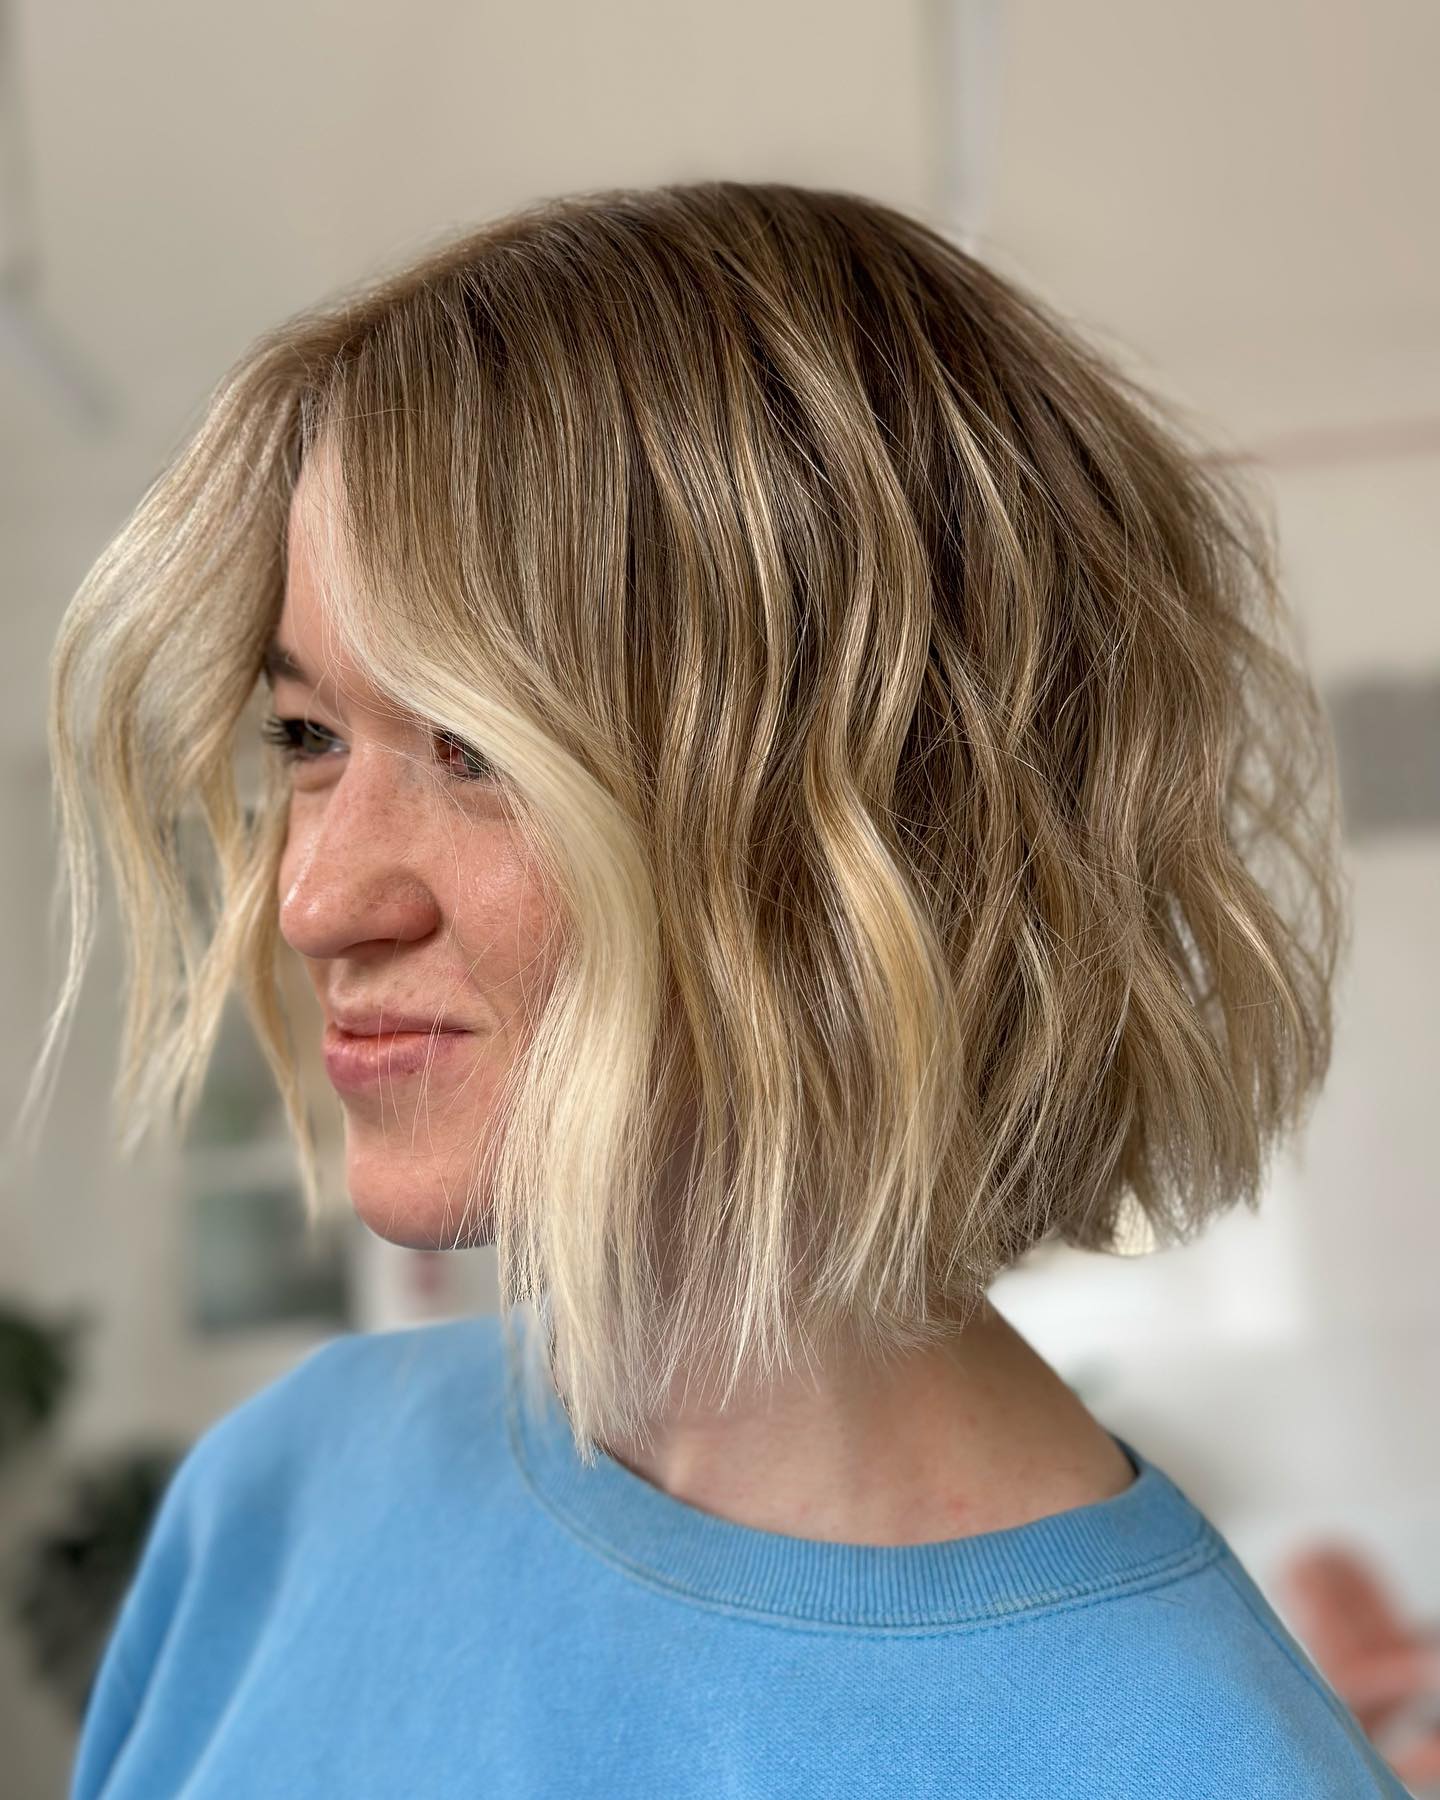
3. Wavy Choppy Medium Hair
Beach waves look gorgeous on all hairstyles, not only long, one-length locks. Choppy, modern haircuts are just as beachy!
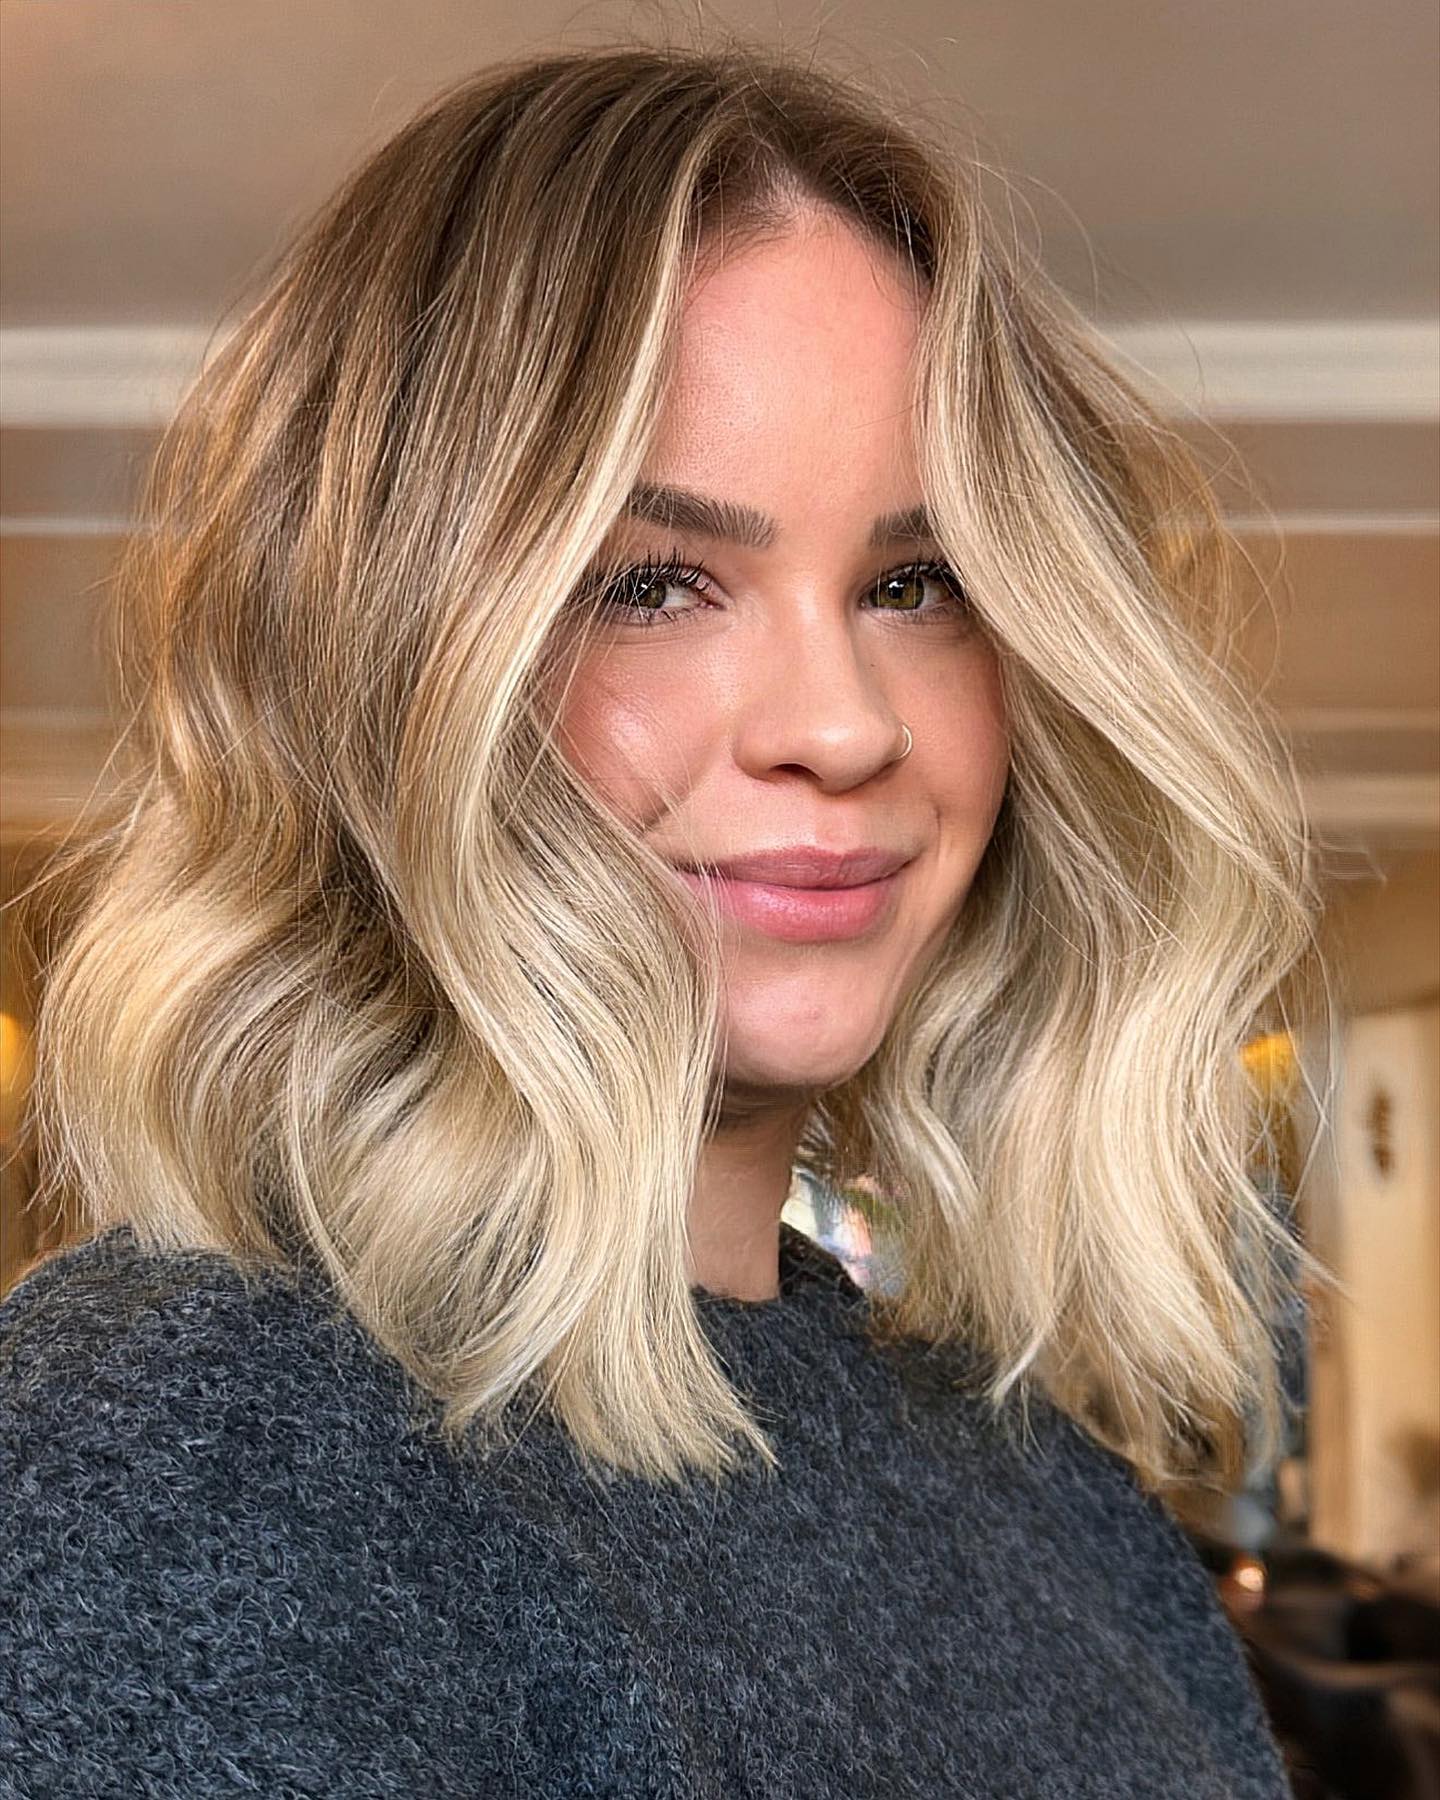
4. Lob With Loose Waves
Texture is key when you want the perfect beach waves. The piece-y look achieved with a texture-enhancing product will give your waves extra effortless vibes.
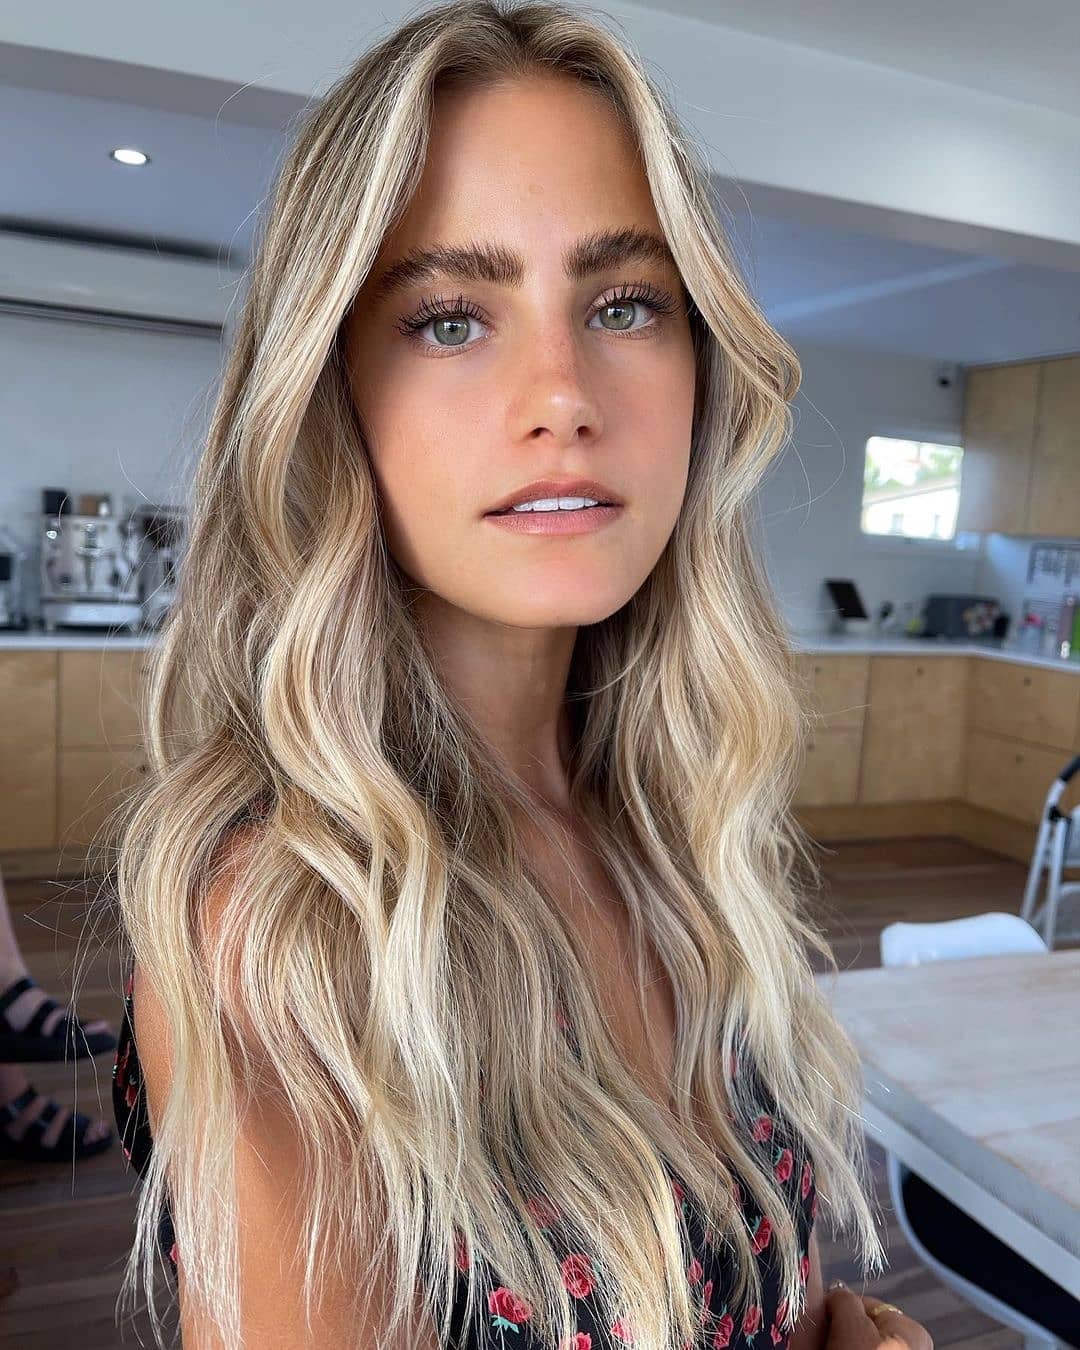
5. Long Blonde Beach Waves
Long, straight hair can look dull and drag your face down. Add some beach waves for instant pep and bounce.
6. Golden Brown Hair With Highlights
Beach waves will make you look soft and pretty, giving you an approachable and relaxed vibe.
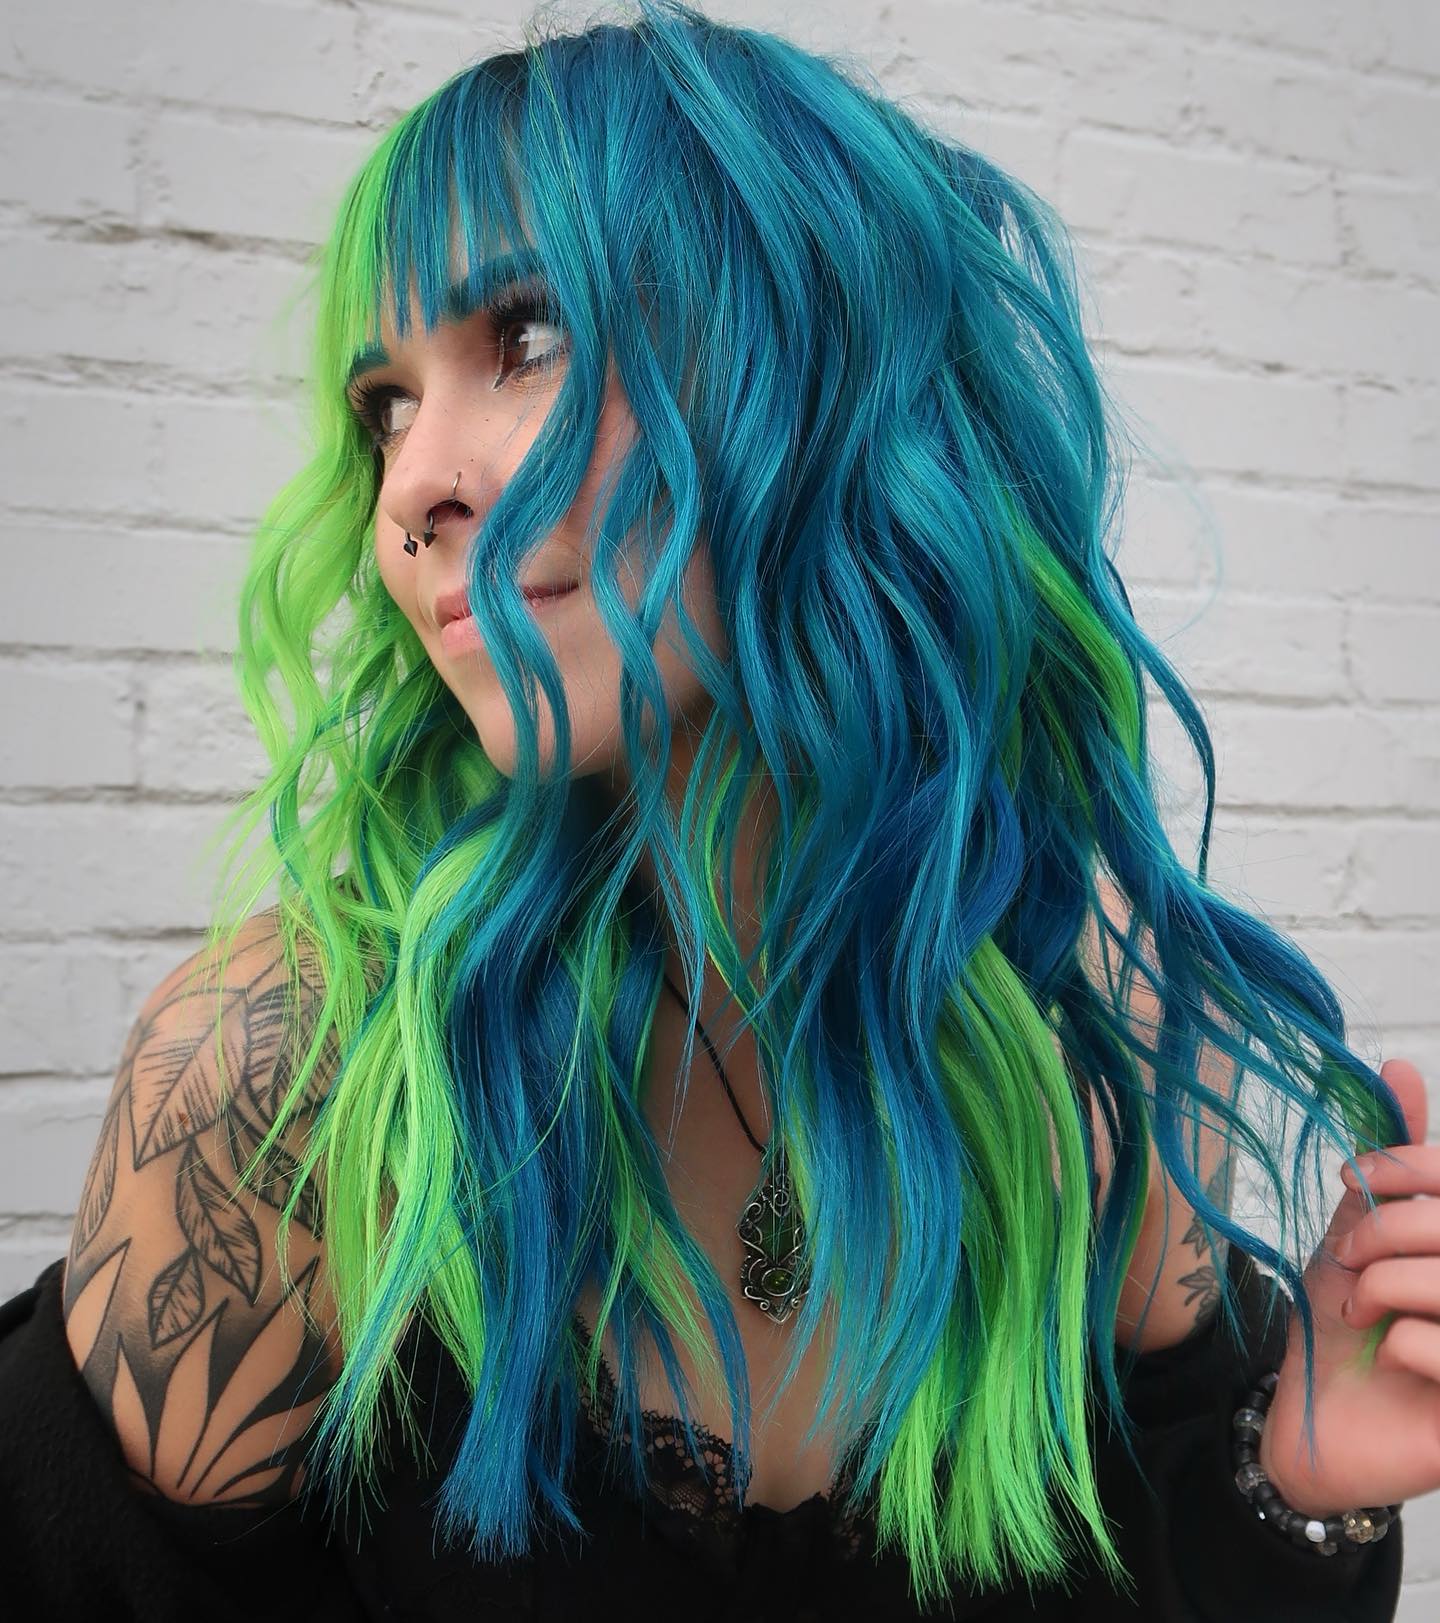
7. Vivid Teal And Lime Beach Waves
You can’t go wrong with beach waves if you want to draw attention to your dye job: they’re perfect for enhancing dimension and adding movement of your tresses.
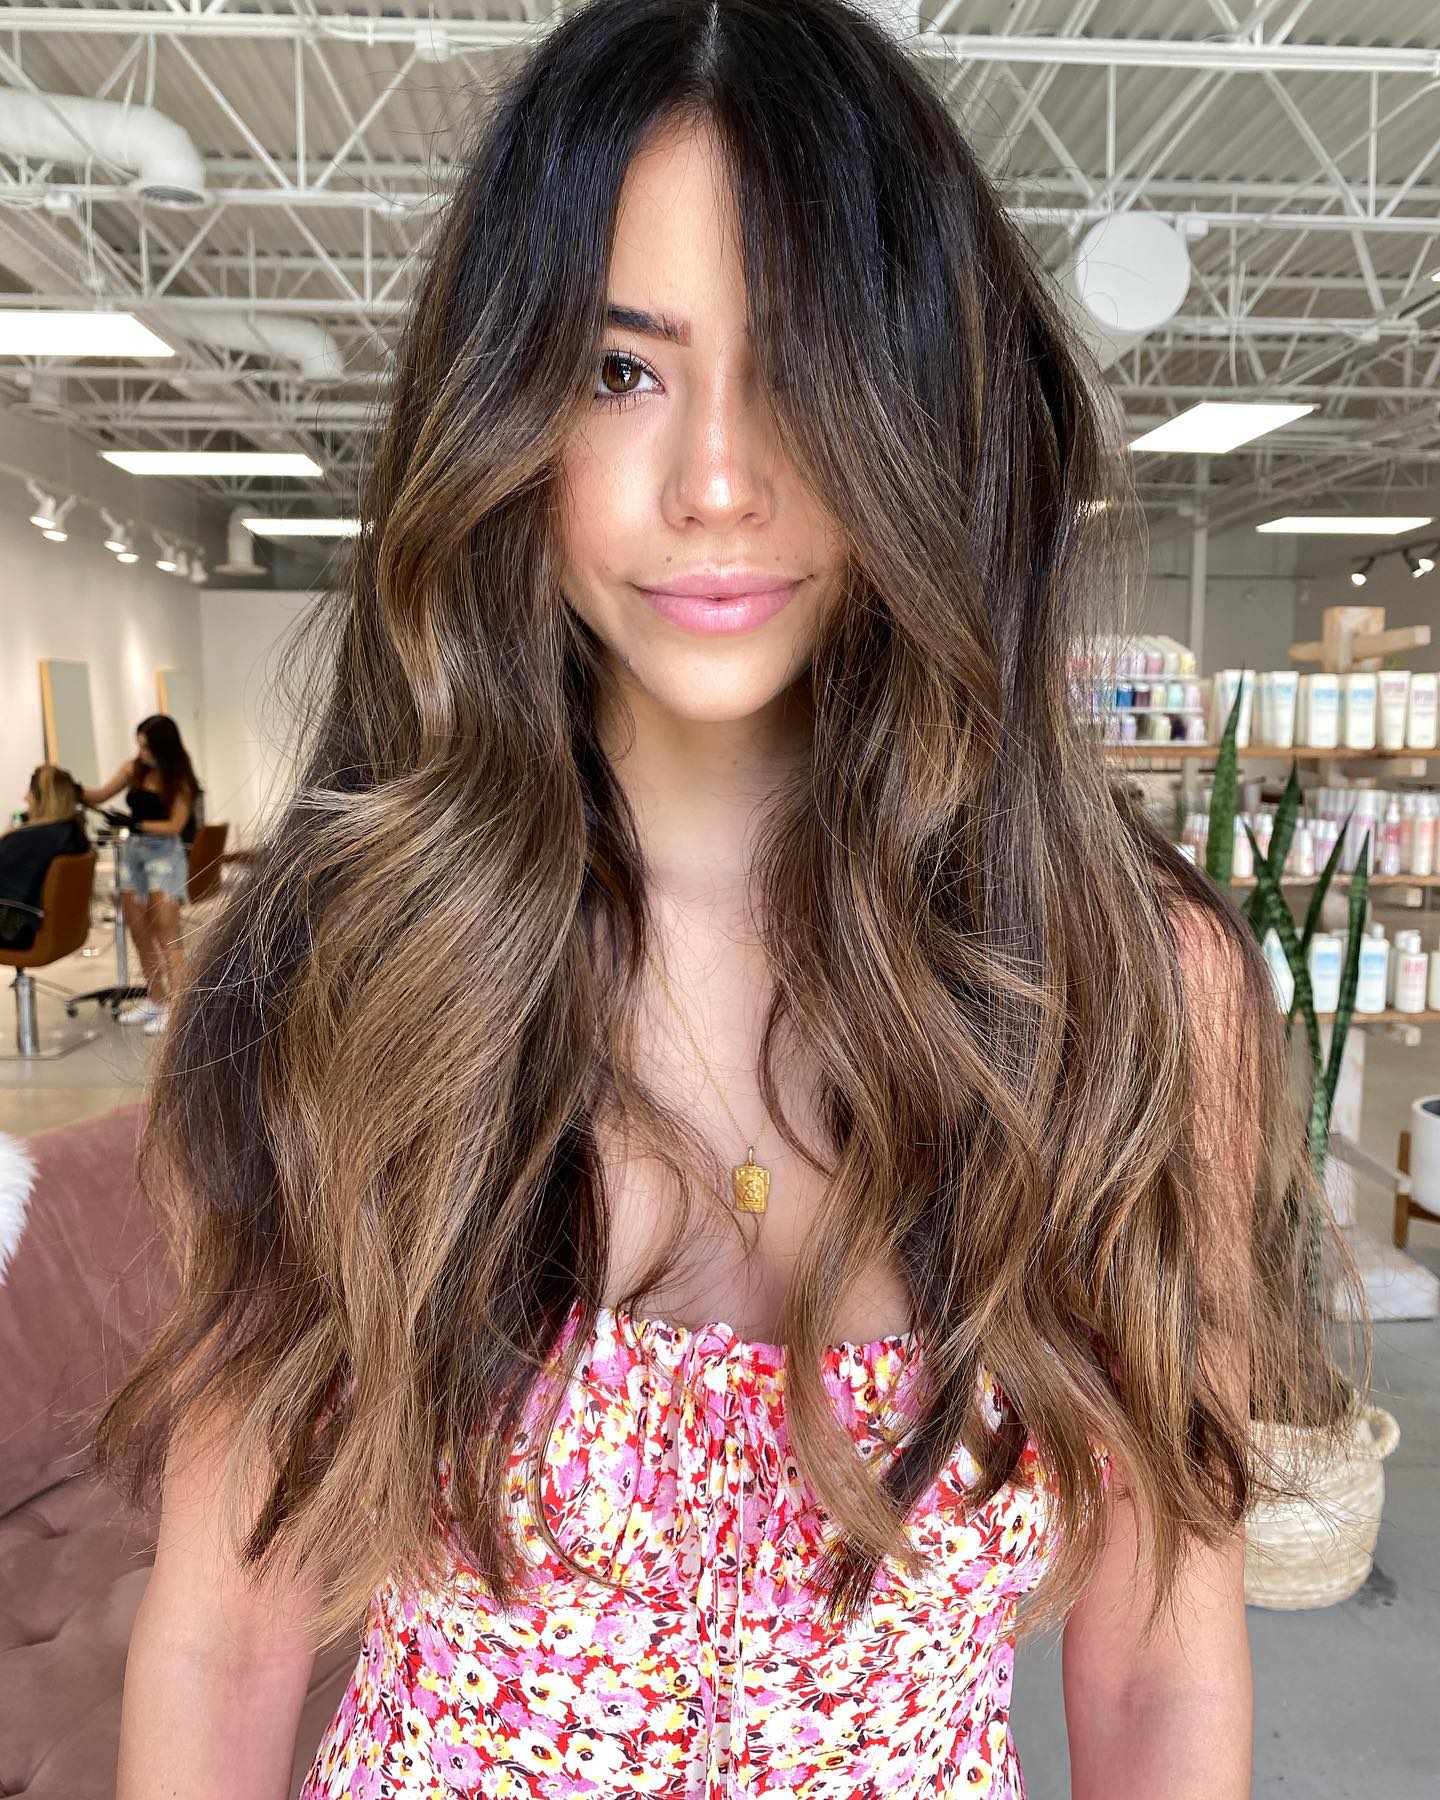
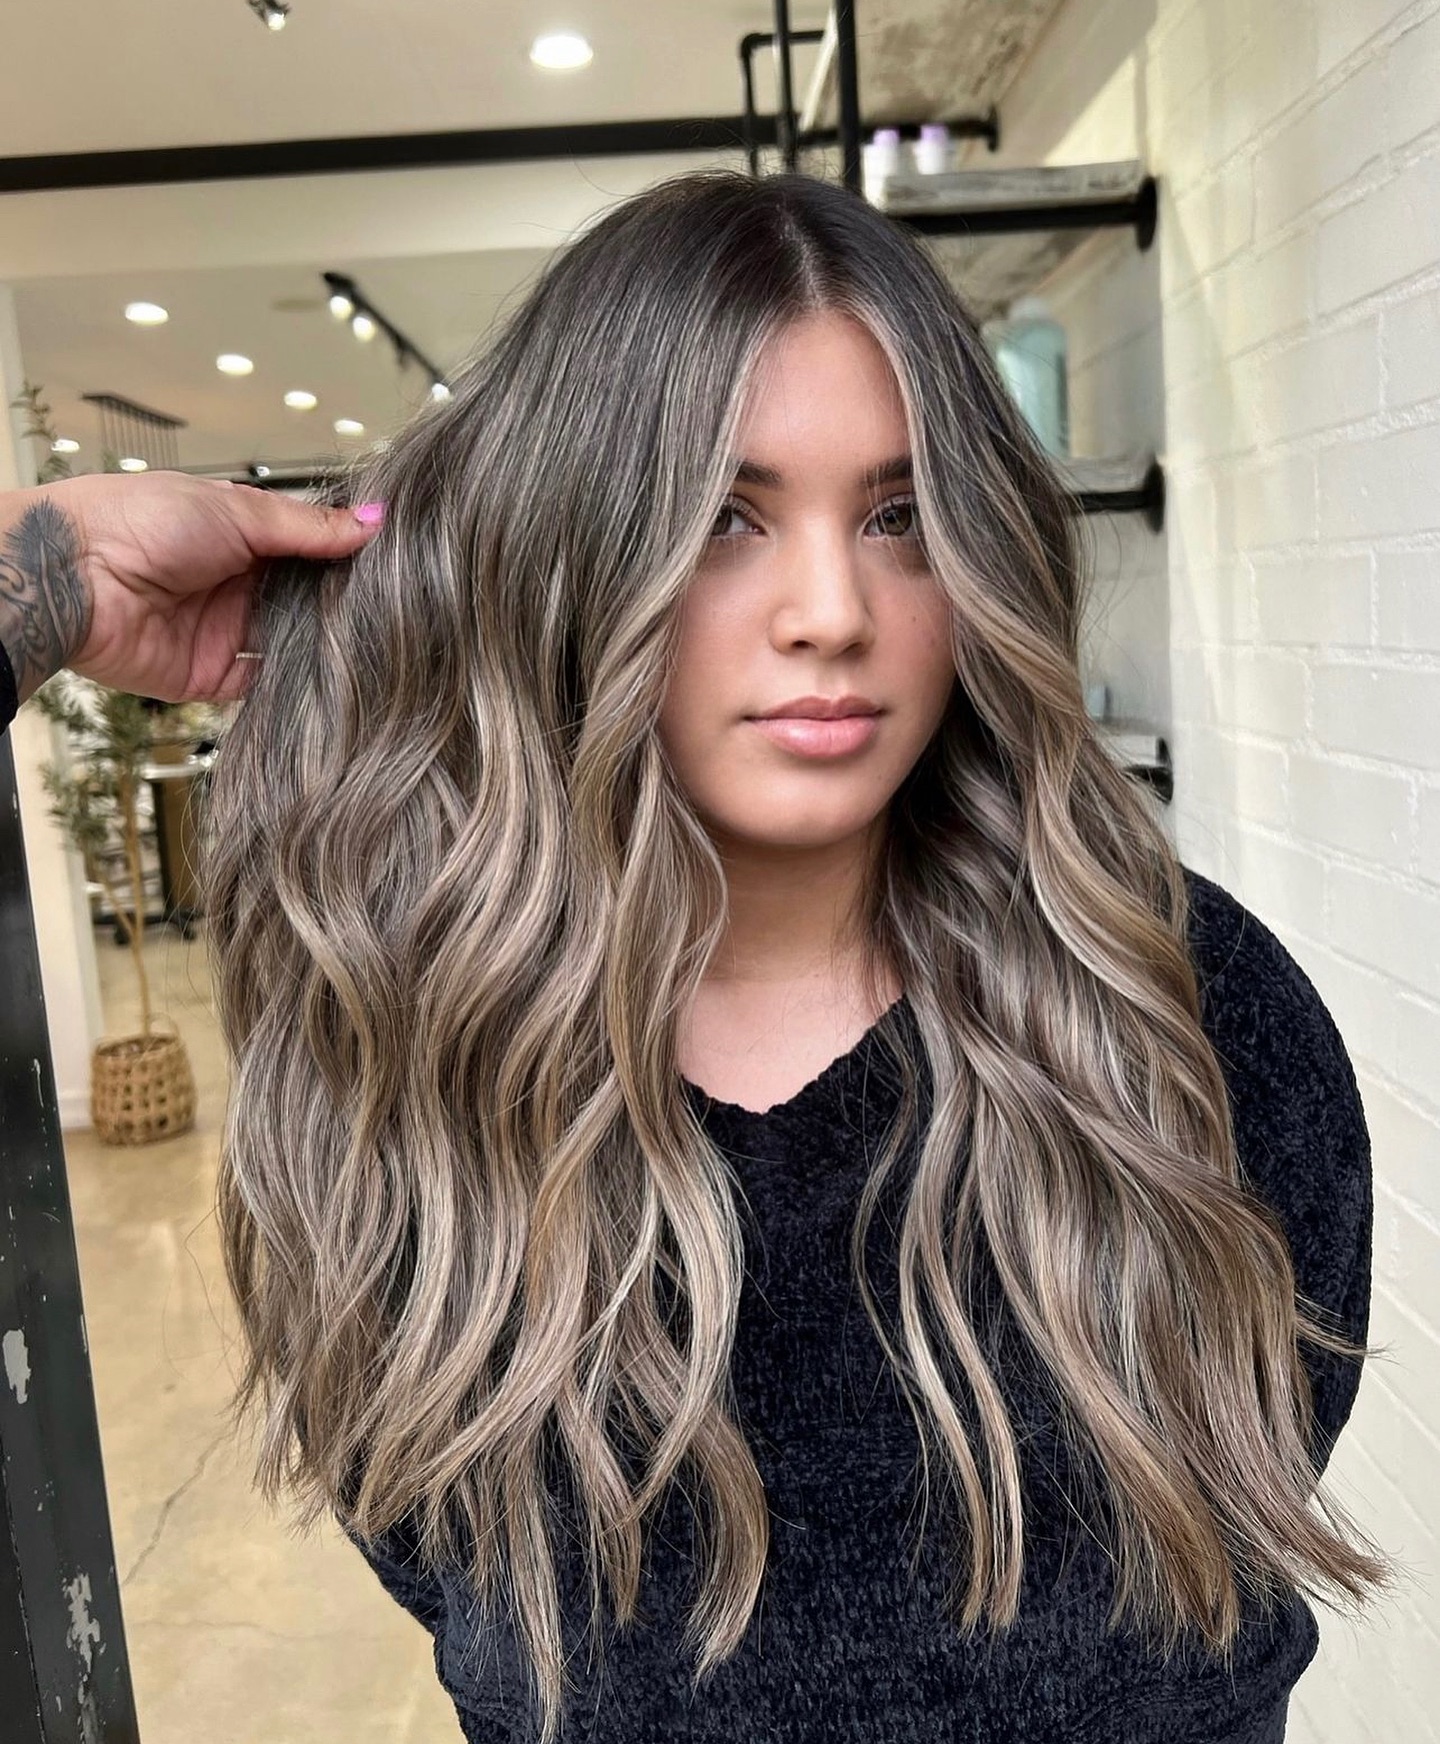
8. Soft Brunette Waves
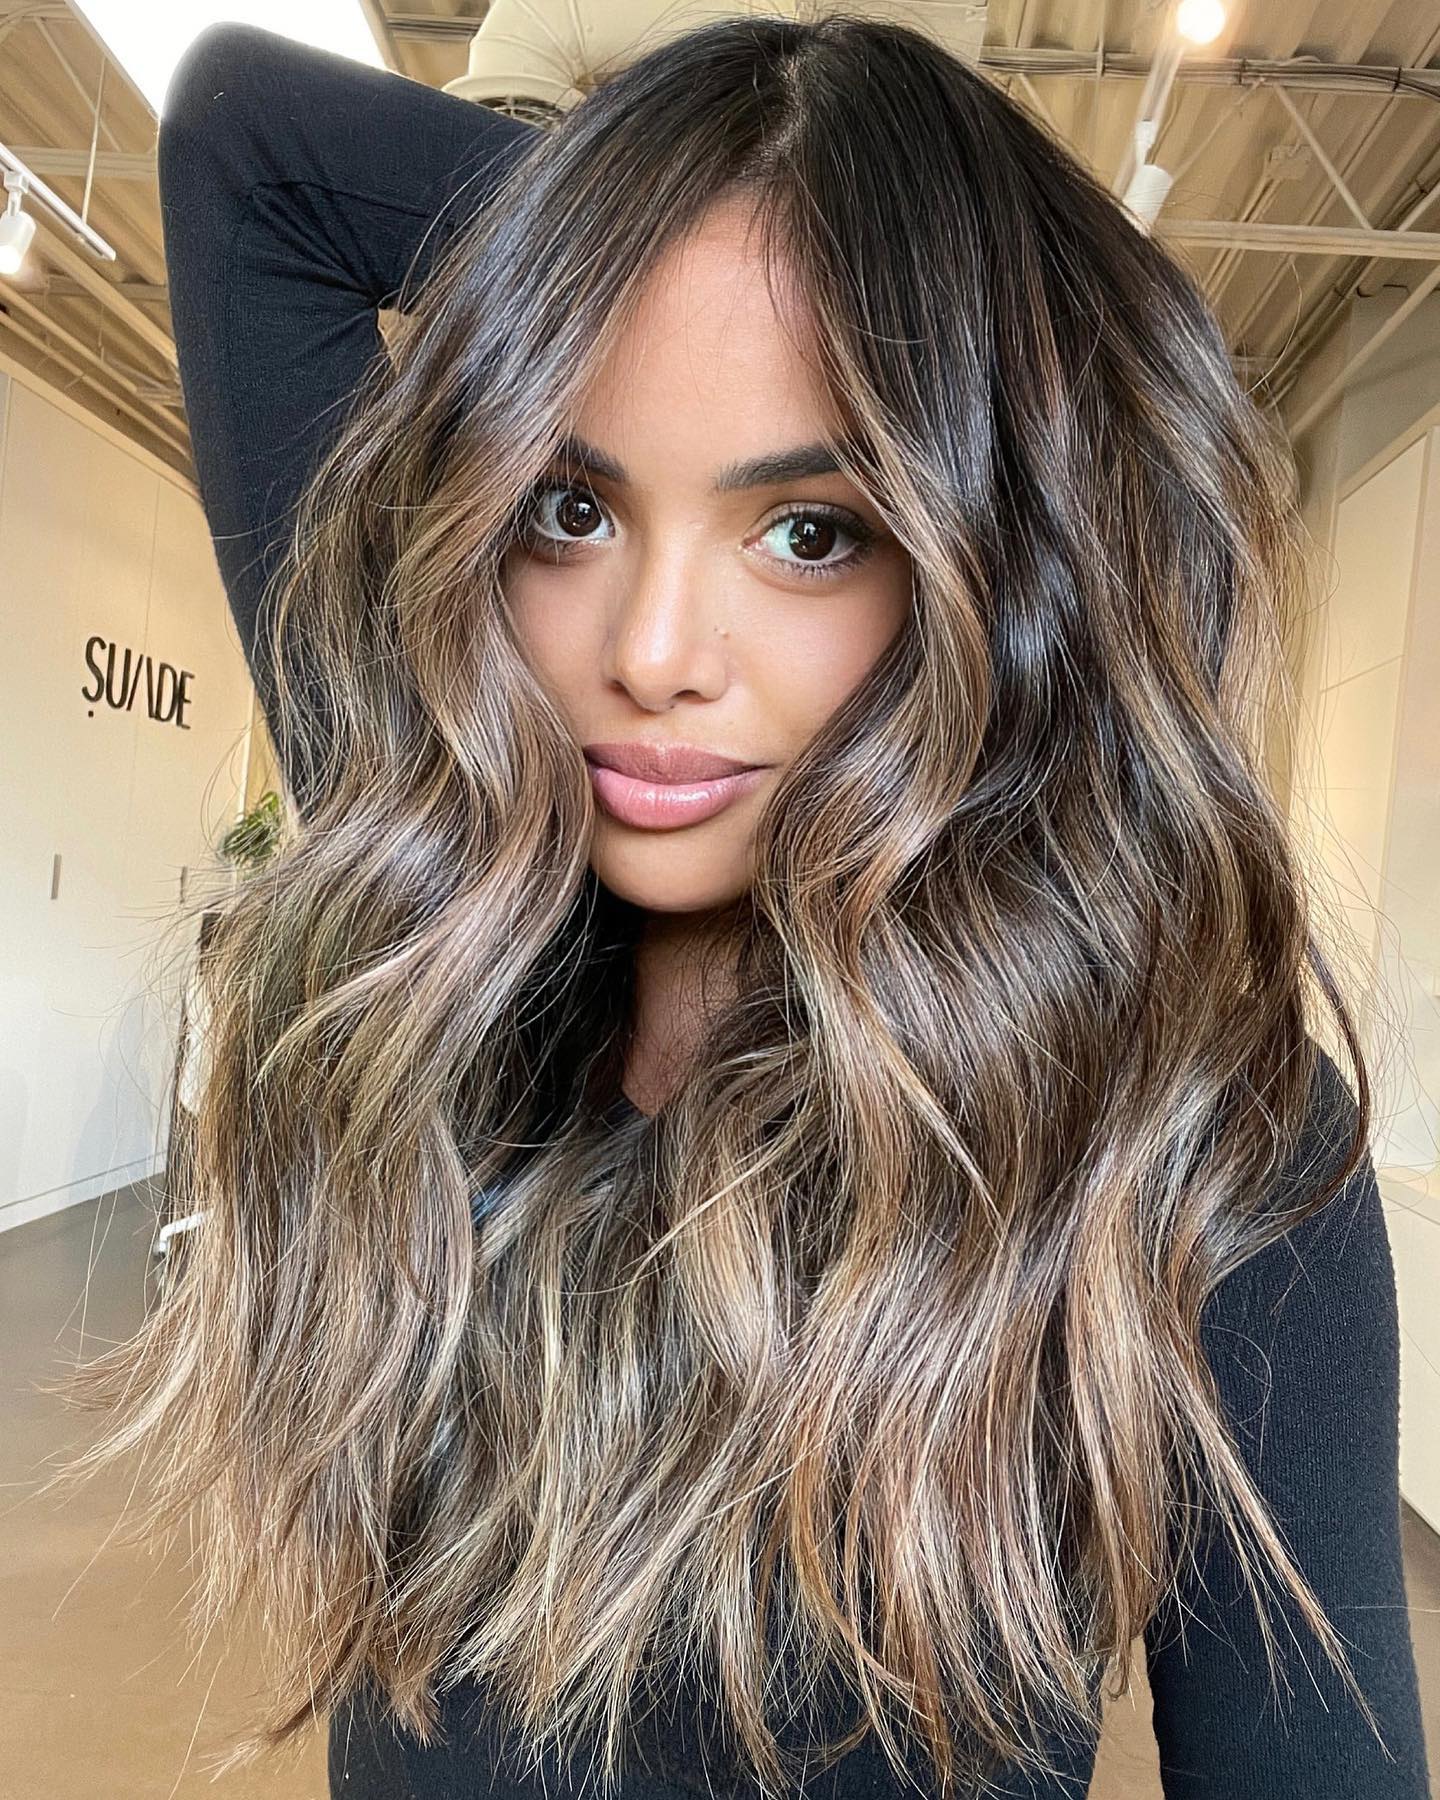
When you find the method for achieving beach waves that works for you, this style requires minimal styling and upkeep.
9. Cherry Red Blunt-Cut Hair
Beach waves can enhance various face shapes and be adapted to suit a wide range of hair textures.
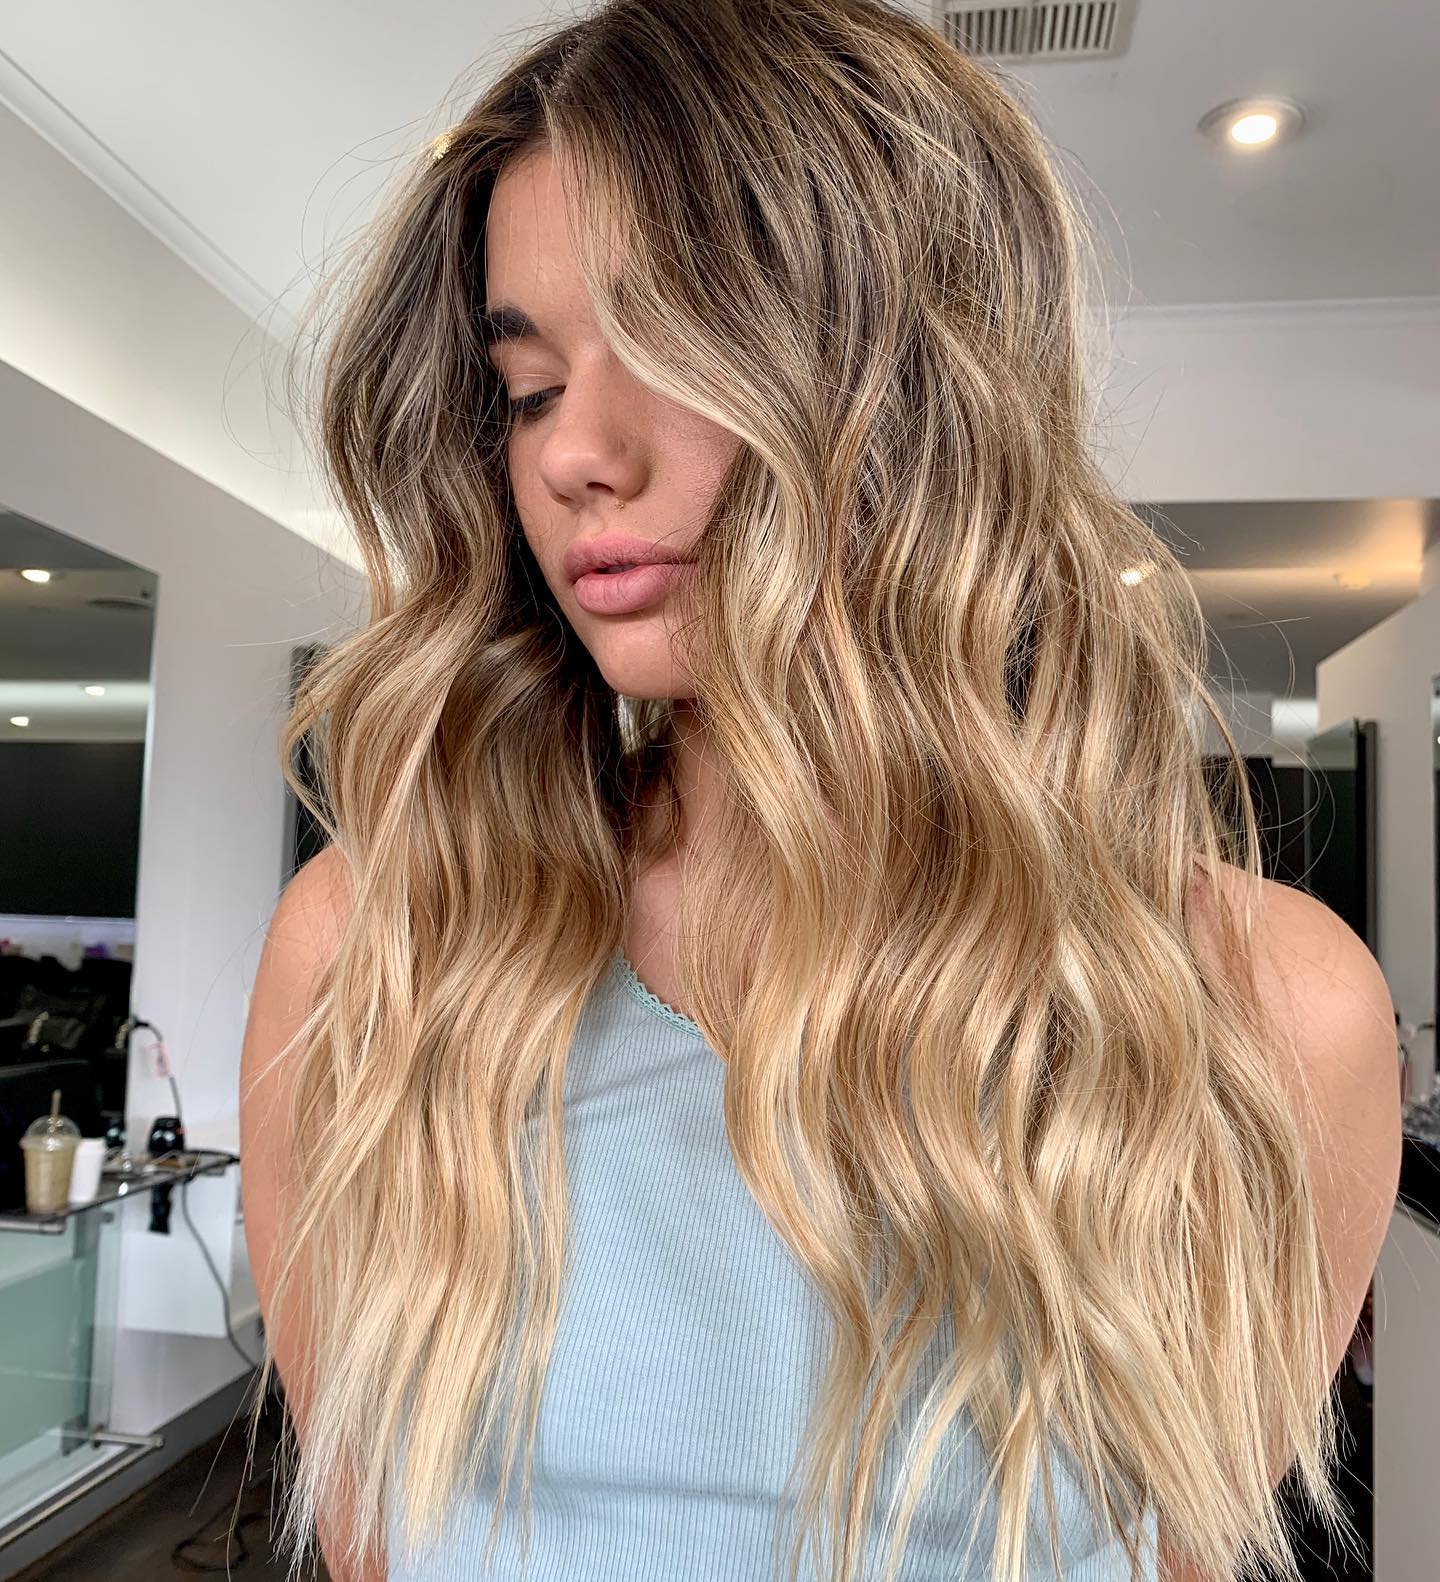
10. Beach Waves With Golden Highlights
Loose, tousled waves that mimic the effortless look of a day spent soaking in the sunshine and swimming in the ocean pair perfectly with a golden face-framing balayage.
11. Angled Bob With Beach Waves
Want to put an effortless, cool-girl spin on your blunt bob or make your long pixe extra flirty and feminine? You guessed it, beach waves.
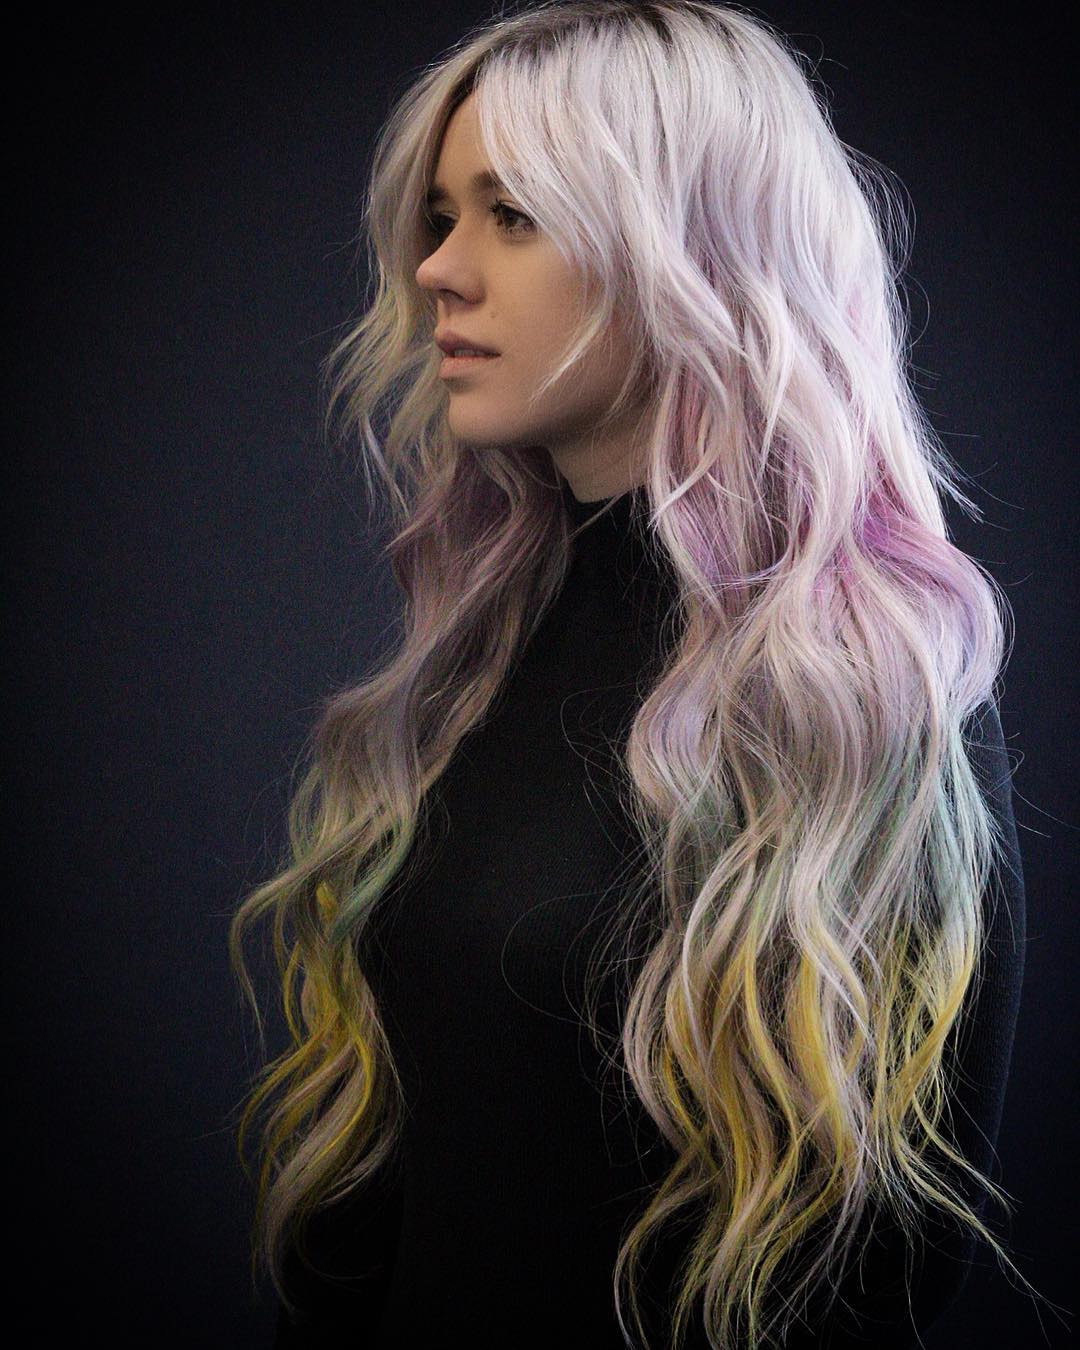
12. Long Rainbow Waves
Beach waves transform long hair into dreamy, fairy tale delight. Are you feeling like a mermaid or a princess today?
13. Beach Waves And Face-Framing Highlights
Complete your sun-kissed look by pairing your face-framing highlights with soft beach waves.
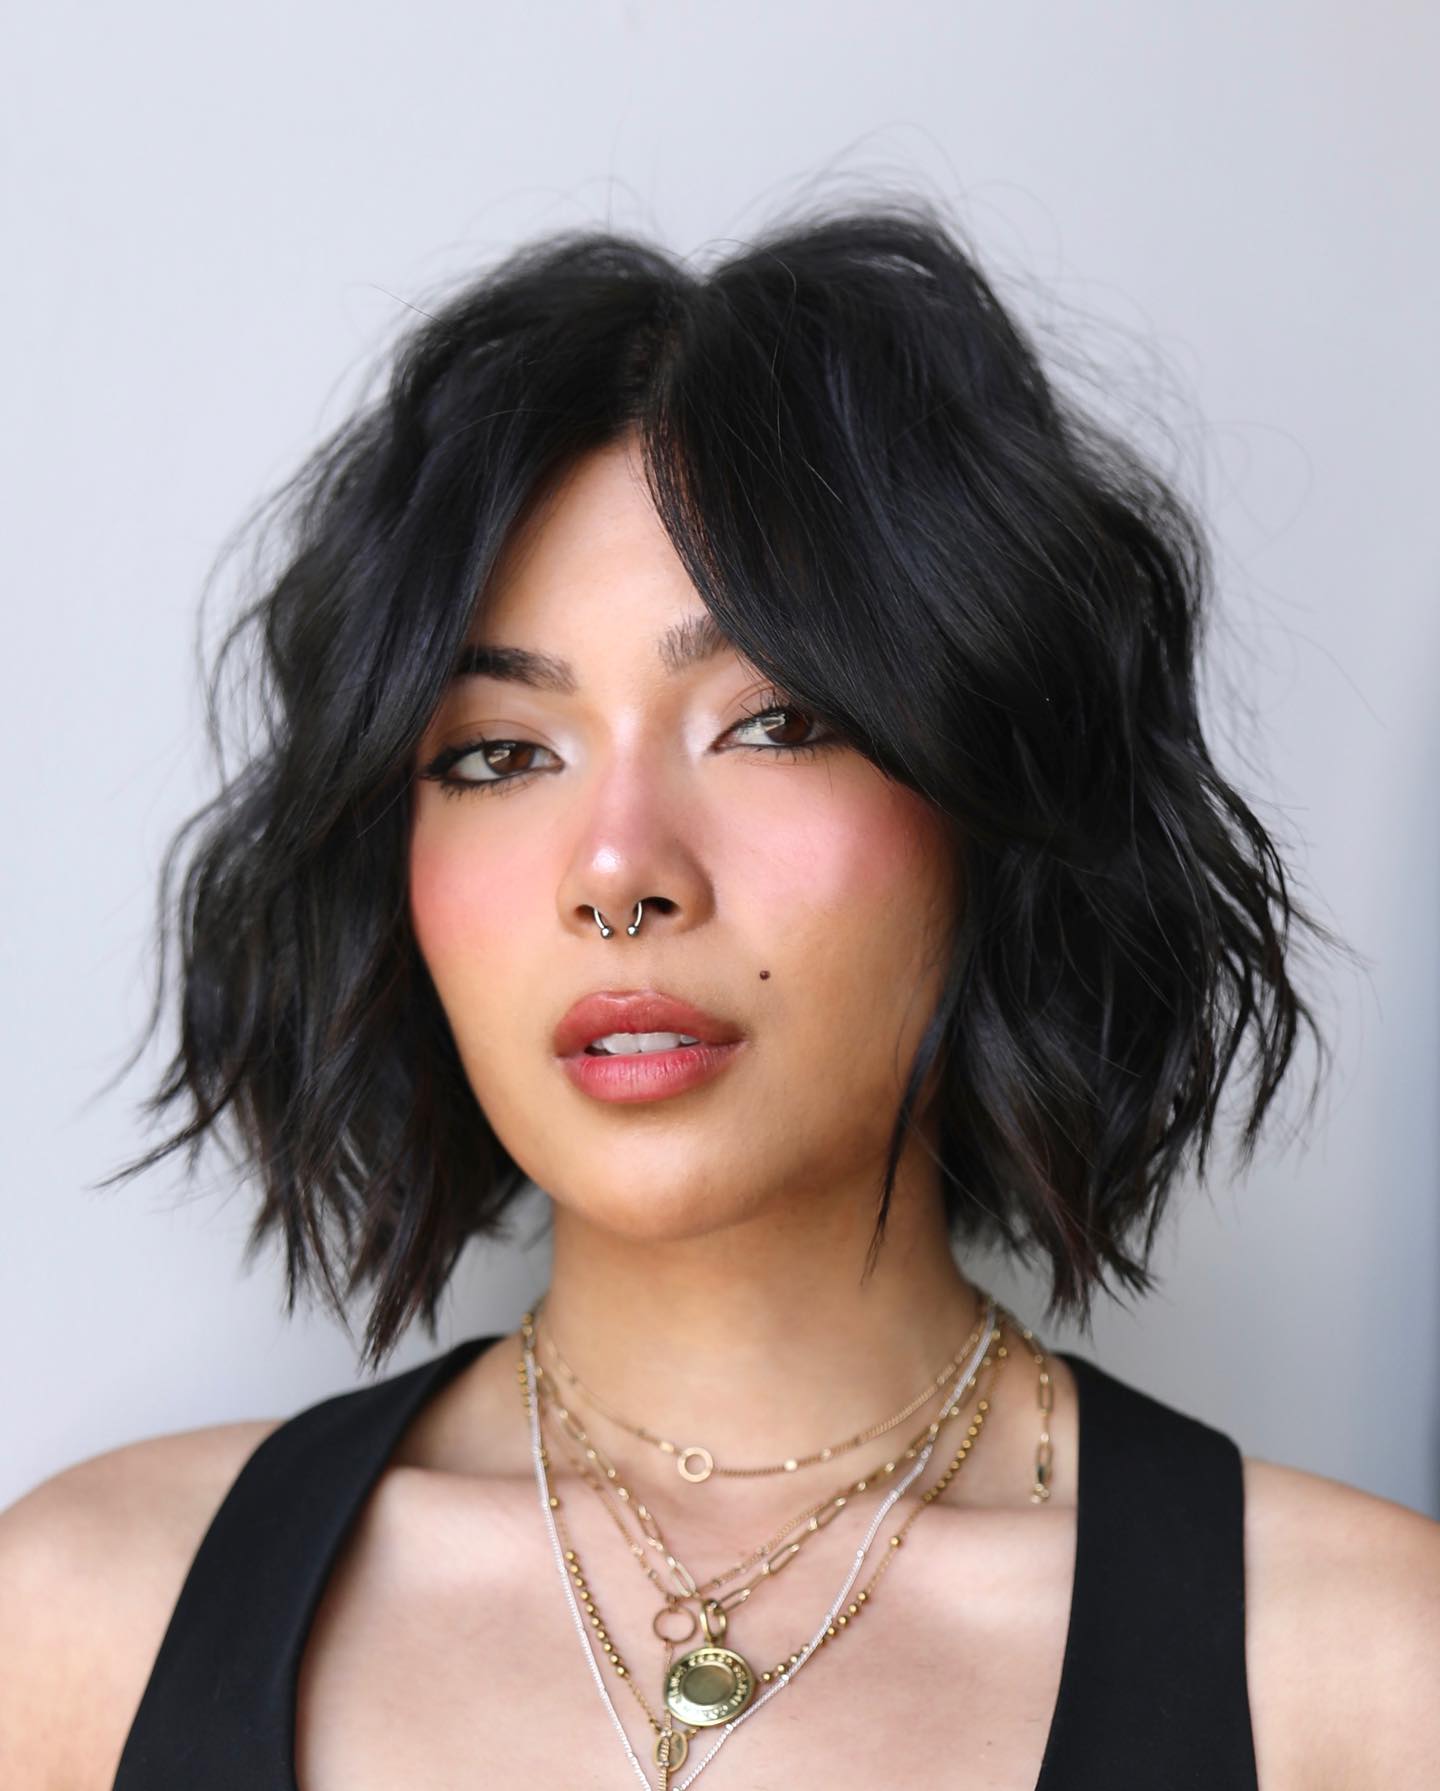
14. Wavy Choppy Bob
A choppy bob and beach waves were an unexpected pairing that became a classic thanks to how well they fit together.
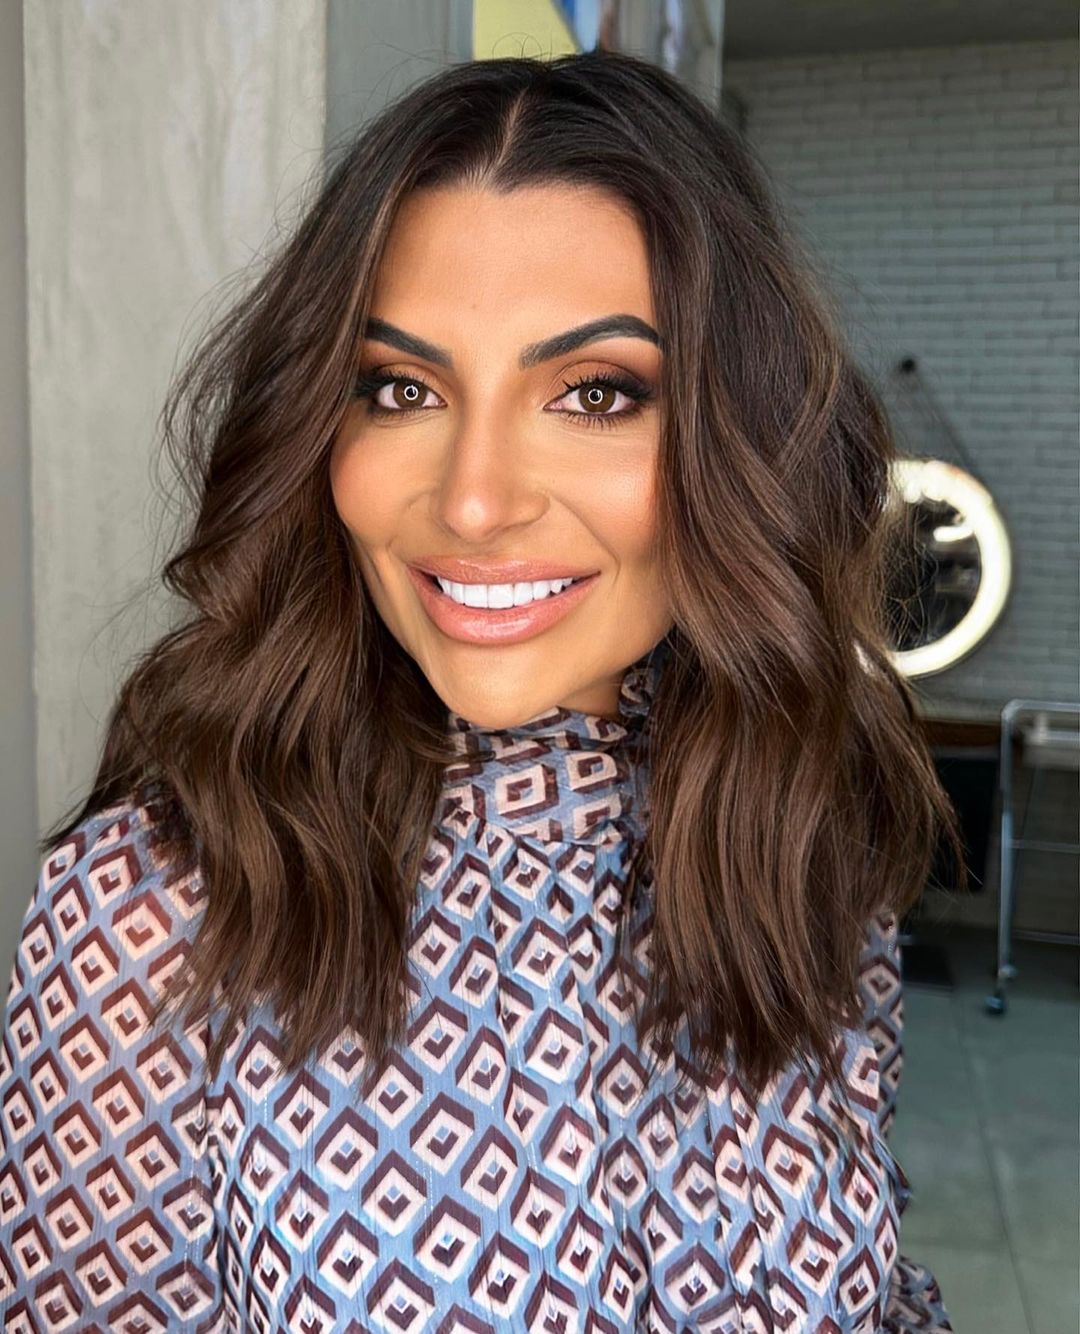
15. Loose Brunette Waves
When creating beach waves, don’t try to be too perfect—they look even better when they’re tousled and laid-back.

